creating Wiki instructions
- navigate to the GitHub Repository
- create a new Wiki page
- add screenshots to the repository
- push changes (this is a 3-step process)
- include screenshots in the Wiki
- link to specific steps
-
login to GitHub
-
navigate to the spec-lumber repository
- NOTE: the repository path is https://github.com/uidaholib/spec-lumber
-
navigate to the Wiki within the spec-lumber repository
- NOTE: you should see the "edit" and "New Page" button towards the top right of the screen if you have editing access to the repository. If you don't have editing access, you'll need to contact DDS to add you to the repository.

- click on the "New Page" button at the top right of the screen

It will take you to a new screen to create a new page in an editor. This editor uses Markdown language. See this Basic Syntax guide for a refresher. * NOTE: a hack to format new instructions the same way as old instruction is to navigate to another page that's already written and hit "Edit" to see the Markdown syntax used to create that page. However, you must be cautious to not accidentally edit that page while it's open...

To add screenshots to Wiki instructions, you'll need GitHub Desktop and Visual Studio Code. Please note that adding screenshots to the "Assets" folder means you can link to them but they will not show up on the Harvester as a digital object!
- fetch origin from spec-lumber repository in GitHub Desktop
- Open GitHub Desktop
- Set "Current Repository" to "spec-lumber"
- click "fetch origin"

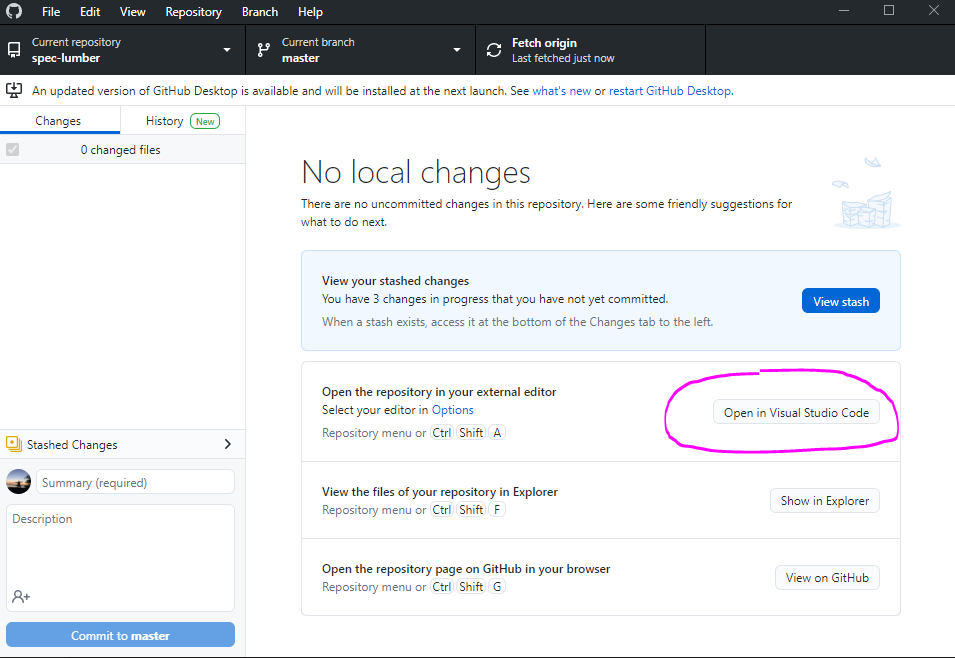
- open Visual Studio Code
- open GitHub Desktop and click "Open in Visual Studio Code." This will open the spec-lumber repository in Visual Studio Code
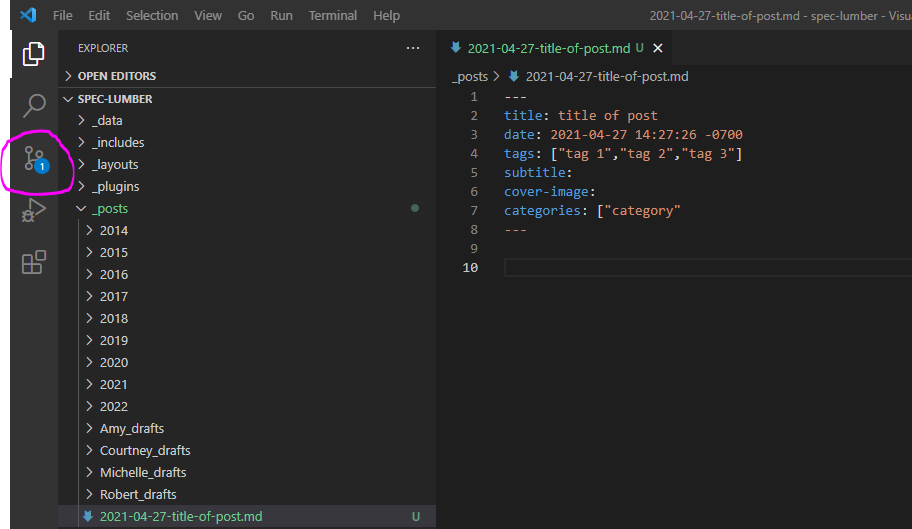
- open Windows File Explorer and navigate to
Documents/GitHub/spec-lumber/assets/img. This is where you'll add all your screenshots!- NOTE: remember that since this folder is a local copy of the GitHub repository, you'll need to stage, commit, and push your changes (which is adding new digital objects) at the end

-
- Go to the Source Control view in Visual Studio Code
- click on the "+" (plus) symbol to stage your changes
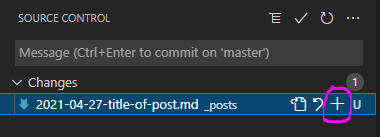
- once your changes are staged, add a descriptive message about what your changes are. Then click on the "checkmark" to commit your changes to your local GitHub repository on your local machine
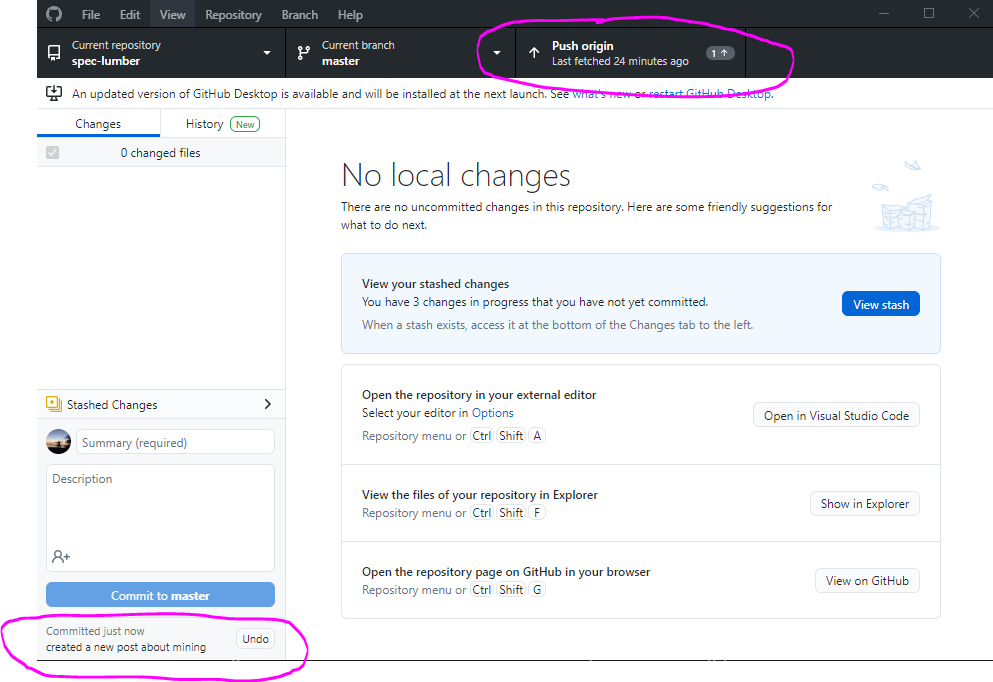
- open GitHub Desktop. You should see your descriptive message on the bottom left. If you've committed changes by accident, you can undo your commit here. If you want to push your commit, click on "Push Origin" at the top. This will push your commits to the cloud GitHub Repo, and will make your changes live on the Harvester website in approx. 5-10 minutes.
-
go back to the spec-lumber repository and navigate to your new Wiki page. Open the editor.
-
The include command in the Wiki editor is:
- NOTE: the "image.jpg" at the end of the include is just the file and extension of whatever file you're pointing to.
- NOTE: the extension is case-sensitive. If your file is .JPG and you write .jpg in the include command, it won't work.
- to link to a specific step, exit the editor by clicking on "Save Page" at the bottom and view the page as you normally would. Hover over the "Step" (or any other Heading) you want to link to, and you'll see a little link icon pop up on the left side of the Heading. Click on that link and it will change the URL to go to that part of the page. Copy the URL, open the Wiki editor again, and paste the link to hyperlink text in Markdown format.
