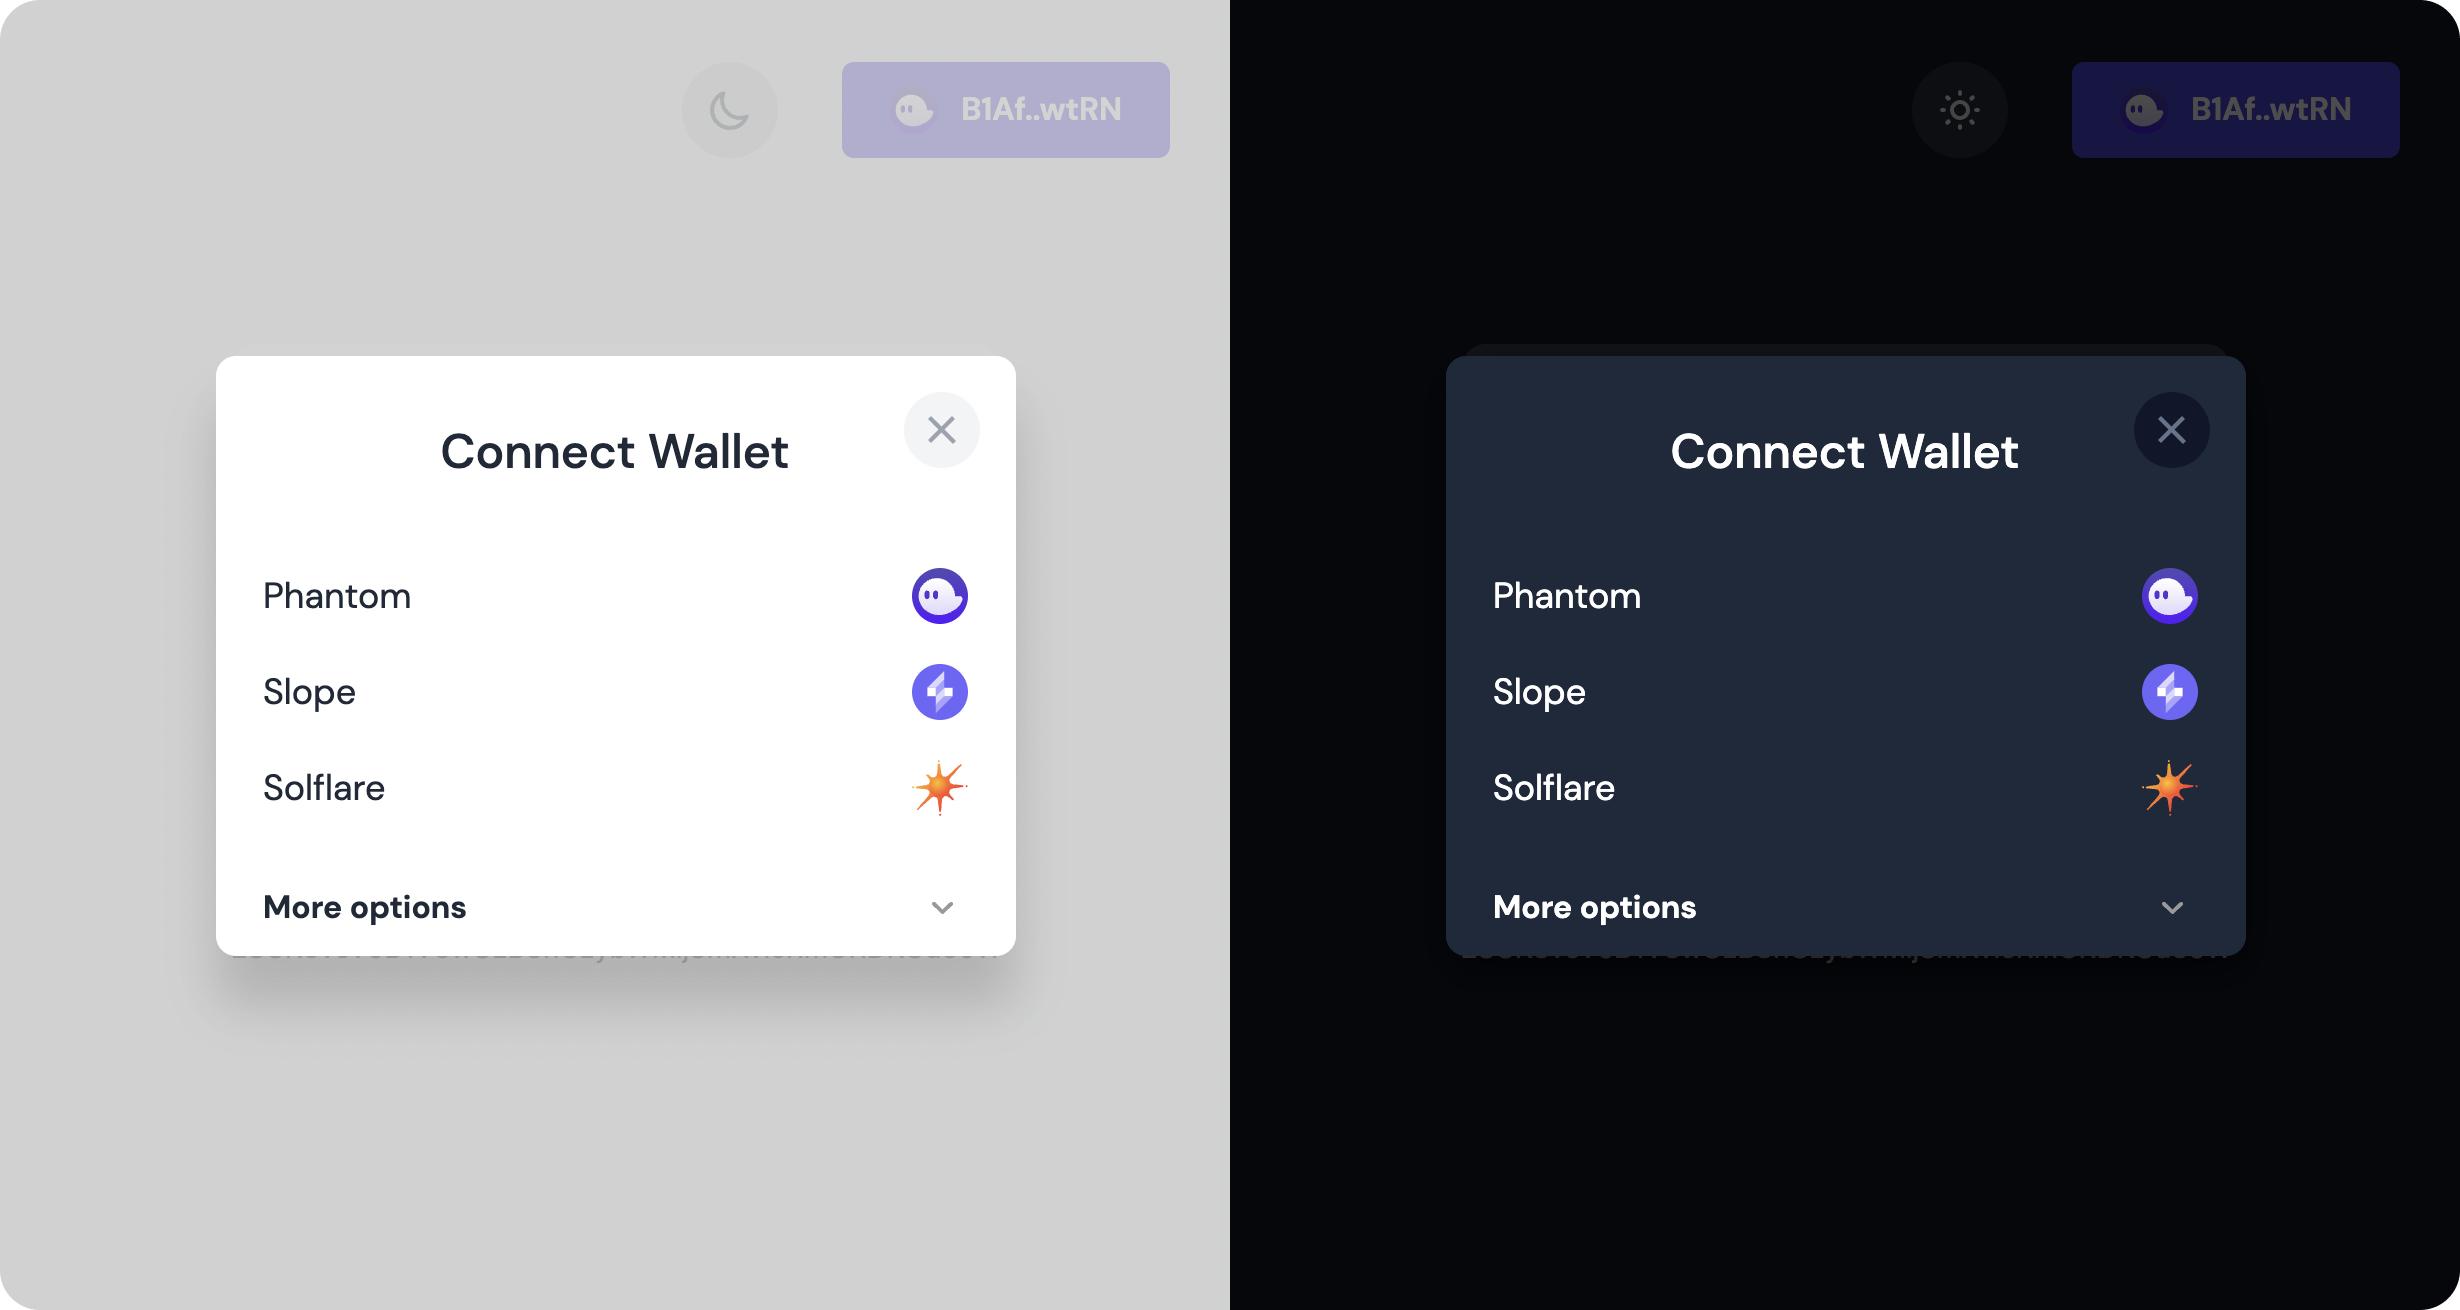
Integrates Solana wallets in your Vue 3 applications.
⚡️ View demo / Browse demo code
To get started, you'll need to install the solana-wallets-vue npm package as well as the wallets adapters provided by Solana.
npm install solana-wallets-vue @solana/wallet-adapter-walletsNext, you can install Solana Wallets Vue as a plugin like so.
import { createApp } from 'vue';
import App from './App.vue';
import SolanaWallets from 'solana-wallets-vue';

// You can either import the default styles or create your own.
import 'solana-wallets-vue/styles.css';

import { WalletAdapterNetwork } from "@solana/wallet-adapter-base"

import {
  PhantomWalletAdapter,
  SlopeWalletAdapter,
  SolflareWalletAdapter,
} from '@solana/wallet-adapter-wallets';

const walletOptions = {
  wallets: [
    new PhantomWalletAdapter(),
    new SlopeWalletAdapter(),
    new SolflareWalletAdapter({ network: WalletAdapterNetwork.Devnet }),
  ],
  autoConnect: true,
}

createApp(App)
  .use(SolanaWallets, walletOptions)
  .mount('#app');
This will initialise the wallet store and create a new $wallet global property that you can access inside any component.
Note that you can also initialise the wallet store manually using the initWallet method like so.
import { initWallet } from 'solana-wallets-vue';
initWallet(walletOptions);
Finally, import and render the WalletMultiButton component to allow users to select a wallet et connect to it.
<script setup>
import { WalletMultiButton } from 'solana-wallets-vue'
</script>

<template>
  <wallet-multi-button></wallet-multi-button>
</template>
If you prefer the dark mode, simply provide the dark boolean props to the component above.
<wallet-multi-button dark></wallet-multi-button>You can then call useWallet() at any time to access the wallet store — or access the $wallet global propery instead.
Here's an example of a function that sends one lamport to a random address.
import { useWallet } from 'solana-wallets-vue';
import { Connection, clusterApiUrl, Keypair, SystemProgram, Transaction } from '@solana/web3.js';

export const sendOneLamportToRandomAddress = () => {
  const connection = new Connection(clusterApiUrl('devnet'))
  const { publicKey, sendTransaction } = useWallet();
  if (!publicKey.value) return;

  const transaction = new Transaction().add(
    SystemProgram.transfer({
      fromPubkey: publicKey.value,
      toPubkey: Keypair.generate().publicKey,
      lamports: 1,
    })
  );

  const signature = await sendTransaction(transaction, connection);
  await connection.confirmTransaction(signature, 'processed');
};If you're using Anchor, then you might want to define your own store that encapsulates useWallet into something that will also provide information on the current connection, provider and program.
import { computed } from 'vue'
import { useAnchorWallet } from 'solana-wallets-vue'
import { Connection, clusterApiUrl, PublicKey } from '@solana/web3.js'
import { AnchorProvider, Program } from '@project-serum/anchor'
import idl from '@/idl.json'

const preflightCommitment = 'processed'
const commitment = 'confirmed'
const programID = new PublicKey(idl.metadata.address)

const workspace = null
export const useWorkspace = () => workspace

export const initWorkspace = () => {
  const wallet = useAnchorWallet()
  const connection = new Connection(clusterApiUrl('devnet'), commitment)
  const provider = computed(() => new AnchorProvider(connection, wallet.value, { preflightCommitment, commitment }))
  const program = computed(() => new Program(idl, programID, provider.value))

  workspace = {
    wallet,
    connection,
    provider,
    program,
  }
}
This allows you to access the Anchor program anywhere within your application in just a few lines of code.
import { useWorkspace } from './useWorkspace'

const { program } = useWorkspace()
await program.value.rpc.myInstruction(/* ... */)The table below shows all options you can provide when initialising the wallet store. Note that some options accepts Ref types so you can update them at runtime and keep their reactivity.
| Option | Type | Description |
|---|---|---|
wallets |
Wallet[] | Ref<Wallet[]> |
The wallets available the use. Defaults to []. |
autoConnect |
Wallet[] | Ref<Wallet[]> |
Whether or not we should try to automatically connect the wallet when loading the page. Defaults to false. |
onError(error: WalletError) |
void |
Will be called whenever an error occurs on the wallet selection/connection workflow. Defaults to error => console.error(error). |
localStorageKey |
string |
The key to use when storing the selected wallet type (e.g. Phantom) in the local storage. Defaults to walletName. |
The table below shows all the properties and methods you can get from useWallet().
| Property/Method | Type | Description |
|---|---|---|
wallets |
Ref<Wallet[]> |
The wallets available the use. |
autoConnect |
Ref<boolean> |
Whether or not we should try to automatically connect the wallet when loading the page. |
wallet |
`Ref<Wallet | null>` |
publicKey |
`Ref<PublicKey | null>` |
readyState |
Ref<WalletReadyState> |
The ready state of the selected wallet. |
ready |
Ref<boolean> |
Whether the selected wallet is ready to connect. |
connected |
Ref<boolean> |
Whether a wallet has been selected and connected. |
connecting |
Ref<boolean> |
Whether we are connecting a wallet. |
disconnecting |
Ref<boolean> |
Whether we are disconnecting a wallet. |
select(walletName) |
void |
Select a given wallet. |
connect() |
Promise<void> |
Connects the selected wallet. |
disconnect() |
Promise<void> |
Disconnect the selected wallet. |
sendTransaction(tx, connection, options) |
Promise<TransactionSignature> |
Send a transation whilst adding the connected wallet as a signer. |
signTransaction |
Function or undefined | Signs the given transaction. Undefined if not supported by the selected wallet. |
signAllTransactions |
Function or undefined | Signs all given transactions. Undefined if not supported by the selected wallet. |
signMessage |
Function or undefined | Signs the given message. Undefined if not supported by the selected wallet. |
- Create a new plugin, ex.
plugins/solana.ts
import 'solana-wallets-vue/styles.css'
import SolanaWallets from 'solana-wallets-vue'
import { WalletAdapterNetwork } from '@solana/wallet-adapter-base'
import {
  PhantomWalletAdapter,
  SlopeWalletAdapter,
  SolflareWalletAdapter,
} from '@solana/wallet-adapter-wallets'

const walletOptions = {
  wallets: [
    new PhantomWalletAdapter(),
    new SlopeWalletAdapter(),
    new SolflareWalletAdapter({ network: WalletAdapterNetwork.Devnet }),
  ],
  autoConnect: true,
}

export default defineNuxtPlugin(nuxtApp => {
  nuxtApp.vueApp.use(SolanaWallets, walletOptions)
})- Update the
nuxt.config.ts
export default defineNuxtConfig({
    modules: ['@nuxtjs/tailwindcss'],
    vite: {
        esbuild: {
            target: 'esnext',
        },
        build: {
            target: 'esnext',
        },
        optimizeDeps: {
            include: ['@project-serum/anchor', '@solana/web3.js', 'buffer'],
            esbuildOptions: {
                target: 'esnext'
            }
        },
        define: {
            'process.env.BROWSER': true
        }
    }
})- On your
app.vue
<script lang="ts" setup>
import { WalletMultiButton } from 'solana-wallets-vue'
</script>

<template>
  <ClientOnly>
     <WalletMultiButton />
  </ClientOnly>
</template>