-
Notifications
You must be signed in to change notification settings - Fork 0
Electronics and MicroControllers

The hexapod uses two LiPo batteries; one 8 cell battery to power the servos and one 3 cell battery for logic. Since there are 18 servos, we suspect the battery will have to be changed reasonably often. To bump these down to voltages that our shields can handle, we have DC-DC converters. The Arduino Mega operates in a higher voltage range, so it's supplied with 7.5V; the servo motors, on the other hand, run off 4.8-6V, so that circuit runs on a 5V output. The motor line has a relay controlled by the Arduino Mega so the servo motors won't get power until the "brain" is on. It also includes an E-Stop that will shut off only the motors, in case something goes wrong.
Purchase page: https://www.adafruit.com/product/1411
Adafruit guide: https://learn.adafruit.com/adafruit-16-channel-pwm-slash-servo-shield/overview
We probably want to solder header pins onto the 16 servo connection pins with PWM, V+, and GND pins for each servo.
We also are going to want to solder a power connector onto the board's V+ and GND pins on the left of the board(see picture).
In order to use the board with an arduino, you need to connect it to the following pins:
- 3v and 5v arduino power pins for pwm and i2c chips
- SDL/SDA I2C pins on the arduino
- to control servos, you need seperate power from a power supply to the shield's V+ and GND
We also talked about utilizing both this shield and an IO expansion board. In order to do this, one possible option is to stack the IO expansion board and the arduino and then use wires to connect up the servo shield separately in order to get access to everything.
Adafruit provides this library for accessing the shield(s) with arduino via I2C: https://github.com/adafruit/Adafruit-PWM-Servo-Driver-Library
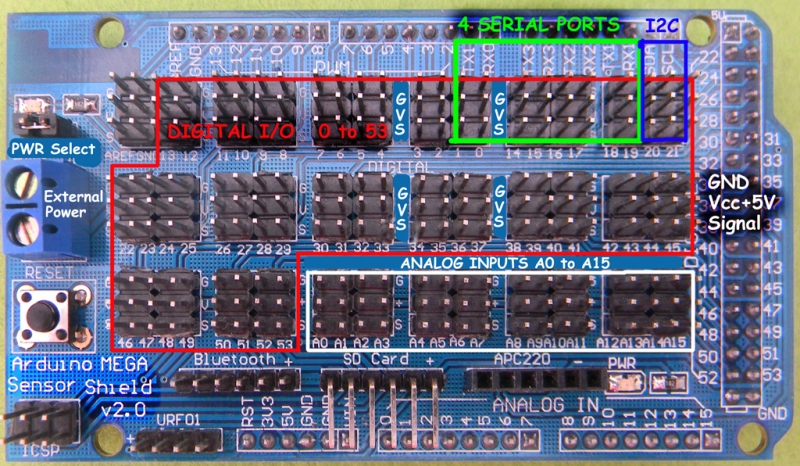
product page: http://www.yourduino.com/sunshop/index.php?l=product_detail&p=195
(we may have purchased this somewhere else but this link has some documentation)
Purchase page https://store.arduino.cc/usa/arduino-mega-2560-rev3
Purchase page: https://www.dfrobot.com/product-752.html
Wiki: https://www.dfrobot.com/wiki/index.php/Power_Module_(SKU:DFR0205)
A different one that may be useful? https://www.dfrobot.com/product-1552.html
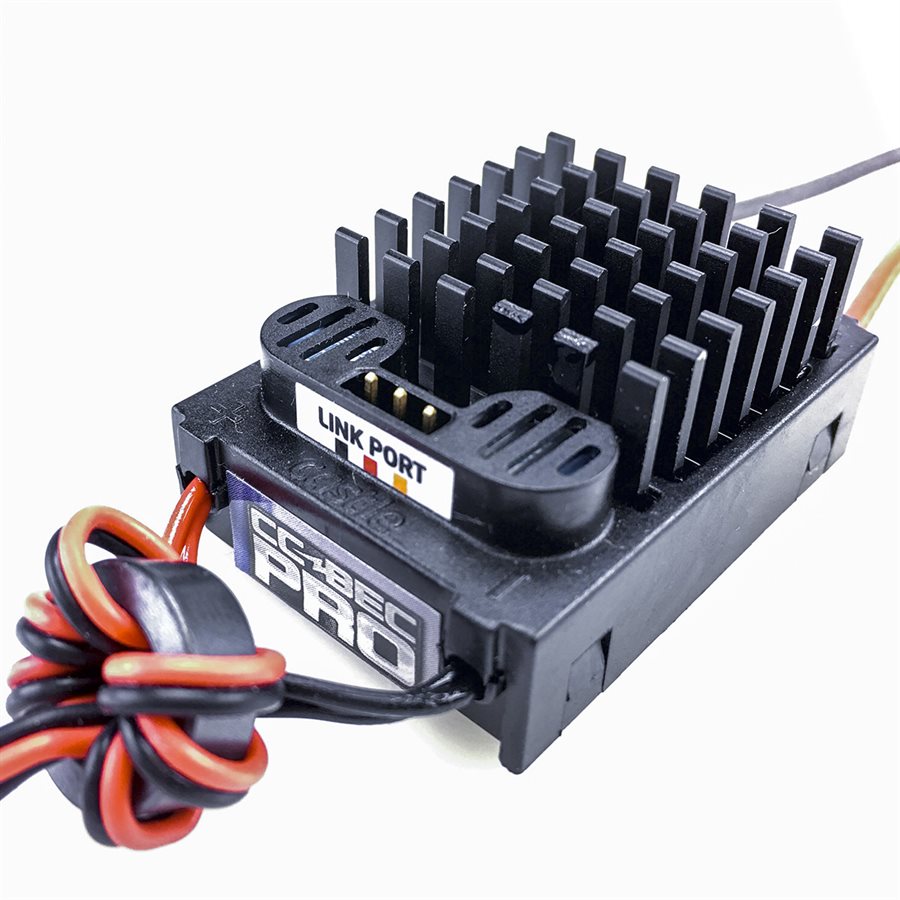
Purchase page: http://www.castlecreations.com/en/cc-bec-pro-010-0004-01
Purchase page: https://www.dfrobot.com/product-64.html
Wiki: https://www.dfrobot.com/wiki/index.php/Relay_Module_(Arduino_Compatible)_(SKU:_DFR0017)
Sample code and wiring: https://media.digikey.com/pdf/Data%20Sheets/DFRobot%20PDFs/DFR0017_Web.pdf
Sample code and wiring: https://www.dfrobot.com/wiki/index.php/DFRobot_Tilt_Sensor_(SKU:DFR0028)
Purchase page: https://www.adafruit.com/product/166
Adafruit guide resource: https://learn.adafruit.com/force-sensitive-resistor-fsr
Purchase page: https://www.adafruit.com/product/2809
Adafruit guide file: https://learn.adafruit.com/adafruit-lis3dh-triple-axis-accelerometer-breakout?view=all
Possible info sources:
- http://roboticsweekends.blogspot.com/2017/12/how-to-connect-neato-xv-11-lidar-to.html
- http://bombilee.blogspot.com/2010/12/arduino-mega-xv-11-lds-motor-dirver.html
Adafruit product page: https://www.adafruit.com/product/164


