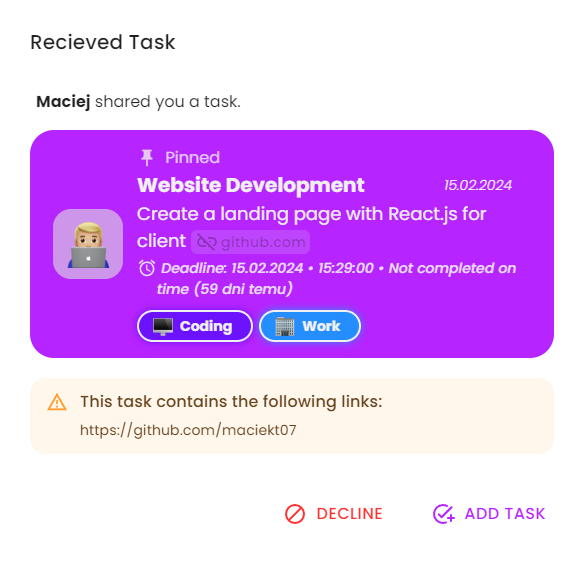
Easily share your tasks with others using a link or QR code, with the option to download the QR code.
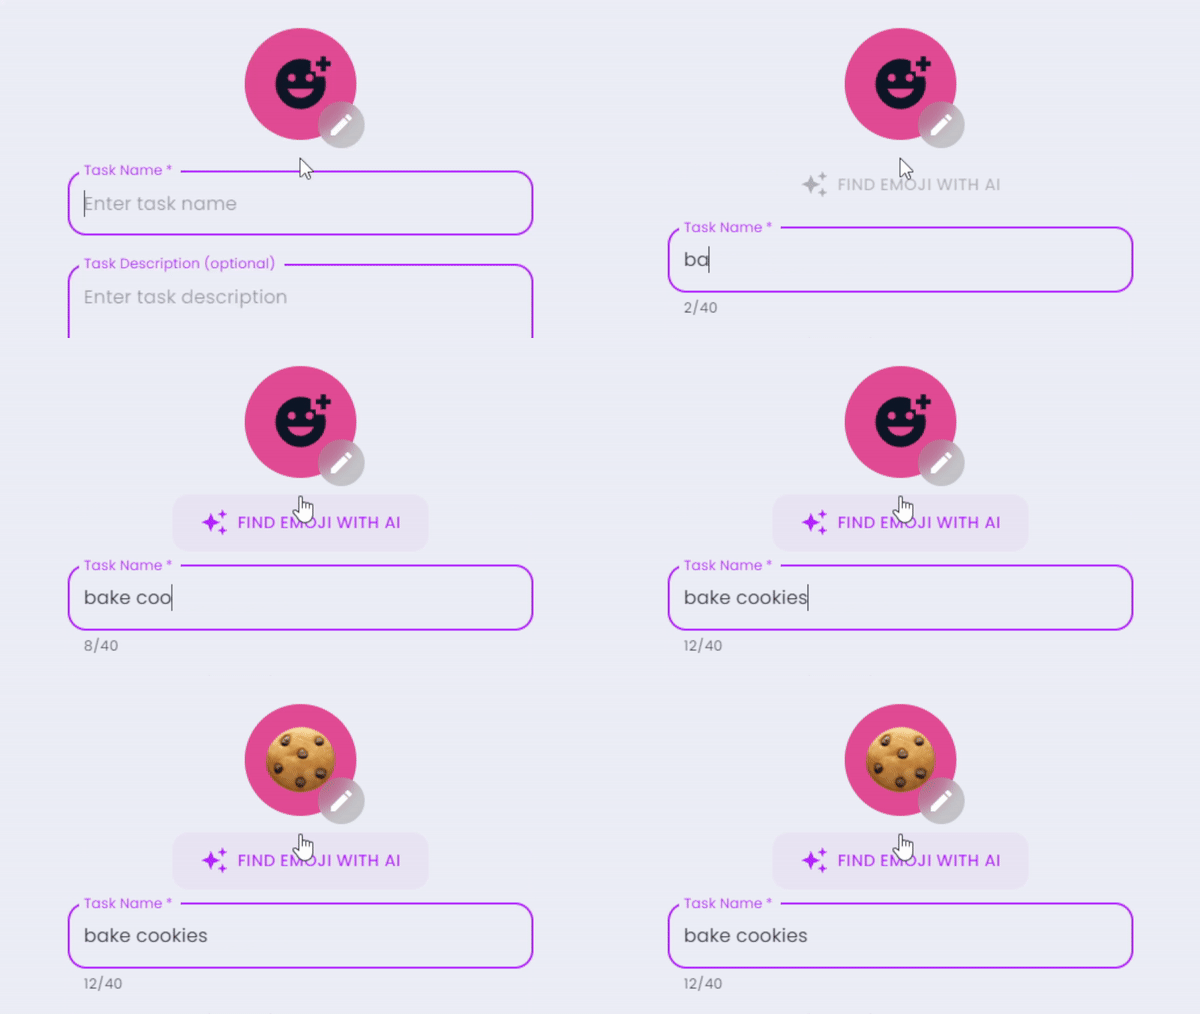
This uses window.ai which is an experimental feature that works only in dev version of Chrome with some flags enabled. More info
Code: src/components/EmojiPicker.tsx
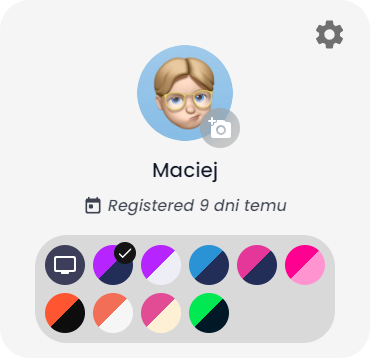
Users can choose several app color themes and choose between light and dark mode.
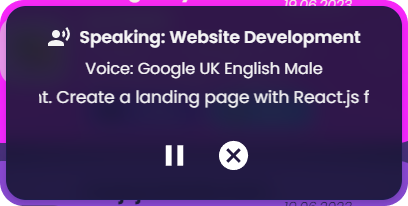
Option to have tasks read aloud using the native SpeechSynthesis API, with a selection of voices to choose from.
Users can import and export tasks to/from JSON files. This feature allows users to back up their tasks or transfer them to other devices easily. Example Import File
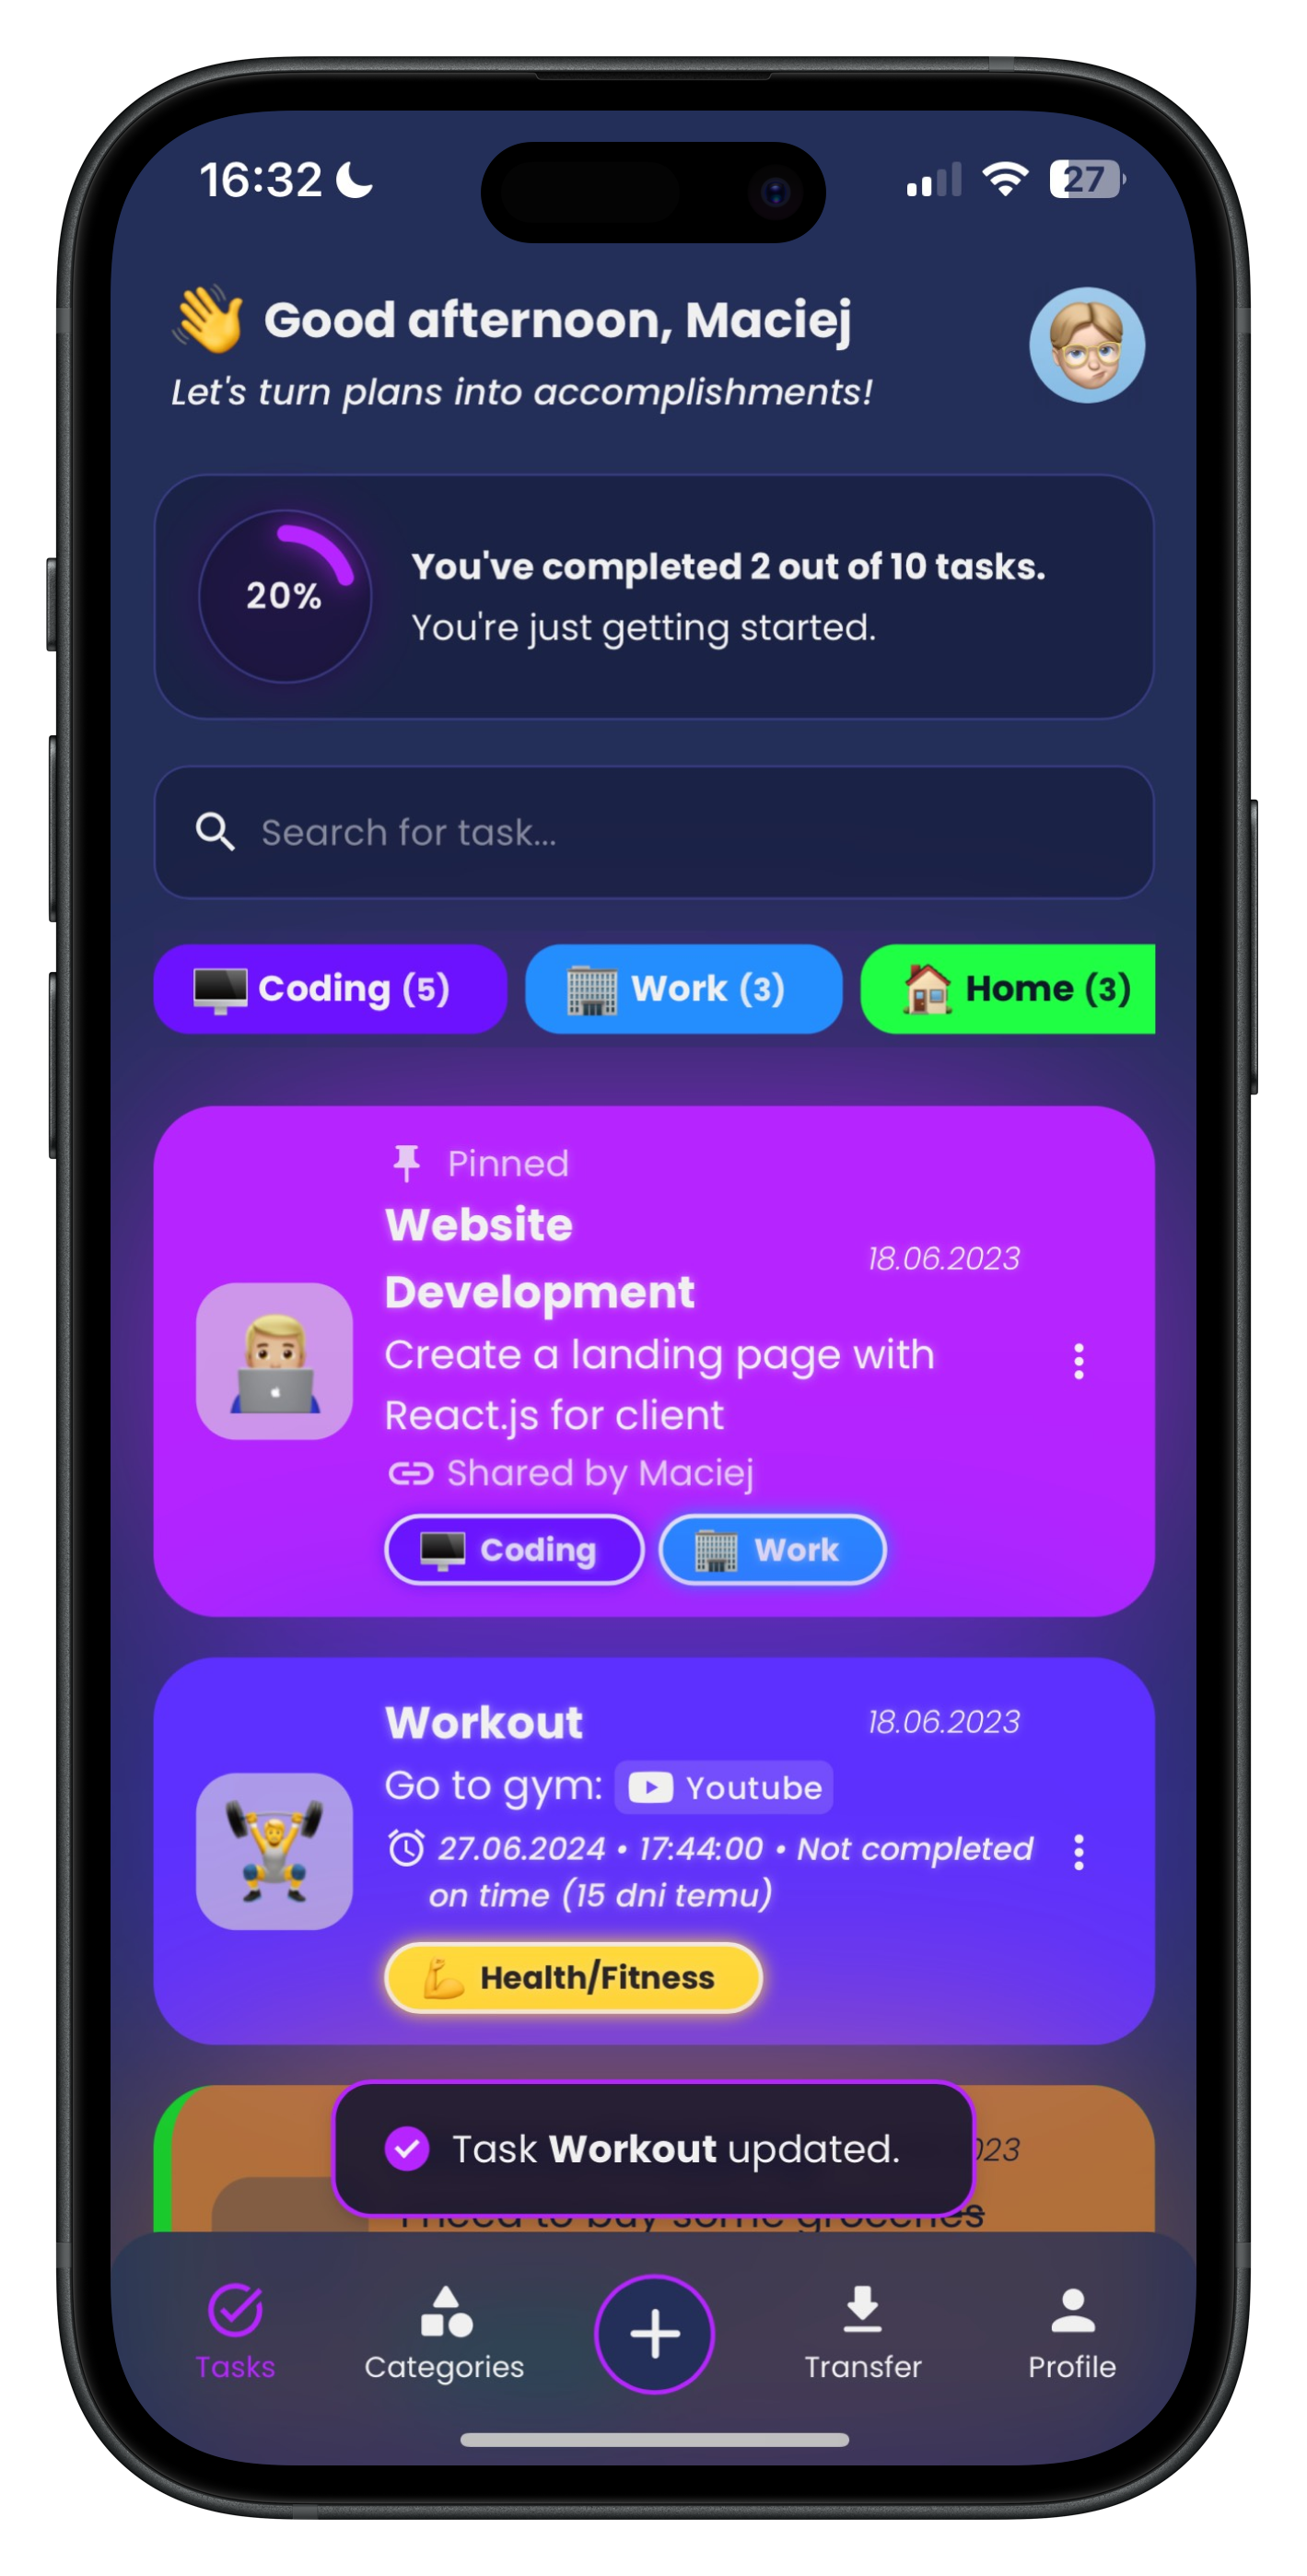
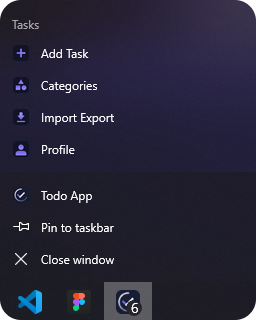
This app is a Progressive Web App (PWA), which means it can be installed on your device, used even when you're offline and behave like a normal application with shortcuts and badges.
The app features a custom update prompt that notifies users when a new version is available, allowing for easy refresh to access the latest improvements.
- 📦 Local and session storage: Save tasks locally and retain form data using session storage.
- 🌐 Native Intl Integration: Adapts to your language, timezone, and date preferences using the native
IntlAPI. - 🔍 Highlighted Links: Automatically highlights links in task descriptions for easy identification.
- 🌍 Browser Translation Support: Seamlessly translate the entire page into different languages using your browser's translation feature, ensuring accessibility for users worldwide.
- 🗂️ Customizable Categories: Users can create and personalize task categories to suit their preferences.
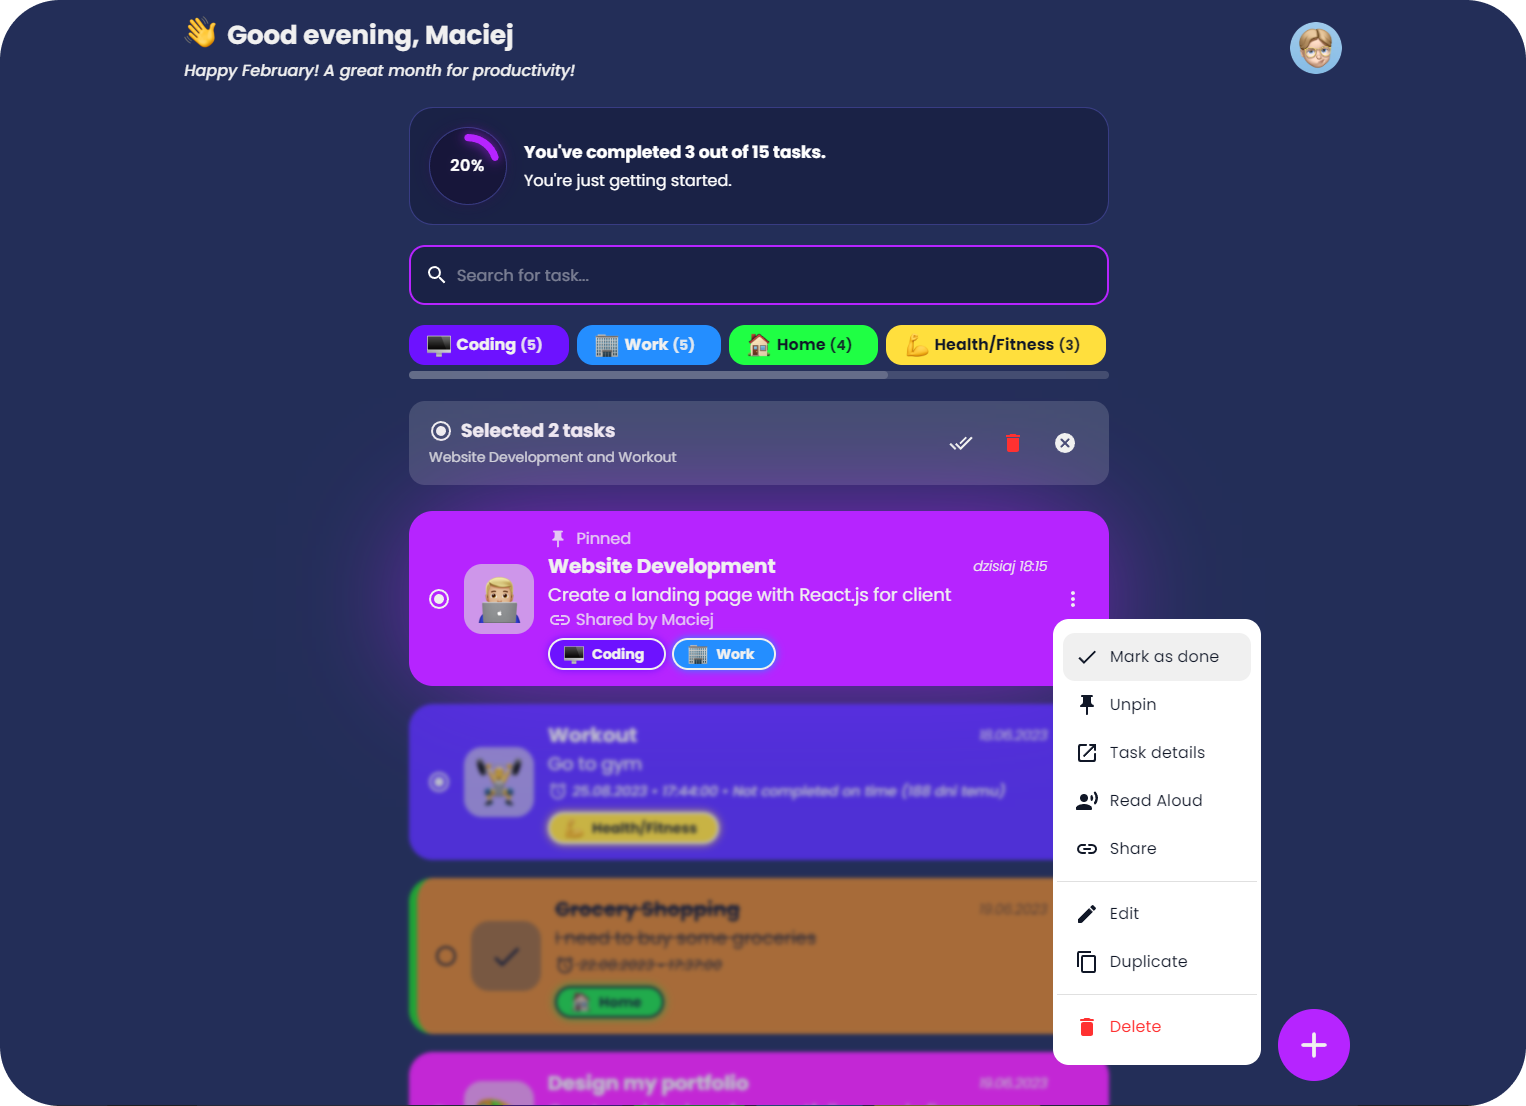
- 🗃️ Multi-Task Selection: Option to select multiple tasks and perform actions on all of them at once.
- 📱 Responsive Design: Smooth experience across devices.
- 😜 Custom Emojis: The app features custom emojis and different emoji styles to choose from, including Apple, Facebook, Twitter, Google and Native.
To install and run the project locally, follow these steps:
- Clone the repository:
git clone https://github.com/maciekt07/TodoApp.git - Navigate to the project directory:
cd TodoApp - Install the dependencies:
npm install - Start the development server:
npm run dev
The app will now be running at http://localhost:5173/.
Tip
For mobile device testing, use npm run dev:host to preview the app on your local network.


