This repo has source code for a custom ChatGPT Plugin for API Gateway. You can use it to add API Gateway features such as authentication, security, traffic management, observability, caching, and other functionalities for your backend APIs using ChatGPT UI and Apache APISIX.
If you want to use Apache APISIX API Gateway as a front door for communication between ChatGPT custom plugins and backend APIs, you can check this repo API Gateway between ChatGPT custom plugin and backend APIs
Read the full tutorial to understand the step-by-step and direct method of developing a ChatGPT Plugin for API Gateway.
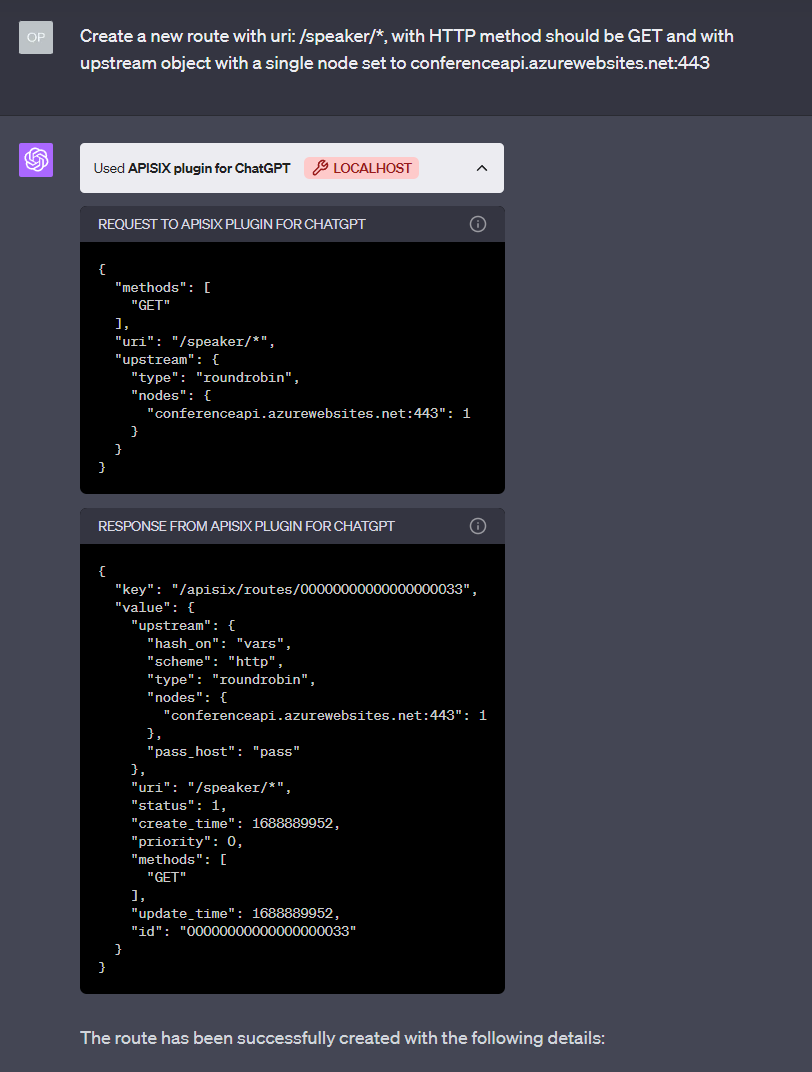
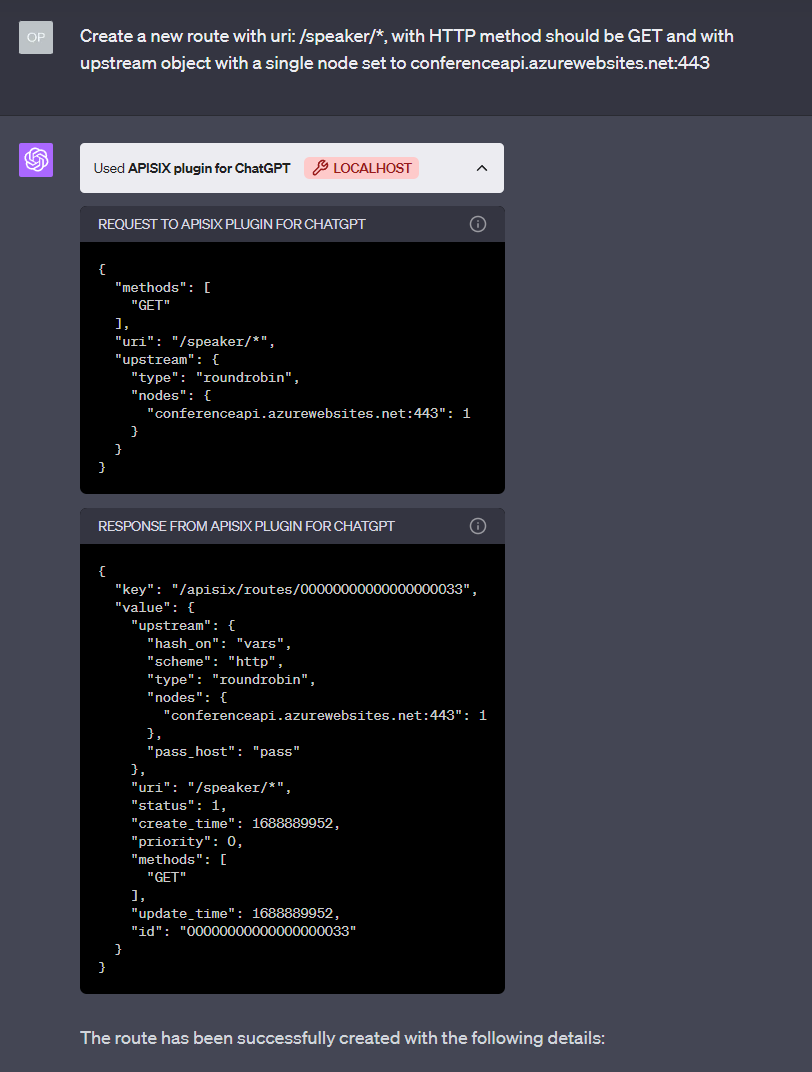
As an example, in the ChatGPT user interface, if a user wants to introduce an API Gateway in front of an existing Conference API to obtain details about a speaker's sessions and topics, the plugin is capable of receiving commands in the chat and then forwards the user's request to the Apache APISIX Admin API, which create a Route with the user-specified input configuration. This can be another approach to using the Chatbot to configure the API Gateway features. See sample output to the prompt below:
After the command runs successfully, APISIX creates the route and registers an Upstream for our Conference backend API. So, you can access the API Gateway domain and URL path to get a response through the Gateway. For example, this GET request to http://localhost:9080/speaker/1/sessions endpoint returns all speaker’s sessions from Conference API. You can also do basic operations like get all routes and a route by Id directly by asking ChatGPT.
- Before you start, it is good to have a basic understanding of APISIX. Familiarity with API gateway, and its key concepts such as routes, upstream, Admin API, plugins, and HTTP protocol will also be beneficial.
- Docker is used to install the containerized etcd and APISIX.
- Download Visual Studio Code compatible with your operating system, or use any other code editor like IntelliJ IDEA, PyCharm, etc.
- To develop custom ChatGPT Plugins you need to have a ChatGPT Plus account and join the plugins waitlist.
To start the project run simply the following command from the project root directory:
docker compose upWhen you start the project, Docker downloads any images it needs to run. You can see that APISIX, etcd and Python app (chatgpt-config) services are running.
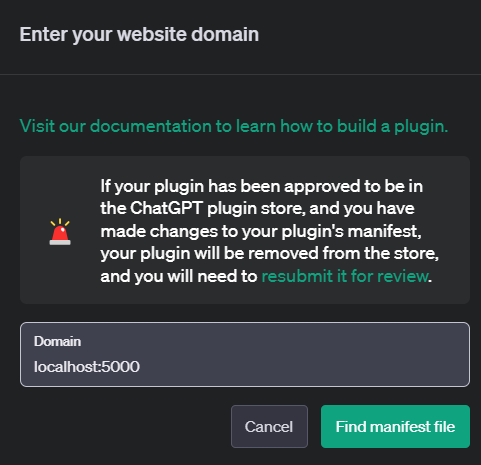
If you have a Plus account, we must first enable the plugin in GPT-4 since it is disabled by default. We need to go to the settings and click the beta option and click “Enable plugins”. Then click the plugins pop bar on the top of ChatGPT, navigate to “Plugin Store” and select “Develop your own plugin”. Provide the local host URL for the plugin (localhost:5000).
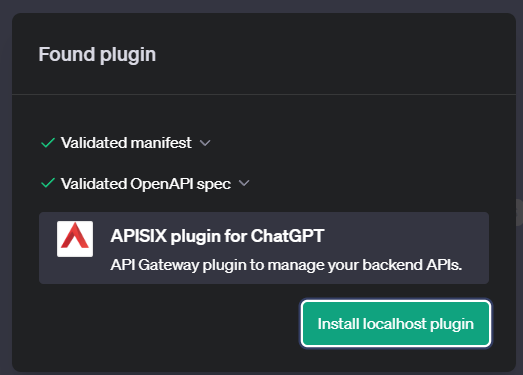
After you click on “Find a manifest file”, if everything is set it up correctly, you will see ChatGPT validates both manifest and OpenAPI spec files successfully.
Now the plugin is connected to the ChatGPT interface, we can write a simple command:
Now you can take the sample project as a foundation and improve functionalities by adding more APISIX Admin API specifications to openapi.yaml file to use plugins and add API consumers and more. Feel free to contribute to the GitHub project by raising pull requests.
🙋 Join the Apache APISIX Community
Follow me on Twitter: @BoburUmurzokov
Visit my blog: www.iambobur.com


