- Download the Moodle Nextcloud Repository plugin from the release page
and unzip its content in
your_moodle_directory/repository/ - Download the Moodle Tool OAuth2 from pssl16
and unzip its content in
your_moodle_directory/admin/tool/. You can also download the source directly from https://github.com/pssl16/moodle-tool_oauth2owncloud/releases
- 1 - Setup the Oauth2 information in Nextcloud.
From your admin account, navigate to the Security settings page to add a new entry for your moodle in the OAuth 2.0 clients list.
In the Add client form, choose a name and set up the redirection URI to your moodle that will redirect your user after authentication.
Note: The Redirection URI have to be https://yourmoodle.example.com/admin/oauth2callback.php
After clicking the Add button, you should see the Client Identifier and a Secret key in front of your freshly created entry. Those 2 strings will be used in moodle during the setup of this plugin.
https://github.com/pssl16/moodle-tool_oauth2owncloud/releases
- 2 - Setup the moodle-tool_oauth2owncloud
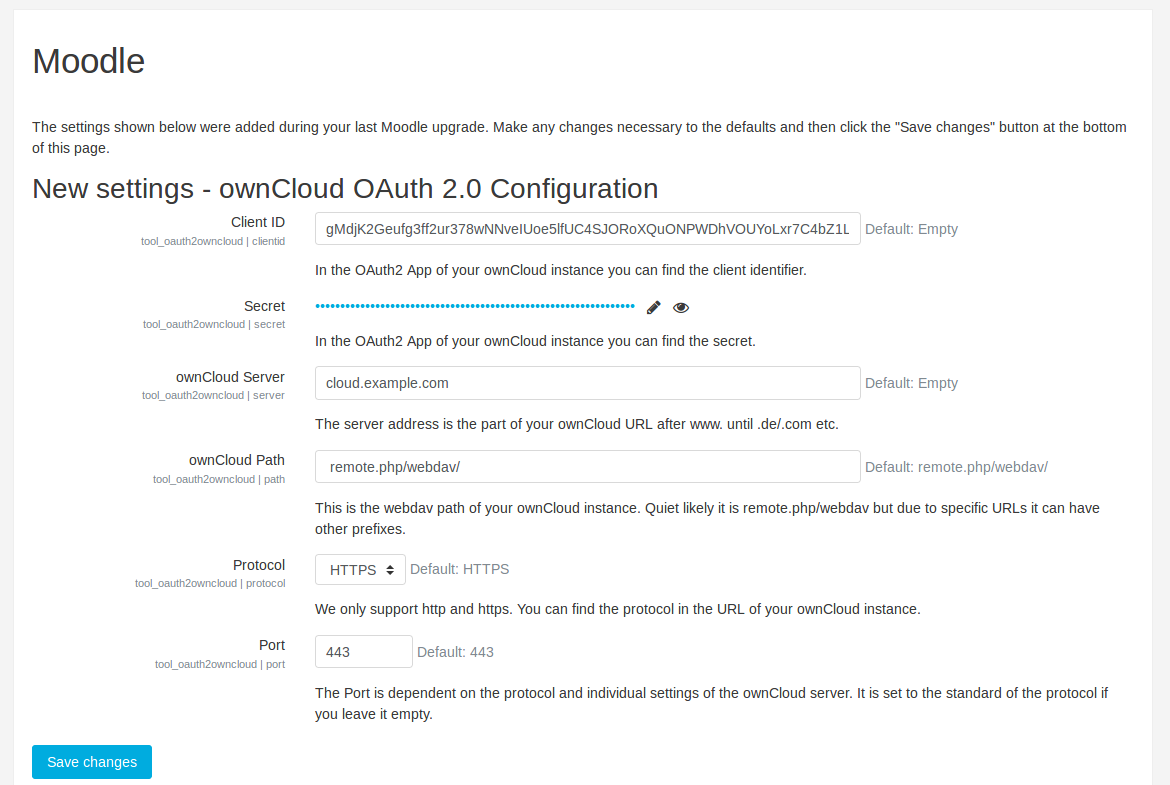
From the moodle site administration, in the plugins tab, select Admin tools/ownCloud OAuth 2.0 Configuration.
 Fill the correct information using the Client ID and the Secret you get from Nextcloud (see the first step of this guide).
Enter the Nextcloud server address and the webdav path:
 remote.php/webdav/. Select the right Protocol and change the port if needed.
Save changes.
- 3 - From the moodle site administration, in the plugins tab, select Repositories/Nextcloud.
You will be prompted to define a name to the plugin (default is Nextcloud).
After that, you will see the list of all available repositories on your Moodle. Search for Nextcloud and set its Active status to 'Enabled and Visible'
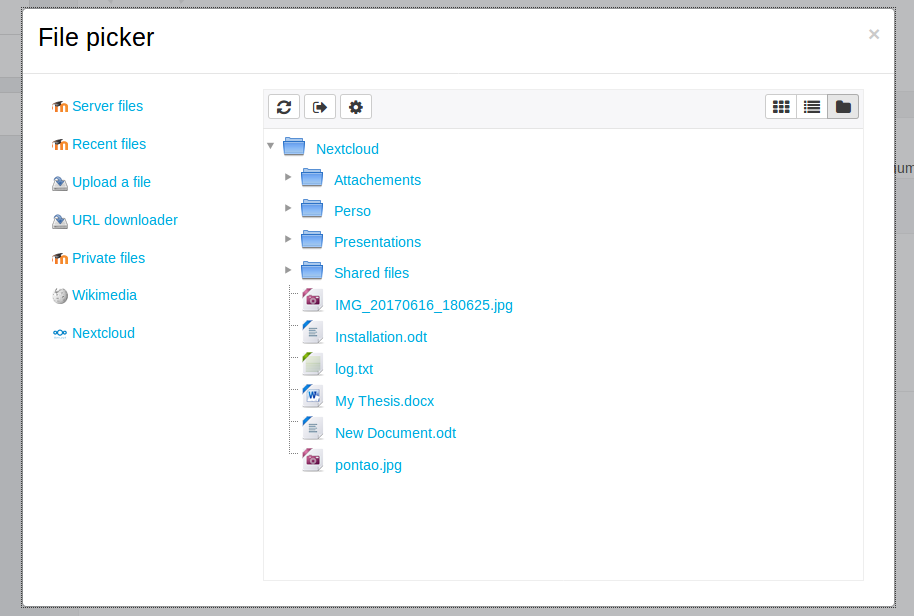
Your plugin is now configured, If you navigate to your Private files you should see the Nextcloud repository and log into your account.
Plugin is based on https://github.com/pssl16/moodle-repository_owncloud


