This step-by-step tutorial guides you to deploy the Kubernetes Fury Distribution (KFD) on an EKS cluster on AWS using the furyctl >=0.29.0
This tutorial covers the following steps:
- Configure the EKS cluster with the configuration file
furyctl.yaml - Deploy an EKS Kubernetes cluster on AWS with
furyctl - Explore the Kubernetes Fury Distribution
- Advanced Distribution usage
- Teardown of the environment
⚠️ AWS charges you to provision the resources used in this tutorial. You should be charged only a few dollars, but we are not responsible for any costs that incur.❗️ Remember to stop all the instances by following all the steps listed in the teardown phase.
This tutorial assumes some basic familiarity with Kubernetes and AWS.
To follow this tutorial, you need:
- AWS Access Credentials of an AWS Account with the following IAM permissions.
- AWS CLI - version 2.8.12 at the time of writing this tutorial. You can check your version by running
aws --version. If you don't have it installed, follow the official guide.
-
Open a terminal
-
Clone the fury getting started repository containing the example code used in this tutorial:
mkdir -p /tmp/fury-getting-started && git -C /tmp/fury-getting-started clone https://github.com/sighupio/fury-getting-started/ .
cd /tmp/fury-getting-started/fury-on-eks
-
Install
furyctlbinary following the instructions in furyctl's documentation. -
Setup your AWS credentials by exporting the following environment variables:
export AWS_PROFILE=<YOUR_AWS_PROFILE_NAME>
If you don't have an AWS profile configured, you can create one by running the following command:
$ aws configure --profile <YOUR_AWS_PROFILE_NAME>
AWS Access Key ID [None]: <YOUR_AWS_ACCESS_KEY_ID>
AWS Secret Access Key [None]: <YOUR_AWS_SECRET_ACCESS_KEY>
Default region name [None]: <YOUR_AWS_REGION>
Default output format [None]: json
You are all set ✌️.
furyctl is a command-line tool developed by SIGHUP to support:
- the automatic provisioning of Kubernetes clusters
- the installation of the Fury distribution
The configuration of the Fury cluster is governed by the furyctl.yaml file, which for the purposes of this tutorial
is located at /tmp/fury-getting-started/fury-on-eks/furyctl.yaml.
ℹ️ You can also create a sample configuration file by running the following command:
furyctl create config --version v1.29.4 -c custom-furyctl.yamland edit the
custom-furyctl.yamlfile to fit your needs, when you are done you can use the--configflag to specify the path to the configuration file in the following commands. In this demo we will stick to thefuryctl.yamlfile.
This file contains the information needed to set up the cluster and consists of the following sections:
- global: contains the information about cluster metadata, tools configuration, and the region where the cluster will be deployed.
- infrastructure: contains the information related to the infrastructure (VPC and VPN) provisioning phase.
- kubernetes: contains the information related to the provisioning phase of the Kubernetes cluster.
- distribution: contains information related to the provisioning phase of the distribution.
The global section of the furyctl.yaml file contains the following parameters:
apiVersion: kfd.sighup.io/v1alpha2
kind: EKSCluster
metadata:
  name: <CLUSTER_NAME>
spec:
  distributionVersion: "v1.29.4"
  toolsConfiguration:
    terraform:
      state:
        s3:
          bucketName: <S3_TFSTATE_BUCKET>
          keyPrefix: <S3_TFSTATE_BUCKET_KEY_PREFIX>
          region: <S3_TFSTATE_BUCKET_REGION>
  region: <CLUSTER_REGION>
  tags:
    env: "fury-getting-started"
Open the /tmp/fury-getting-started/fury-next-on-eks/furyctl.yaml file with a text editor of your choice and replace the field <CLUSTER_NAME> with a name of your choice for the cluster, and the field <CLUSTER_REGION> with the AWS region where you want to deploy the cluster.
If you already have a S3 bucket to store the Terraform state, replace the field <S3_TFSTATE_BUCKET>, <S3_TFSTATE_BUCKET_KEY_PREFIX>, <S3_TFSTATE_BUCKET_REGION> with the data from the bucket, otherwise furyctl will create it for you.
The infrastructure section of the furyctl.yaml file contains the following parameters:
  infrastructure:
    vpc:
      network:
        cidr: 10.0.0.0/16
        subnetsCidrs:
          private:
            - 10.0.182.0/24
            - 10.0.172.0/24
            - 10.0.162.0/24
          public:
            - 10.0.20.0/24
            - 10.0.30.0/24
            - 10.0.40.0/24
    vpn:
      instances: 1
      port: 1194
      instanceType: t3.micro
      diskSize: 50
      operatorName: sighup
      dhParamsBits: 2048
      vpnClientsSubnetCidr: 172.16.0.0/16
      ssh:
        publicKeys: []
        githubUsersName:
          - <YOURGITHUBUSERNAME>
        allowedFromCidrs:
          - 0.0.0.0/0
You can choose different subnet CIDRs should you prefer.
From this, furyctl will automatically provision:
- Virtual Private Cloud (VPC) in a specified CIDR range with public and private subnets
- VPN server, to access the private subnets and load-balancers
- All the required networking gateways and routes
The Kubernetes section of the furyctl.yaml file contains the following parameters:
  kubernetes:
    nodePoolsLaunchKind: "launch_templates"
    nodeAllowedSshPublicKey: "{file:///path/to/id_rsa.pub}"
    logRetentionDays: 1
    apiServer:
      privateAccess: true
      publicAccess: true
      privateAccessCidrs: []
      publicAccessCidrs: ["0.0.0.0/0"]
    nodePools:
      - name: infra
        size:
          min: 3
          max: 3
        instance:
          type: t3.xlarge
        labels:
          nodepool: infra
          node.kubernetes.io/role: infra
        taints:
          - node.kubernetes.io/role=infra:NoSchedule
        tags:
          k8s.io/cluster-autoscaler/node-template/label/nodepool: "infra"
          k8s.io/cluster-autoscaler/node-template/label/node.kubernetes.io/role: "infra"
          k8s.io/cluster-autoscaler/node-template/taint/node.kubernetes.io/role: "infra:NoSchedule"
      - name: workers
        size:
          min: 1
          max: 3
        instance:
          type: t3.large
        labels:
          nodepool: workers
          node.kubernetes.io/role: workers
        taints:
          - node.kubernetes.io/role=workers:NoSchedule
        tags:
          k8s.io/cluster-autoscaler/node-template/label/nodepool: "workers"
          k8s.io/cluster-autoscaler/node-template/label/node.kubernetes.io/role: "workers"
          k8s.io/cluster-autoscaler/node-template/taint/node.kubernetes.io/role: "workers:NoSchedule"
Replace the field "{file:///path/to/id_rsa.pub}" with the path to the public key you want to use to access the worker nodes.
You can add different nodePools, or edit the existing one should you prefer.
From these parameters furyctl will automatically deploy a battle-tested public EKS Cluster with 3 tainted worker nodes to be used for infrastructural components and a dynamic number of untainted workers nodes.
The Distribution section of the furyctl.yaml file contains the following parameters:
  distribution:
    common:
      nodeSelector:
        node.kubernetes.io/role: infra
      tolerations:
        - effect: NoSchedule
          key: node.kubernetes.io/role
          value: infra
    modules:
      ingress:
        baseDomain: internal.demo.example.dev
        nginx:
          type: dual
          tls:
            provider: certManager
        certManager:
          clusterIssuer:
            name: letsencrypt-fury
            email: [email protected]
            type: dns01
        dns:
          public:
            name: demo.example.dev
            create: true
          private:
            name: internal.demo.example.dev
            create: true
      logging:
        type: loki
        minio:
          storageSize: 50Gi
      monitoring:
        type: prometheus
      dr:
        type: eks
        velero:
          eks:
            region: eu-west-1
            bucketName: <S3_VELERO_BUCKET_NAME>
      policy:
        type: gatekeeper
        gatekeeper:
          enforcementAction: warn
          installDefaultPolicies: true
      auth:
        provider:
          type: basicAuth
          basicAuth:
            username: admin
            password: password
In this example, we are installing the distribution with the following options:
- A dual Nginx setup, one private and one public
- Cert-manager with dns01 setup with route53
- Loki as storage for the logs
- Basic Auth on the ingresses
Replace the field <S3_VELERO_BUCKET_NAME> with the name of the S3 bucket that will be used to store the Velero backups. Notice that furyctl will create this bucket for you.
You can configure the existing modules or add new ones (take a look to the docs) should you prefer.
You should also change the example.dev domain with a real one that you own, to be able to leverage the auto-ssl capabilities using cert-manager.
From these parameters, furyctl will automatically configure and deploy the battle-tested Kubernetes Fury Distribution.
In this section, you will utilize furyctl to automatically provision an EKS Cluster, making the deployment process streamlined.
-
Start by running the furyctl command to create the cluster:
furyctl create cluster --outdir $PWD⏱ The process will take several minutes to complete, you can follow the progress in detail by running the following command on the latest furyctl log file:
tail -f .furyctl/furyctl.<timestamp>-<random-id>.log | jq
--outdirflag is used to define in which directory to create the hidden.furyctlfolder that contains all the required files to install the cluster. If not provided, a.furyctlfolder will be created in the user home.The output should be similar to the following:
INFO Downloading distribution...
INFO Validating configuration file...
INFO Downloading dependencies...
INFO Validating dependencies...
INFO Creating cluster...
INFO Creating infrastructure...
WARN Creating cloud resources, this could take a while...
INFO Creating Kubernetes Fury cluster...
WARN Creating cloud resources, this could take a while...
INFO Saving furyctl configuration file in the cluster...
INFO Saving distribution configuration file in the cluster...
INFO Installing Kubernetes Fury Distribution...
WARN Creating cloud resources, this could take a while...
INFO Checking that the cluster is reachable...
INFO Applying manifests...
INFO Saving furyctl configuration file in the cluster...
INFO Saving distribution configuration file in the cluster...
INFO Kubernetes Fury cluster created successfully
INFO Please remember to kill the VPN connection when you finish doing operations on the cluster
INFO To connect to the cluster, set the path to your kubeconfig with 'export KUBECONFIG=/private/tmp/fury-getting-started/fury-on-eks/kubeconfig' or use the '--kubeconfig /private/tmp/fury-getting-started/fury-on-eks/kubeconfig' flag in following executions
🚀 Success! The distribution is fully deployed. Proceed to the next section to explore the various features it has to offer.
To interact with the cluster a kubeconfig has been created on the folder, make it usable with kubectl with:
export KUBECONFIG=$PWD/kubeconfigIn the previous section, alongside the distribution, you have deployed Kubernetes ingresses to expose underlying services at the following HTTP routes:
directory.internal.demo.example.devgpm.internal.demo.example.devgrafana.internal.demo.example.devprometheus.internal.demo.example.devalertmanager.internal.demo.example.dev
These ingresses are only reachable from the private network, since in this example we configured nginx to use a dual setup, one exposed to the internet and one private.
To reach the LoadBalancer that is exposing the services, you need to connect via VPN and you should be able to resolve these URLs and reach them.
To connect to the VPN, after the installation, an <CLUSTER_NAME>-<YOURUSER>.ovpn file with you username will be created in the folder where furyctl was executed.
Use an OpenVPN client to connect to the VPN, and check that the DNS is working after the connection. If it's not, you need to set up the VPN to resolve DNS in full-dns mode.
The HTTPS certificate will not be generated until you correctly delegate the public zone to be authoritative. To get the NS servers of the public zone run the command:
aws route53 list-hosted-zones | cat
{
    "HostedZones": [
        {
            "Id": "/hostedzone/Z0993238TFEEUFQUA7T8",
            "Name": "demo.example.dev.",
            "CallerReference": "terraform-20230904104525356400000001",
            "Config": {
                "Comment": "Managed by Terraform",
                "PrivateZone": false
            },
            "ResourceRecordSetCount": 8
        },
        {
            "Id": "/hostedzone/Z00537863VMG5BHXEMRYA",
            "Name": "internal.demo.example.dev.",
            "CallerReference": "terraform-20230904104525356600000002",
            "Config": {
                "Comment": "Managed by Terraform",
                "PrivateZone": true
            },
            "ResourceRecordSetCount": 20
        }
    ]
}
Get the Id for the public zone, in this example: Z0993238TFEEUFQUA7T8, and proceed to retrieve the NS servers
aws route53 list-resource-record-sets --hosted-zone-id Z0993238TFEEUFQUA7T8 | cat
{
    "ResourceRecordSets": [
        {
            "Name": "demo.example.dev.",
            "Type": "NS",
            "TTL": 172800,
            "ResourceRecords": [
                {
                    "Value": "ns-328.awsdns-41.com."
                },
                {
                    "Value": "ns-1277.awsdns-31.org."
                },
                {
                    "Value": "ns-695.awsdns-22.net."
                },
                {
                    "Value": "ns-1745.awsdns-26.co.uk."
                }
            ]
        },
        ...
    ]
}
You can then proceed with the domain delegation from the authoritative zone.
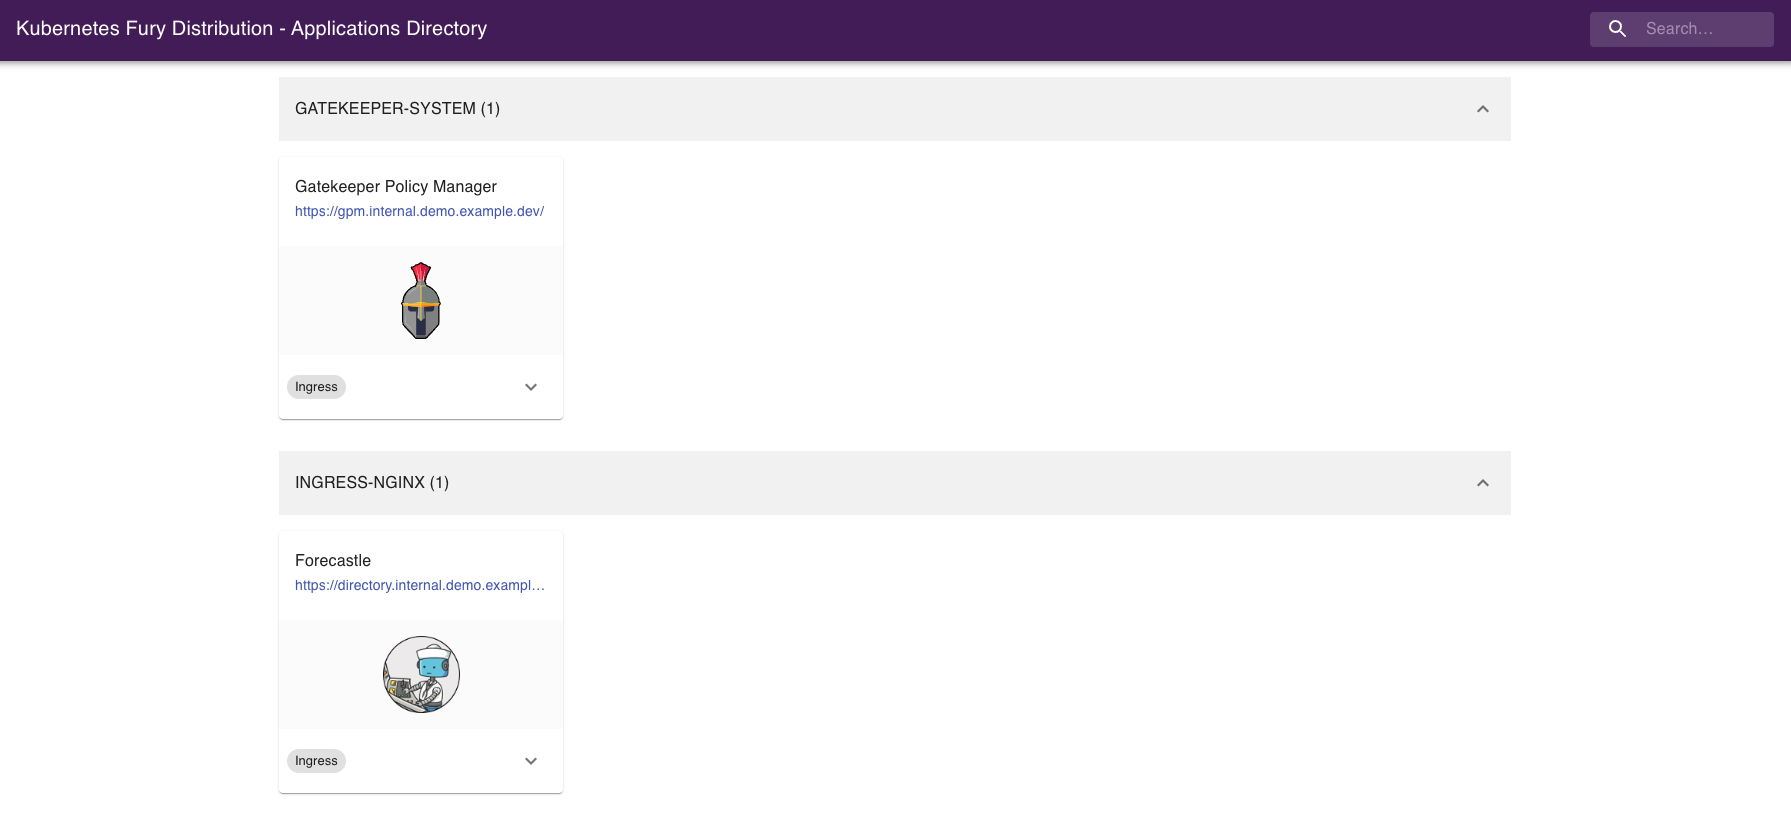
Forecastle is an open-source control panel where you can access all exposed applications running on Kubernetes.
Navigate to https://directory.internal.demo.example.dev to see all the other ingresses deployed, grouped by namespace.
Grafana is an open-source platform for monitoring and observability. Grafana allows you to query, visualize, alert, and understand your metrics.
Navigate to https://grafana.internal.demo.example.dev or click the Grafana icon from Forecastle.
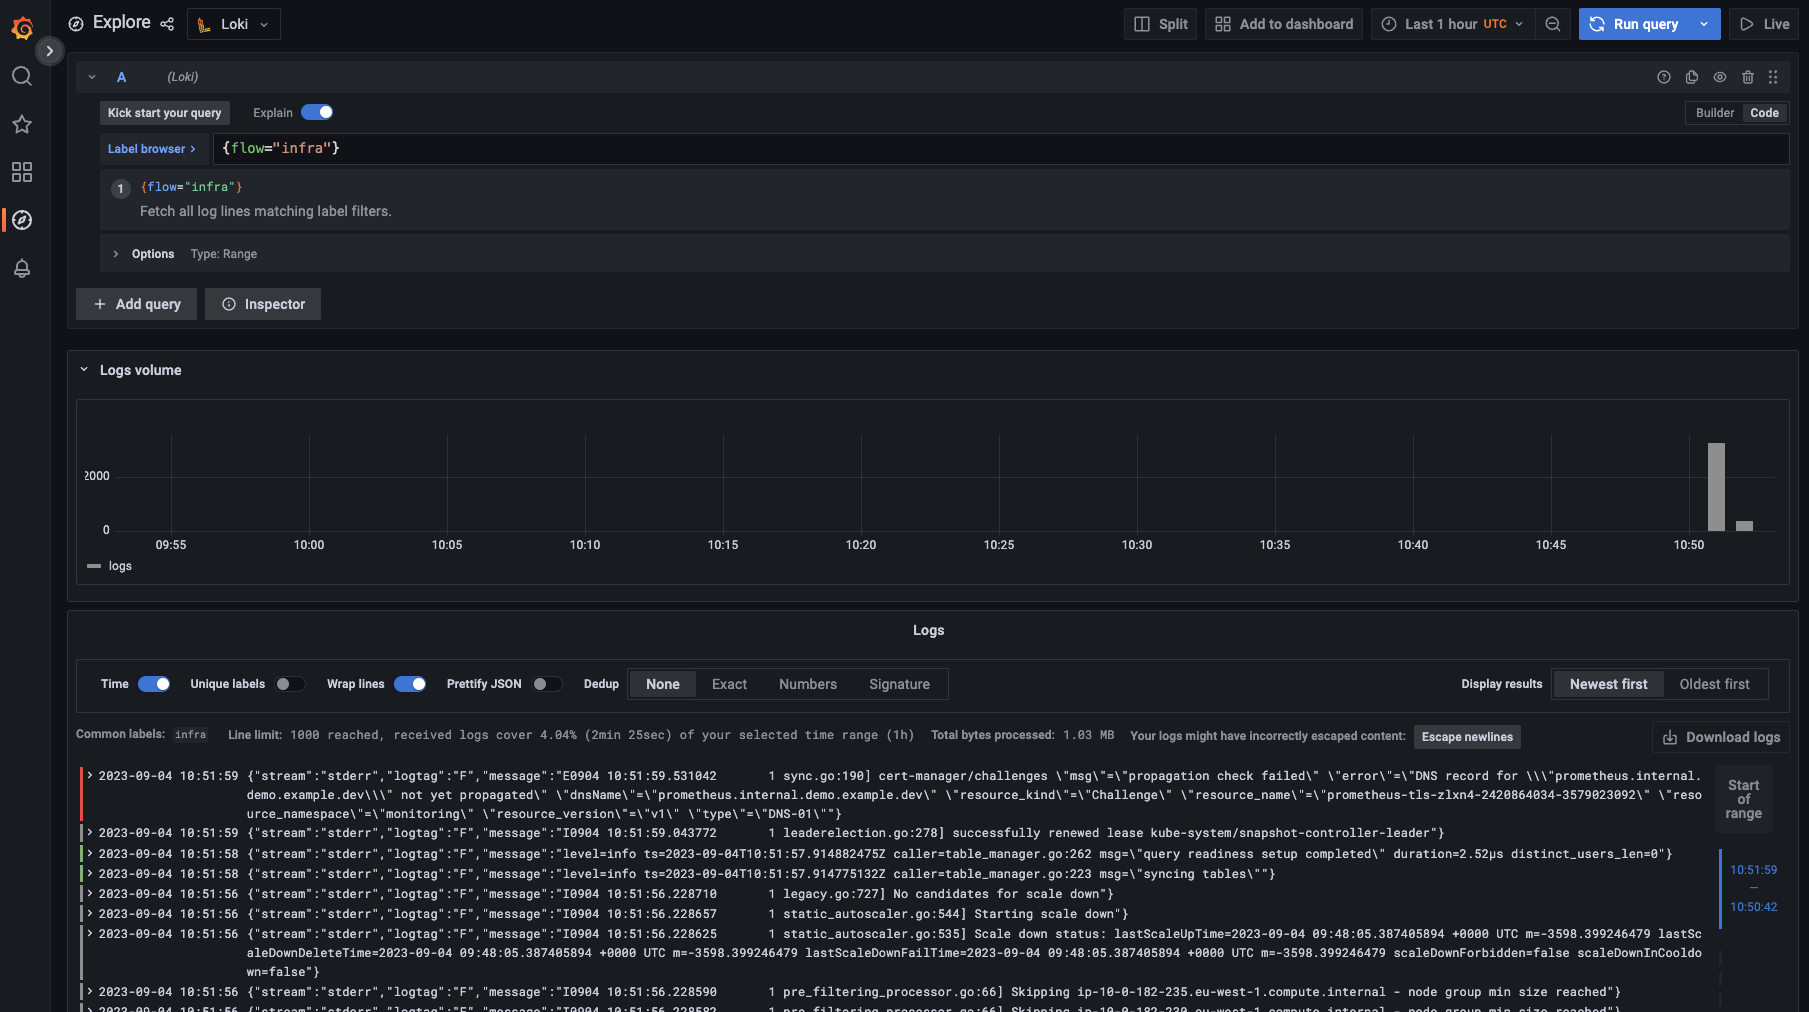
Navigate to grafana, and:
- Click on explore
- Select Loki datasource
- Run your query!
This is what you should see:
Fury provides some pre-configured dashboards to visualize the state of the cluster. Examine an example dashboard:
- Click on the search icon on the left sidebar.
- Write
podsand click enter. - Select the
Kubernetes/Podsdashboard.
This is what you should see:

-
Create a backup with the
velerocommand-line utility:velero backup create --from-schedule manifests test -n kube-system -
Check the backup status:
velero backup get -n kube-system
OPA Gatekeeper has been deployed as part of the distribution, the module comes with a set of policies pre-defined.
To test drive the default rules, try to create a simple deployment in the default namespace:
kubectl run --image busybox bad-pod -n defaultYou should get an error from Gatekeeper saying that the pod is not compliant with the current policies.
Gatekeeper runs as a Validating Admission Webhook, meaning that all the requests to the Kubernetes API server are validated first by Gatekeeper before saving them to the cluster's state.
If you list the pods in the default namespace, the list it should be empty, confirming that the pod creation was actually rejected:
$ kubectl get pods -n default
No resources found in default namespace.
Some namespaces are exempted from the default policies, for exmaple kube-system. Try to create the same pod in the kube-system namespace and it should succeed.
kubectl run --image busybox bad-pod -n kube-systemOutput should be:
pod/bad-pod created💡 TIP Gatekeeper Policy Manger, a simple readonly web UI to easily see the deployed policies and their status is installed as part of the OPA module. You can access it at http://gpm.internal.demo.example.dev/
Clean up the demo environment:
-
Delete the EKS cluster and all the related aws resources:
furyctl delete cluster --outdir $PWD -
Write 'yes' and hit ⏎ Enter, when prompted to confirm the deletion.
-
(Optional) Destroy the S3 bucket holding the Terraform state
aws s3api delete-objects --bucket $S3_BUCKET \
  --delete "$(aws s3api list-object-versions --bucket $S3_BUCKET --query='{Objects: Versions[].{Key:Key,VersionId:VersionId}}')"

aws s3api delete-bucket --bucket $S3_BUCKET
Congratulations, you made it! 🥳🥳
We hope you enjoyed this tour of Fury!
In case you ran into any problems feel free to open an issue in GitHub.
More tutorials:
More about Fury: