Prerequisites
This step summarises the requirements to use Alexa Actionable Notifications. The goal is to give you best orientation and to save you a lot of time by this.
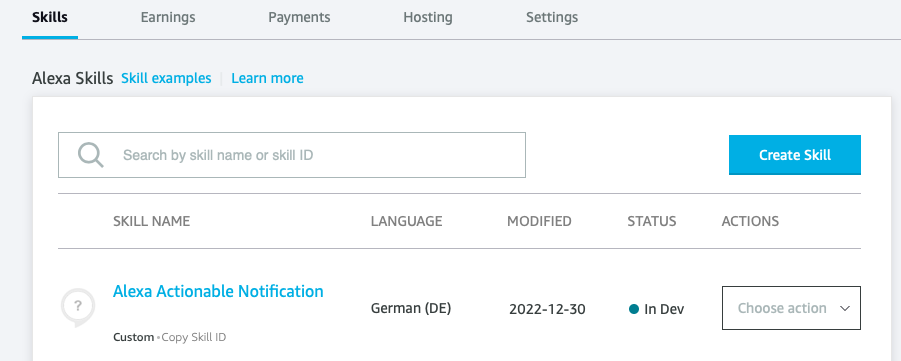
Your echo devices are connected to your Amazon account. You can login to the developer console for Alexa skills.
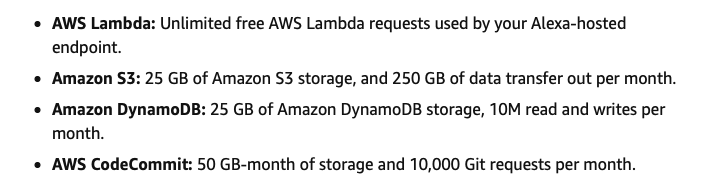
You don't need to register for an AWS developer account, as long as your skill doesn't exceed the limits of typical personal usage of AWS resources..
Note: You can't install into your account and speak to a device connected to your wife's account or vice versa. Even within the same rooms skill and devices have to belong to the same account. (And they still call this dumb devices smart.)
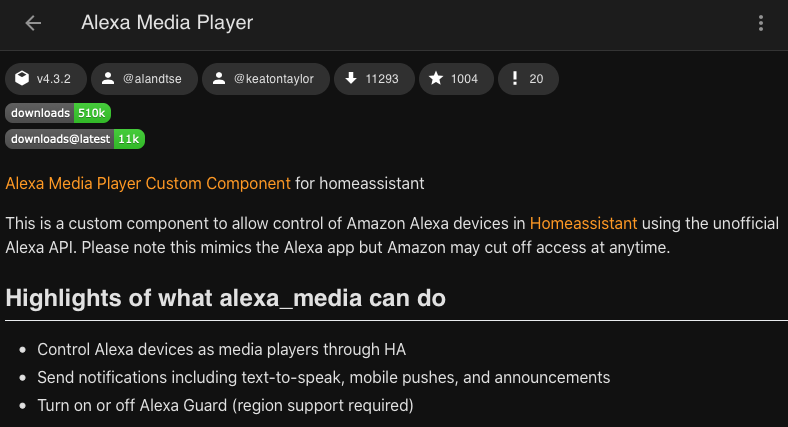
Alexa Actionable Notifications make use of the Alexa Media Player custom component. Install it via HACS. Make sure it is up and running. Get acquainted to the usage before going on.
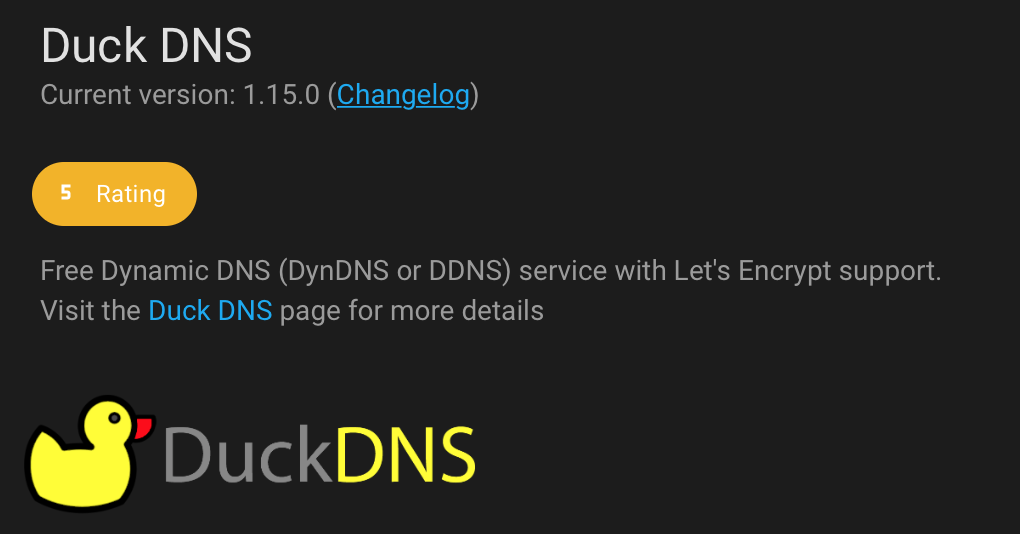
The Alexa skill needs access to your Home Assistant. There are different approaches to do this, including the services of Nabucasa, Cloudflare, Duckdns and Let’s Encrypt. Please use search machines to figure out your personal solution.
If you choose the Duckdns addon, consider the NGINX proxy addon to separate external HTTPS from internal HTTP.
The following languages are currently supported by the Alexa developer console. In doubt open the Alexa App and check out the language settings of the echo device you are targeting.

YAML configurations have to be reloaded multiple times. They can be reloaded selectively without requiring a restart.
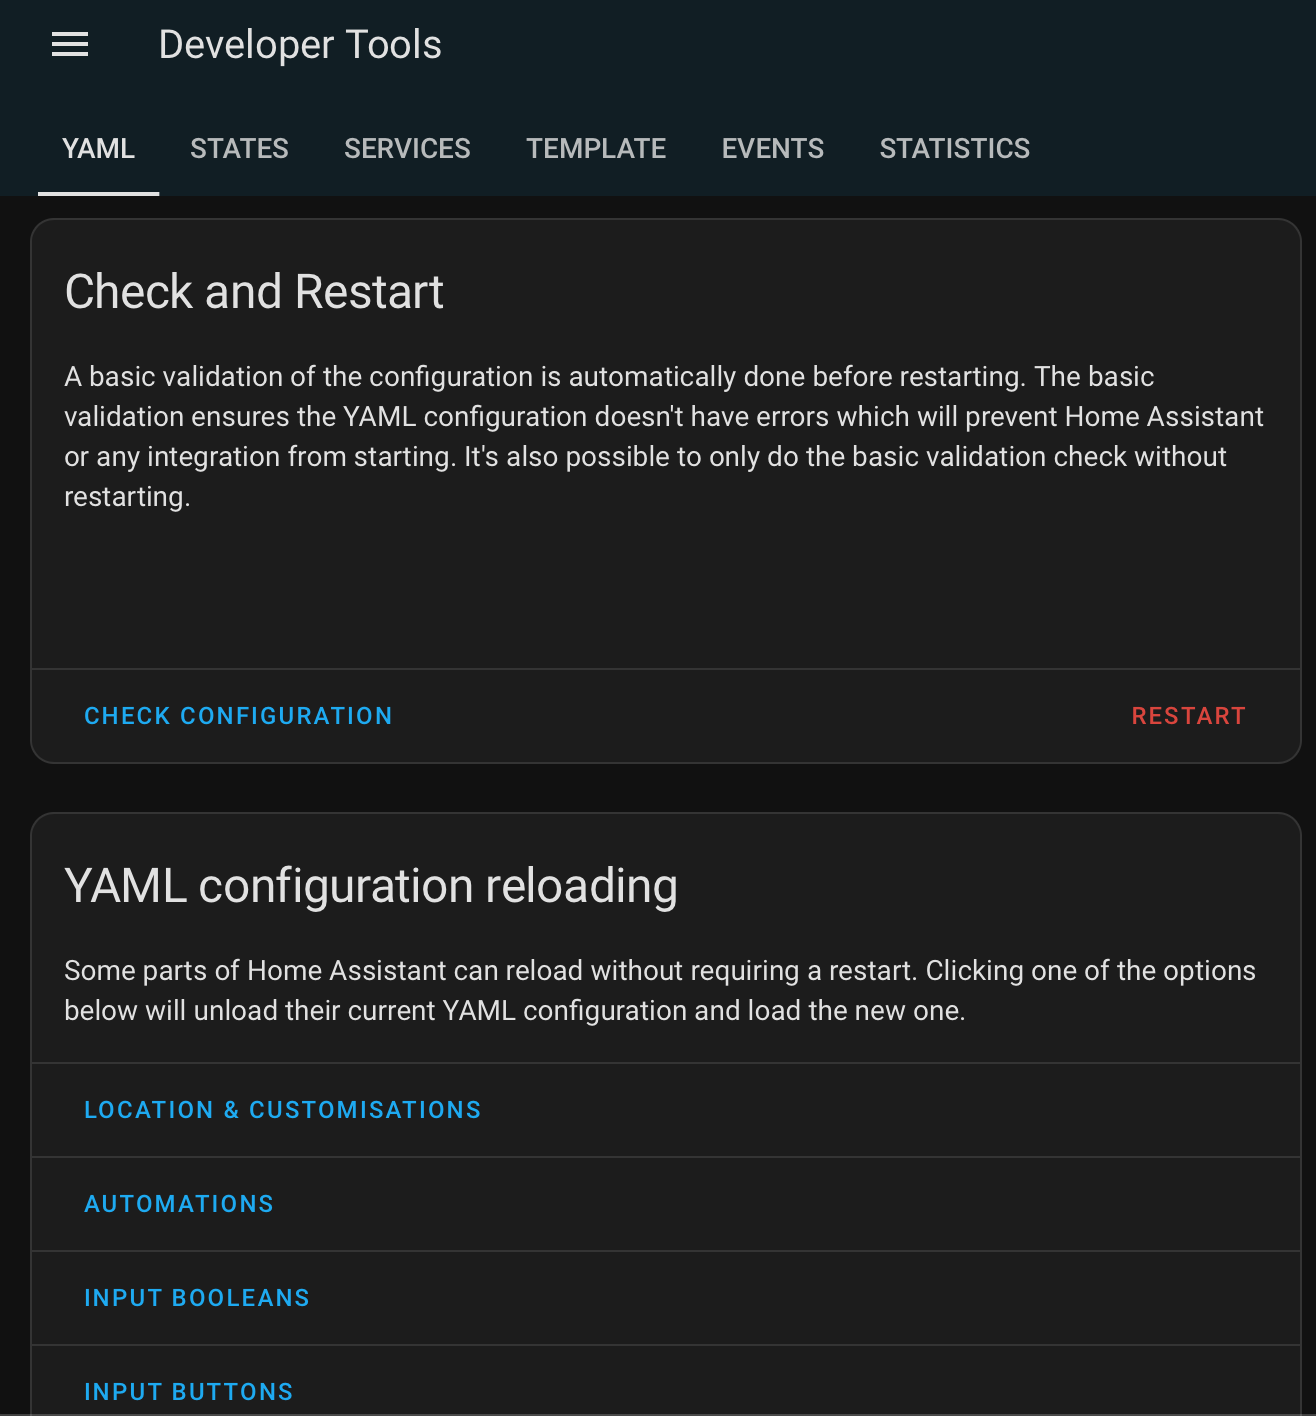
You find the Developer Tools within the main menu of Home Assistant. Select the YAML tab.
Head to the next step: Initial Config