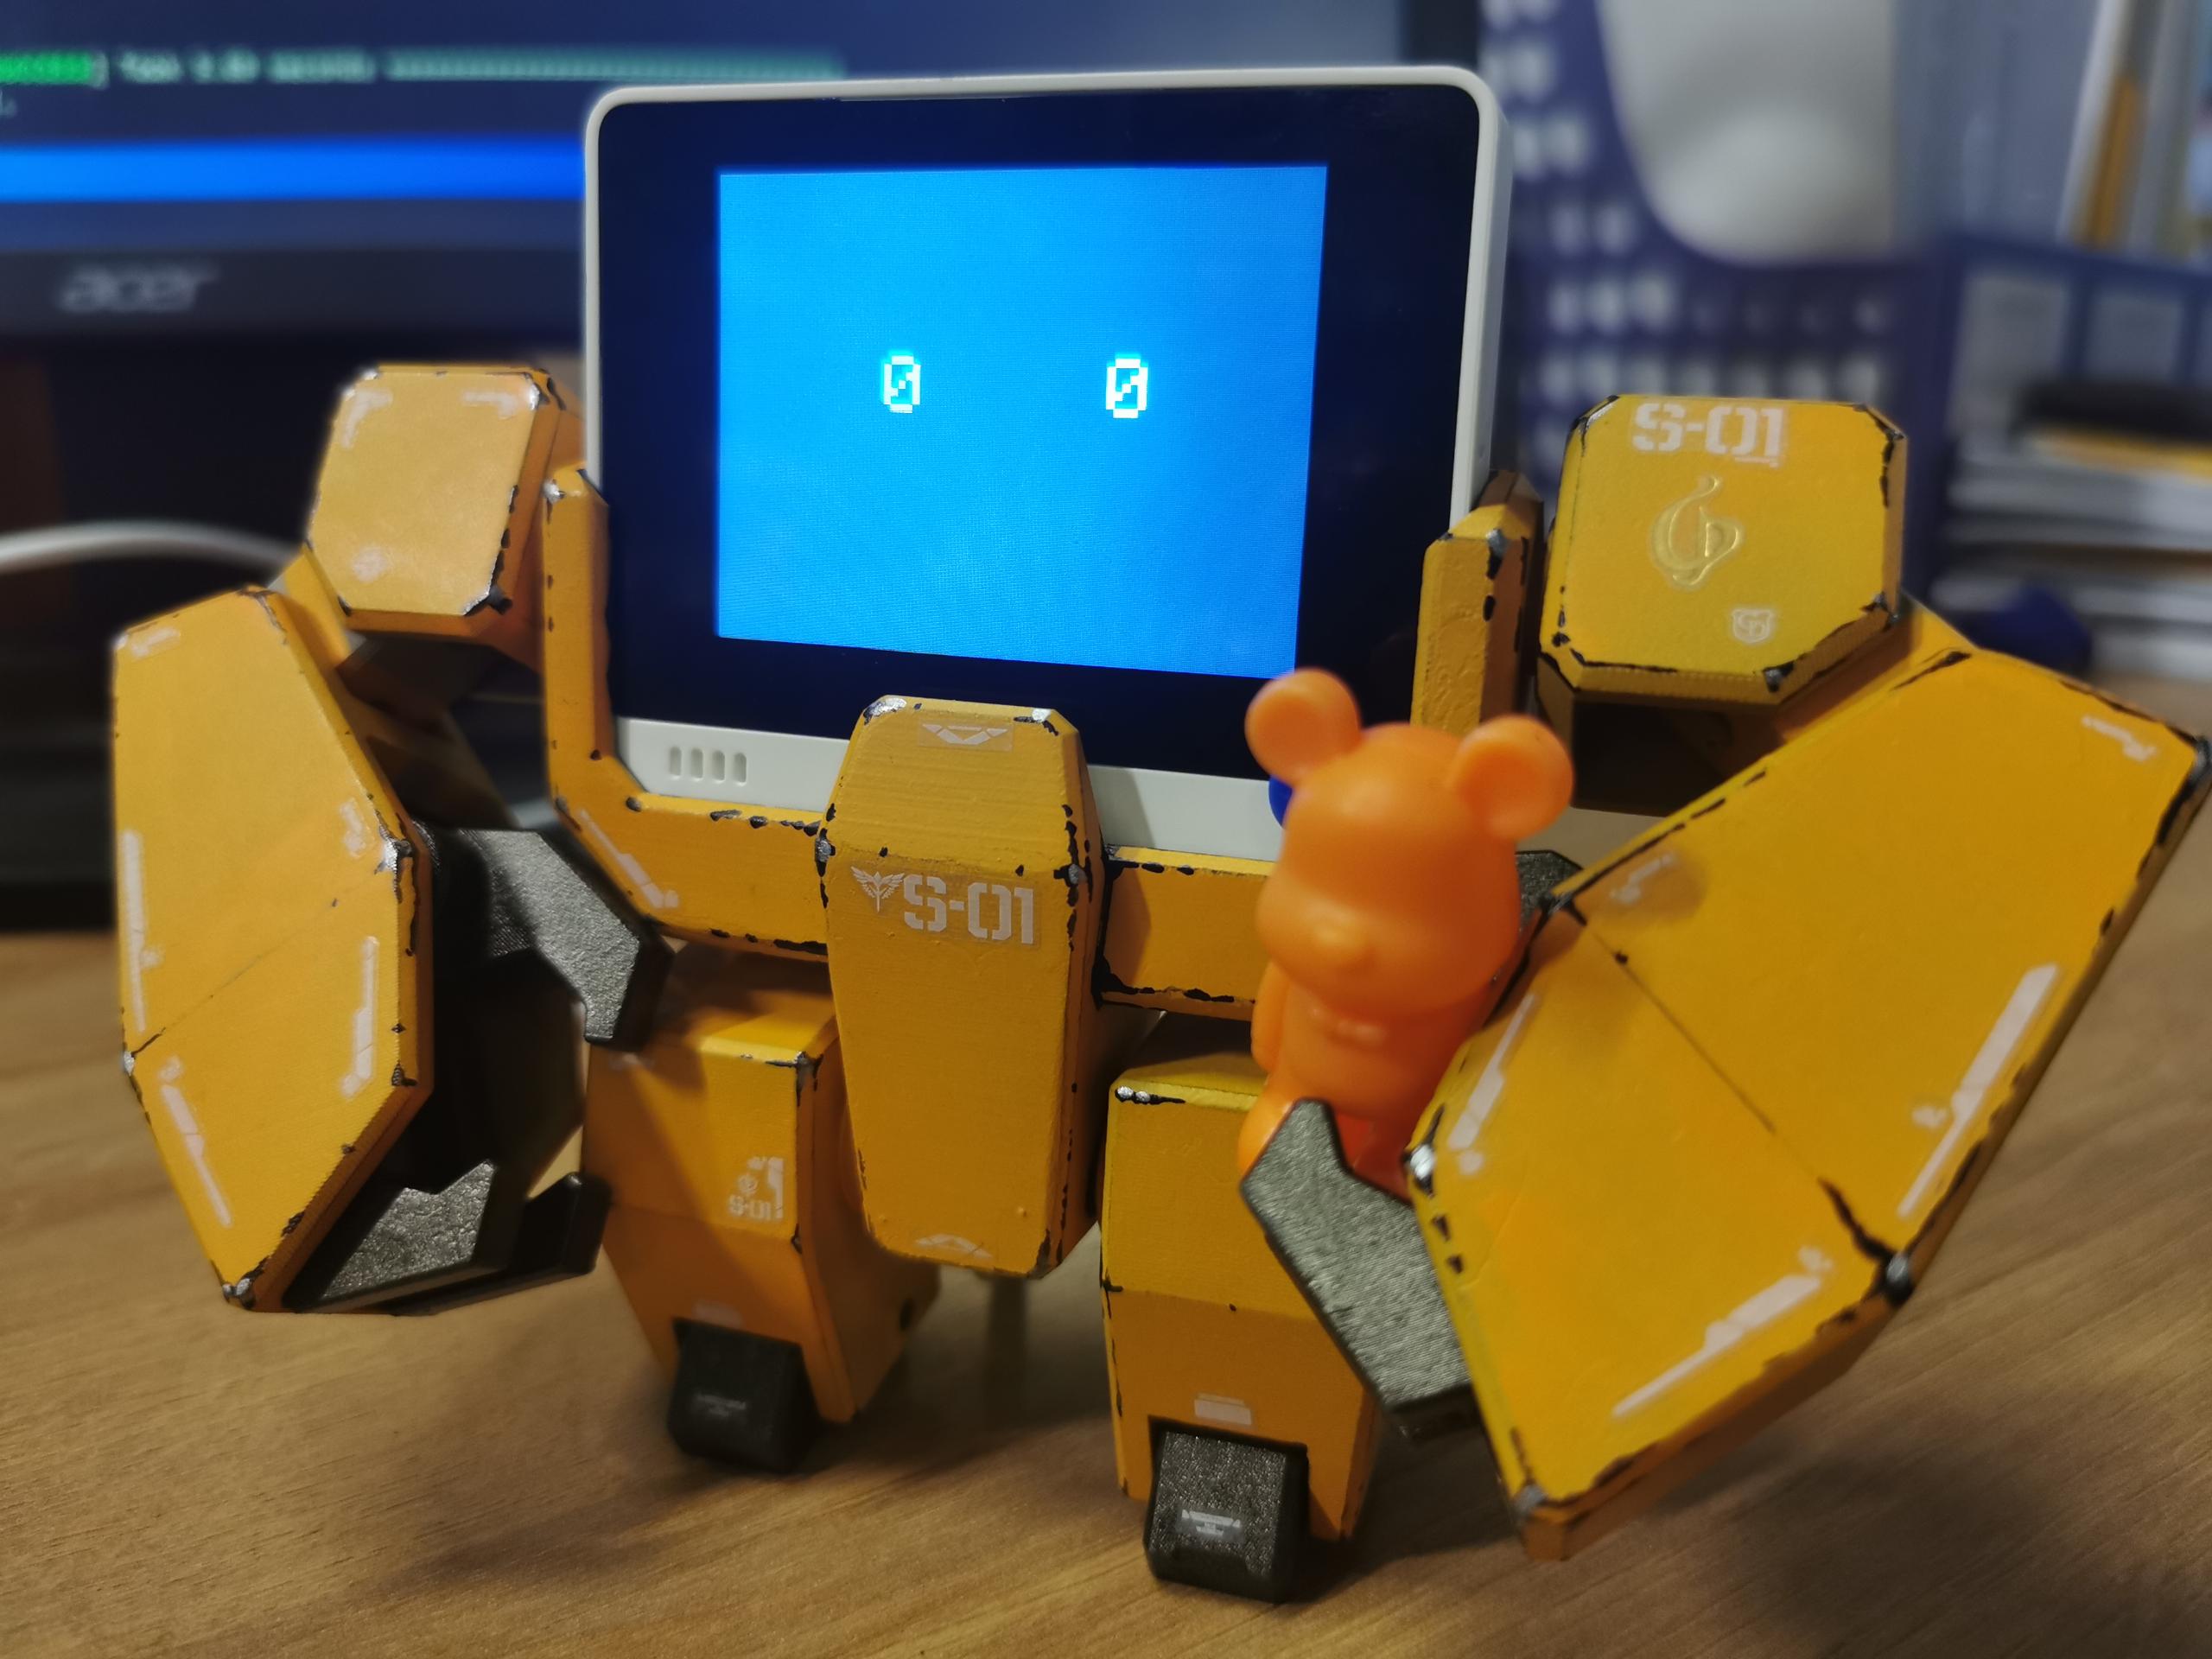
Thanks to Nosk Wu from hackster.io. for building an interesting 3D printing robot shape stand to enhance the viewing of Wio Terminal! Adorable idea!
We provide some expression examples that are displayed on Wio Terminal to show you how to program with LCD on the Wio Terminal. Meanwhile, we will use the buttons on the board to achieve image switching.
The material required here is only the Wio Terminal. The assembles of 3D printing components you can find here.

If this is the first time you use Wio Terminal with Arduino, it is highly recommanded to check "Getting started" wiki to understand how to upload codes to the board.
This is the example about using buttons on the board.
Note:
WIO_KEY_A,WIO_KEY_BandWIO_KEY_Care defined for the Wio Terminal configurable buttons.
void setup()
{
   pinMode(WIO_KEY_A, INPUT_PULLUP);
   pinMode(WIO_KEY_B, INPUT_PULLUP);
   pinMode(WIO_KEY_C, INPUT_PULLUP);
}
The result is something like:
{tu}
To initialise the TFT LCD screen on Wio Terminal,and to display the sentence: Wio terminal is funny ! !
#include"TFT_eSPI.h"

TFT_eSPI tft;

void setup()
{
  ...
  tft.begin();
  tft.setRotation(3);
  tft.fillScreen(TFT_BLACK); // Fills the screen with BLACK background
  tft.setTextColor(TFT_GREEN); // sets the text colour to green
  tft.setTextSize(2);
  tft.drawString("Wio terminal is funny ! !", 15, 90); // prints strings from (15, 90)
  ...
}- To draw
Characteron TFT LCD screen.
void loop()
{
    tft.fillScreen(TFT_BLACK); // BLACK background
    tft.drawChar(90, 90, '>', TFT_GREEN, TFT_GREEN, 4);  // Draw a green character A from (90,90)
    tft.drawChar(210, 90, '<', TFT_GREEN, TFT_GREEN, 4); // Draw a green character B from (210,90)
}- To draw
Text Stringson TFT LCD screen.

void loop()
{
    tft.fillScreen(TFT_BLACK);   // BLACK background
    tft.setTextColor(TFT_GREEN); // sets the text colour to green
    tft.setTextSize(4);
    tft.drawString("X    X ", 95, 90); // prints strings from (95, 90)
}if (digitalRead(WIO_KEY_A) == LOW)
{
...
}#include <Arduino.h>
#include "TFT_eSPI.h"
TFT_eSPI tft;
void setup()
{
pinMode(WIO_KEY_A, INPUT_PULLUP);
pinMode(WIO_KEY_B, INPUT_PULLUP);
pinMode(WIO_KEY_C, INPUT_PULLUP);
tft.begin();
tft.setRotation(3);
tft.fillScreen(TFT_BLACK); // Fills the screen with BLACK background
tft.setTextColor(TFT_GREEN); // sets the text colour to green
tft.setTextSize(2);
tft.drawString("Wio terminal is funny ! !", 15, 90); // prints strings from (15, 90)
}
void loop()
{
if (digitalRead(WIO_KEY_A) == LOW)
{
tft.fillScreen(TFT_BLACK); // BLACK background
tft.drawChar(90, 90, '>', TFT_GREEN, TFT_GREEN, 4); // Draw a green character A from (90,90)
tft.drawChar(210, 90, '<', TFT_GREEN, TFT_GREEN, 4); // Draw a green character B from (210,90)
}
else if (digitalRead(WIO_KEY_B) == LOW)
{
tft.fillScreen(TFT_BLACK); // BLACK background
tft.setTextColor(TFT_GREEN); // sets the text colour to black
tft.setTextSize(4);
tft.drawString("0 0 ", 95, 90); // prints strings from (95, 90)
}
else if (digitalRead(WIO_KEY_C) == LOW)
{
tft.fillScreen(TFT_BLACK); // BLACK background
tft.setTextColor(TFT_GREEN); // sets the text colour to green
tft.setTextSize(4);
tft.drawString("X X ", 95, 90); // prints strings from (95, 90)
}
} Please submit any technical issues into our forum
