How to deploy social stream to heroku
Heroku is a powerful cloud specifically design to deploy your rails apps and make them public, scalable and highly available.
In this short how-to we are going to show you how you can start testing a node of social stream deploying it to heroku.
Let's get started!
1.) Requirements
For obvious reasons you are going to need a heroku account. Visit http://heroku.com
2.) Installing social stream (the classic way)
Now that you have accounts in github and heroku you are ready to start.
Create a new rails application:
rails new myawesomesocialstream
Next, follow the standard installation instructions for the social_stream gem:
https://github.com/ging/social_stream#installation
You cannot use sqlite3 on Heroku, therefore you must add something like this to your Gemfile:
group :production do
  gem 'pg'
end

group :development, :test do
  gem 'sqlite3'
end
Now run:
bundle update
Your app is now ready to be executed locally with:
rails server
But this time we are aiming higher, to the cloud!
Warning
Despite the instructions in contrary, make sure to set this in your config/application.rb before proceeding:
config.assets.initialize_on_precompile = true
And run:
rake assets:precompile
This command will precompile your assets locally before before uploading to Heroku. You must repeat this command every time you change your assets and before deployment, because Heroku doesn't support initializing the environment during precompilation but the i18n-js gem needs it.
If you find that after deployment your dev website starts producing Javascript errors like Object [object Object] has no method 'select2' you need to remove the precompiled assets from your dev environment by running:
rake assets:clean
This should fix the problem.
3.) Git
Git and heroku are highly related, in fact you will push a local git repository to heroku:
Enter your project folder:
cd myawesomesocialstream
and execute: (of course you are going to need git sudo apt-get install git or http://git-scm.com)
git init
git add .
git commit -m "social stream ready to go"
Before the next step you need to make sure that you have an SSH public key ready in take a look at: in windows: http://help.github.com/msysgit-key-setup/ mac: http://help.github.com/mac-key-setup/ or linux: http://help.github.com/linux-key-setup/
4.) Heroku
We are almost there, install the heroku gem:
sudo gem install heroku
Inside your app folder execute:
heroku create --stack cedar
The first time you create an app you will be asked your heroku username & password.
Finally execute:
git push heroku master
heroku run rake db:migrate
And you're done!!
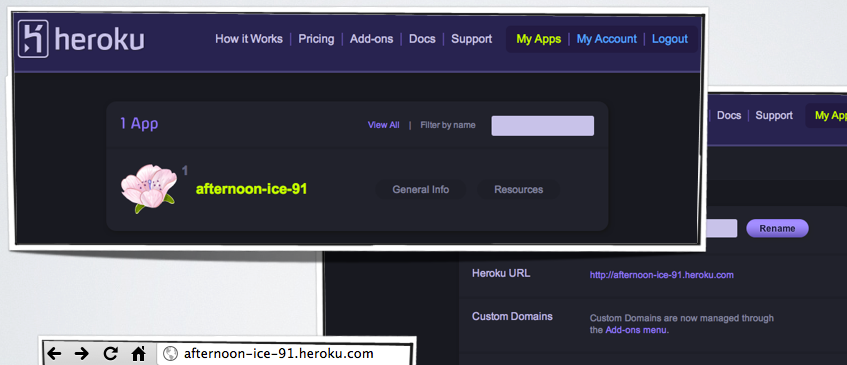
If everything went as expected you can now login to your heroku account -> My apps and see something like this:
5.) Post installation tips
After installing, remember to setup your default URL option at config/environments/production.rb:
config.action_mailer.default_url_options = { :host => 'myapp.herokuapp.com'}Otherwise some views will report a 500 error.
You also should use a service such as Amazon S3 to save files and avatars. Otherwise, they will be lost across deployments. Configure your paperclip s3_host_name to the appropriate location in your config/environments/production.rb
config.paperclip.defaults = {
  :s3_credentials => {
    ...
    :s3_host_name => 'ses3-us-west-2.amazonaws.com'
  }
}