- Install rclone if not installed:
sudo apt-get install -y rclone - connect via ssh to teslalogger
- run
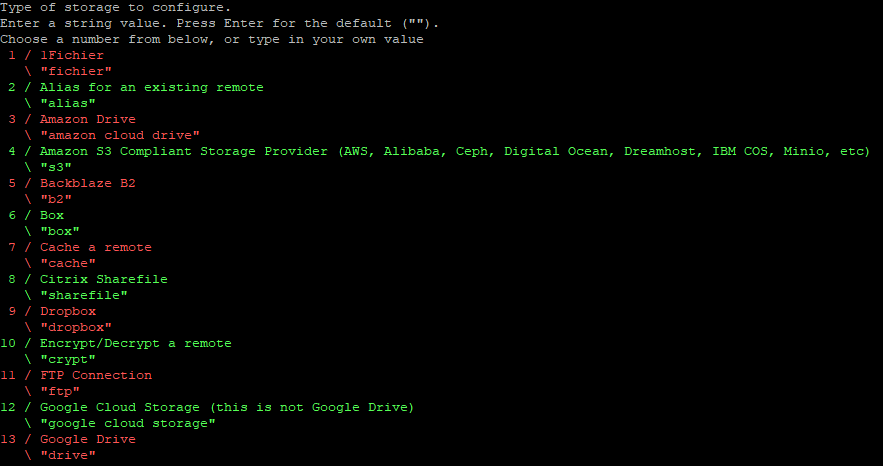
sudo rclone config - create connection (e.g.: "tl_backup") and click ENTER

- find number list number for Google Drive, enter it and click ENTER

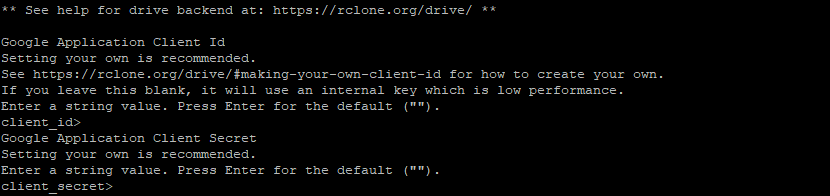
- ENTER for client_id and client_secret
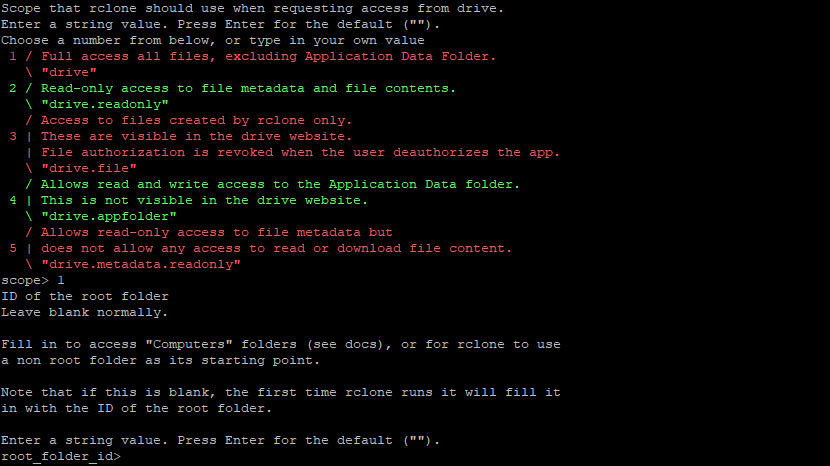
- 1 and ENTER for scope and ENTER for root_folder_id
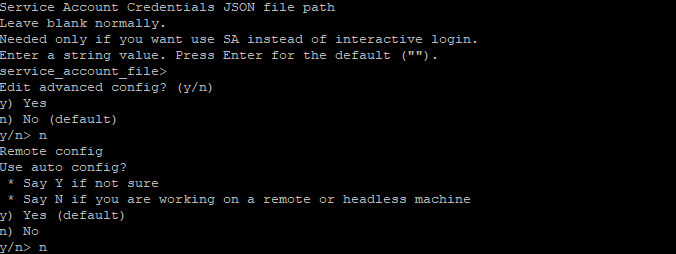
- ENTER for service_account_file, n for Use auto config
- Copy and paste diplayed link in browser. Login with you Google Account and allow new connection:

- key will be shown in browser, copy it with "copy-button", paste into command line window and press ENTER and one more ENTER:

- now you see a settings file with token, click ENTER
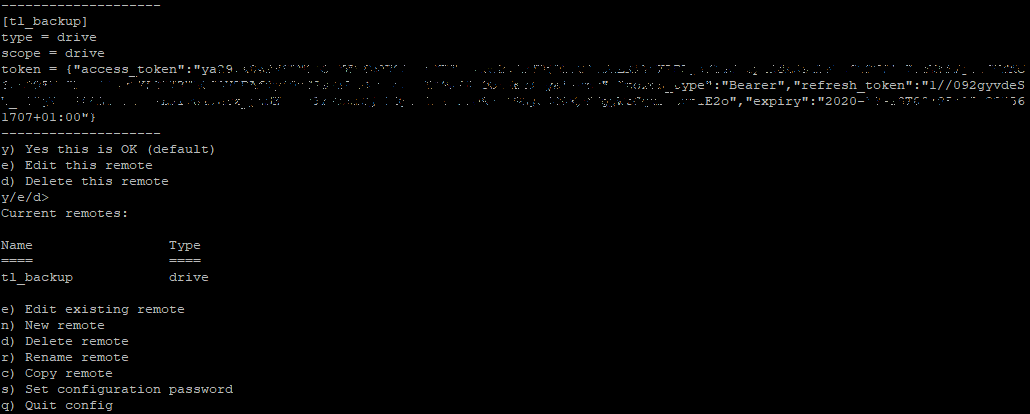
- end than q to exit setup
- open nano:
nano /etc/teslalogger/my-backup.shand paste this:
#!/bin/bash

/usr/bin/rclone copy --update --verbose --transfers 3 --contimeout 60s --timeout 300s --retries 3 --low-level-retries 10 --stats 1s "/etc/teslalogger/backup" "tl_backup:TeslaLoggerBackup"
- with this command we will save all backup files to tl_backup connection we created in previous step into folder "TeslaLoggerBackup", change it for you needs
- save file by clicking CTRL+X, then y and ENTER
- make it executable:
chmod +x /etc/teslalogger/my-backup.sh - try if it woks:
/etc/teslalogger/my-backup.sh - if you have alot of backups it will take a long time on first run... Success looks like this:

- now go back to nano:
nano /etc/teslalogger/my-backup.shand remove --verbose, than save file again (CTRL+X, y, ENTER) - YOU ARE DONE :) After each new backup, TeslaLogger will run "my-backup.sh" automaticaly.