As a mobile developer, I know the pain of building the APKs regularly and sharing the latest version with different teams. Additionally, we need to upload the newest version to the Microsoft AppCenter and Google PlayStore. A minor mistake in the routine may lead to some serious trouble. For any unforeseen issue, the best solution is to automate the process.
Here at XAM, we use Azure Pipelines to build, Sign & publish the APKs without any manual intervention and thus preventing the time taken for the repeated tasks.
Continuous Integration – Azure DevOps:
Today I’m going to explain the process involved in Continuous Integration using the Azure DevOps for Android.
The advantages of Azure DevOps are
Accessible anywhere
No server maintenance
Good community support
Often updated
Low cost
Steps:
Setup Android project:
I have created a simple Hello World Android project in GitHub for your convenience. In the root folder, you should find a YAML file named ‘pipelines_android.yml’. If you don’t want to create it from scratch, please make sure you commit this file to your repo.
Got to your project
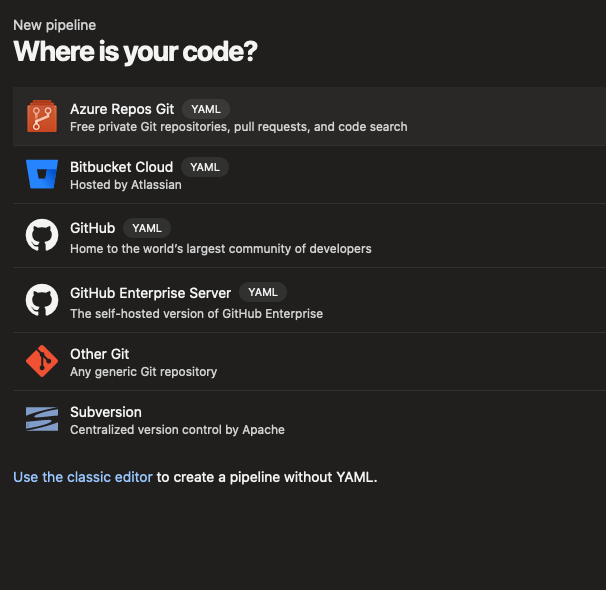
Select your repo source
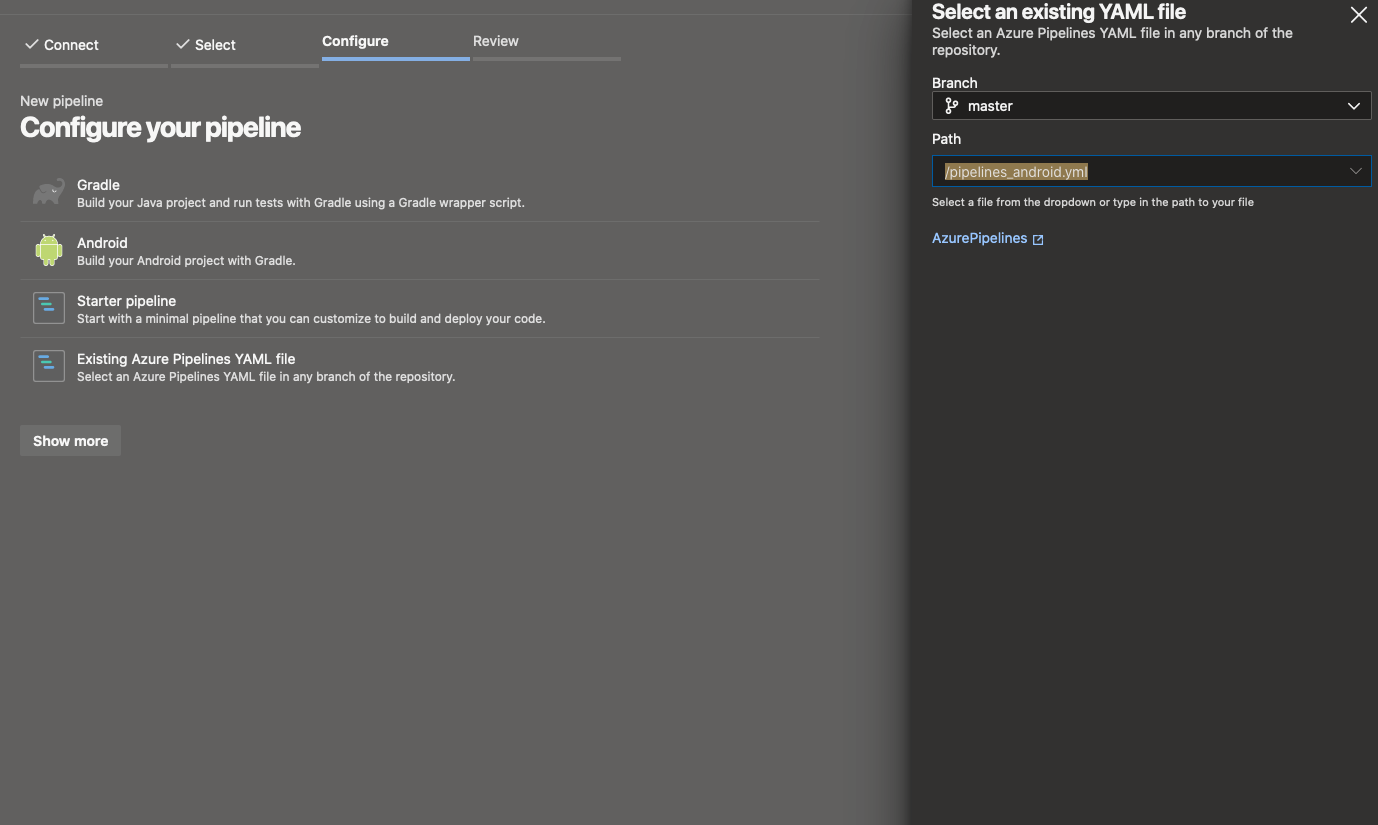
Since you’ve already added the YAML file, select the existing file to create a pipeline.
Else you can create a new YAML file by selecting the appropriate option.
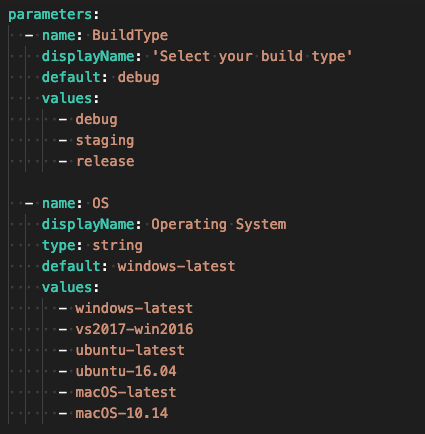
I have already added the parameters to the pipelines. Please add as many parameters as you need.
Allow the user to select the build type and their preferred operating system.
Next, create a triggering point for this pipeline.
In my pipeline, I’ve added the branch “master” as a trigger. So, whenever there is a pull request merged on the master branch, this pipeline will start.
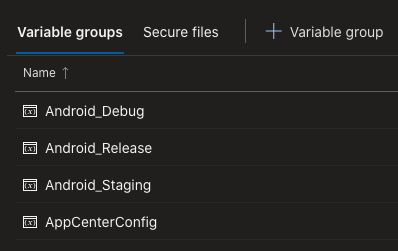
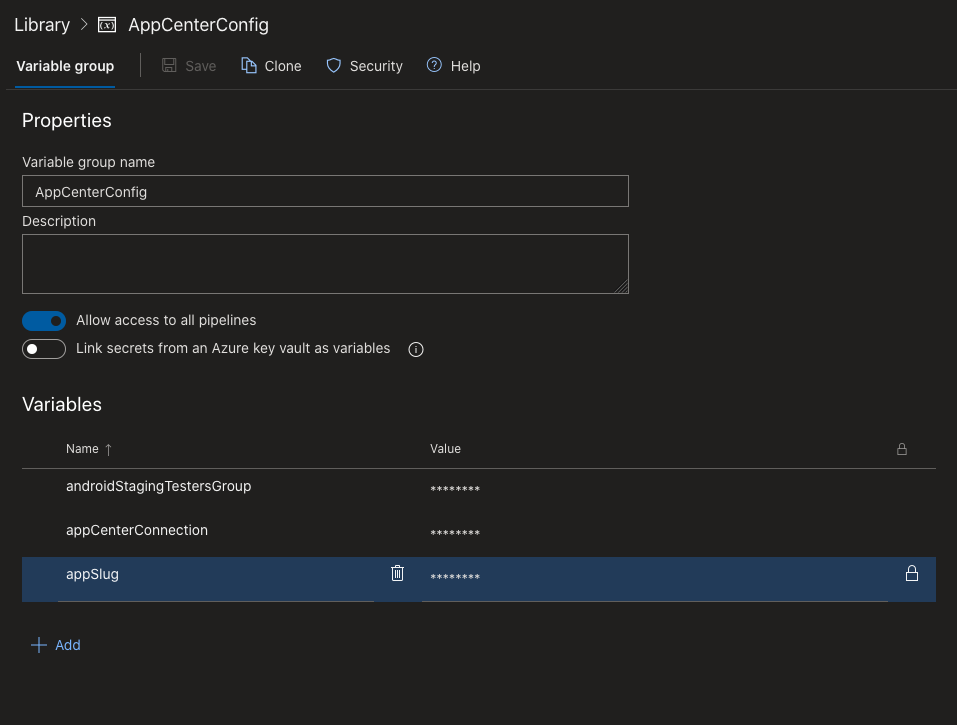
Create a variable group, as shown below.
To create a new variable group:
Goto Pipelines-> Library Click + Variable group Add a variable group name. Add variables.
Clean the workspace and then add a pool image.
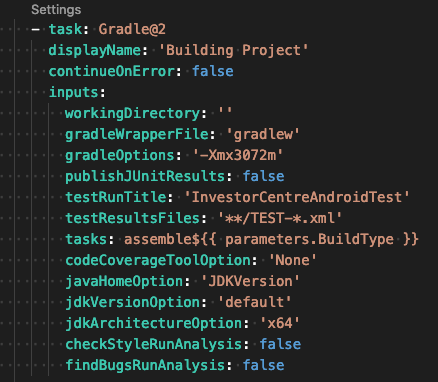
The first step is to create Gradle@2, as shown below.
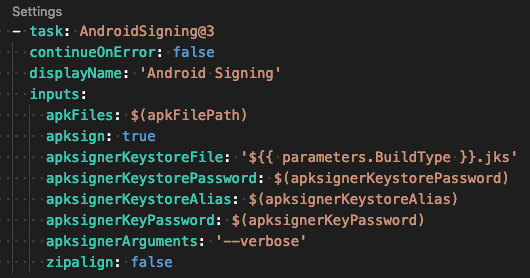
The next task is to sign the generated APK.
After Signing the APK, now we will have to publish the artifacts.
After publishing it internally, let’s publish the artifacts to the AppCenter.
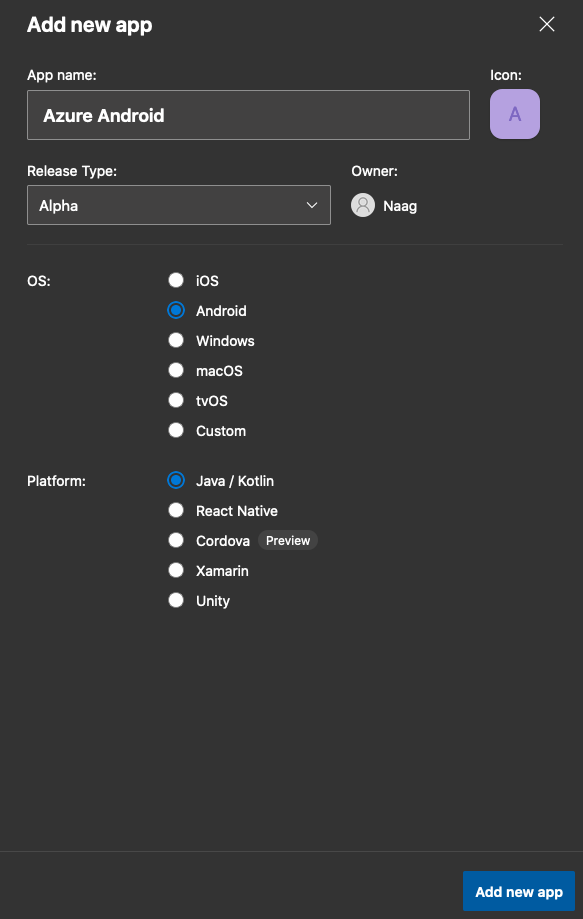
Go to https://appcenter.ms/apps/create and create a new App.
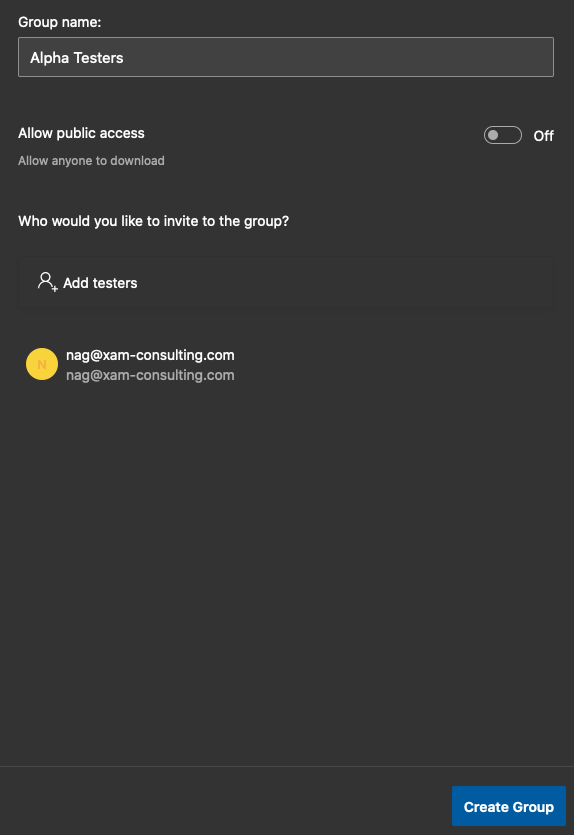
Once the App created in AppCenter, now introduce a testing group.
Click the spanner icon and make a note of the group id.
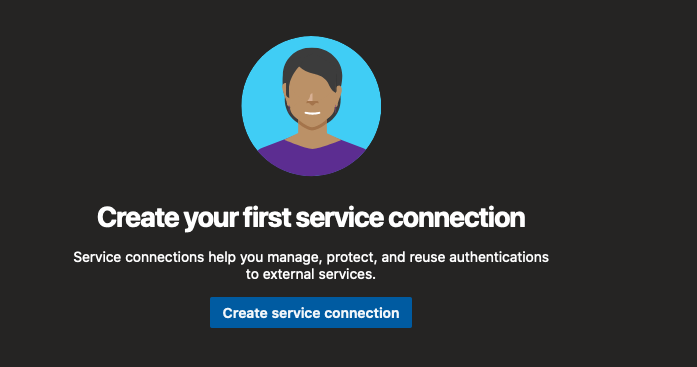
The next step is to create a service connection between Azure DevOps and AppCenter.
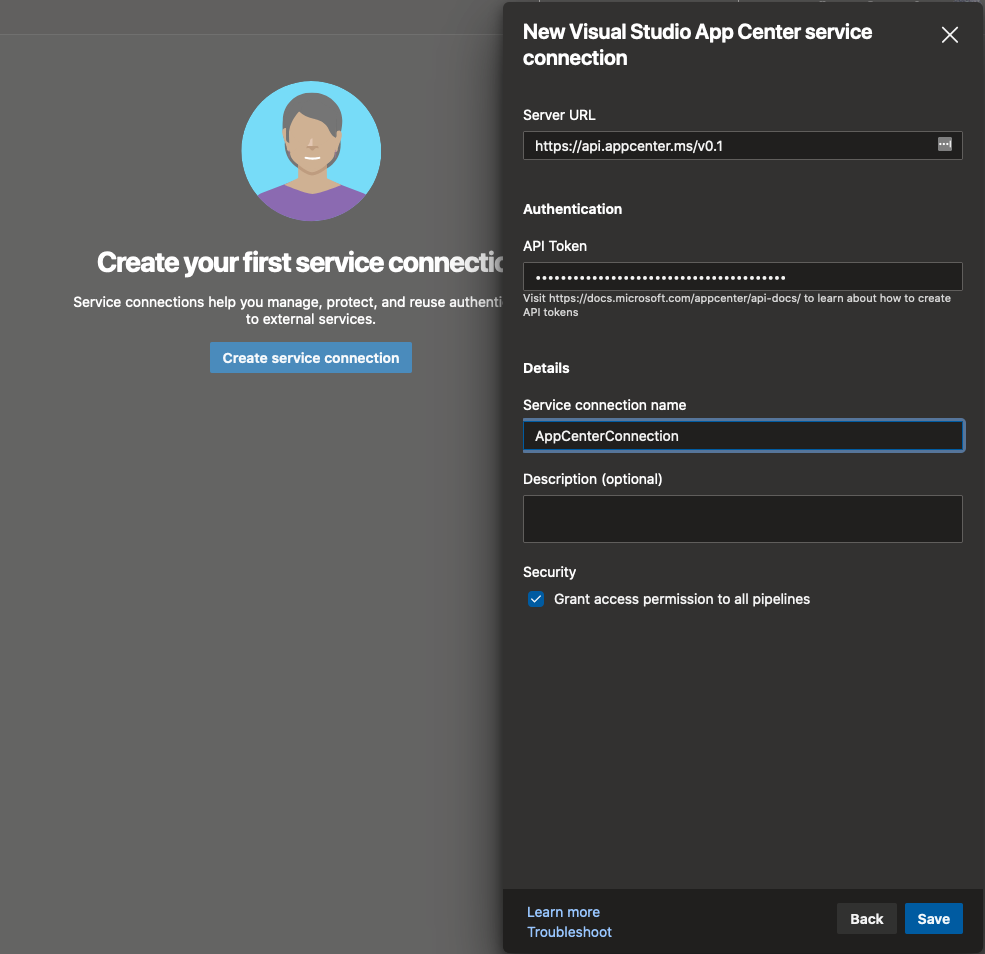
In AppCenter, go to the account settings page and add a new API token.
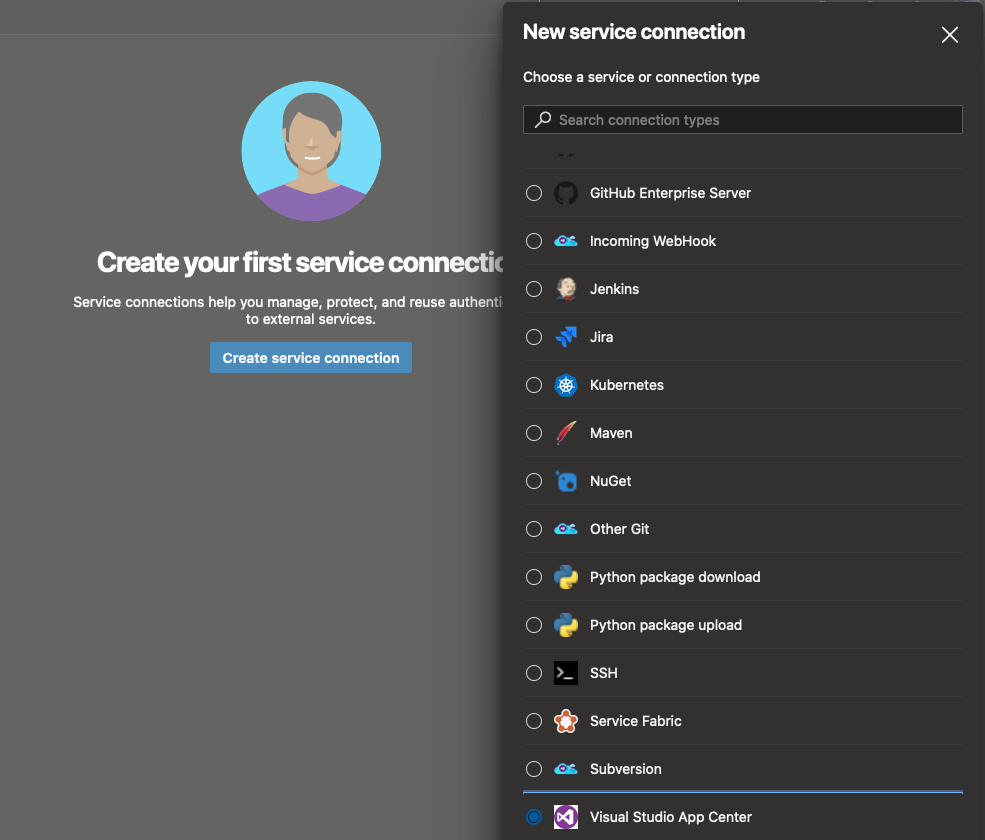
In Azure DevOps: Click the Settings menu (gear icon) in Azure DevOps. Click the “Service Connection” menu on the left.
Choose “Visual Studio App Center” and click the Next button.
Paste the copied token, give an appropriate name for this connection, and click Save.
Go to Library-> Add new Variable group. Add AppCenter Connection. Add Slug Id: Username/AppName Add Group Id: paste the copied group id.
Then in the pipeline, add the AppCenterDistribute@3 task.
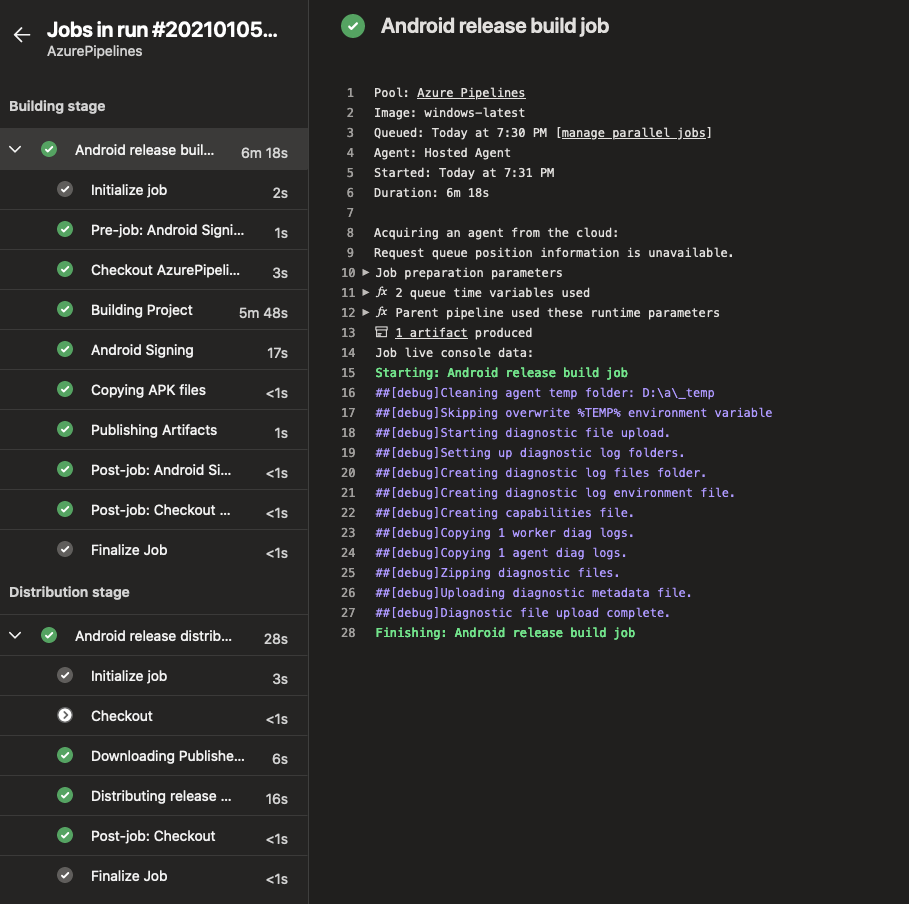
Build the pipeline, and you should see the artifacts uploaded in the AppCenter.
