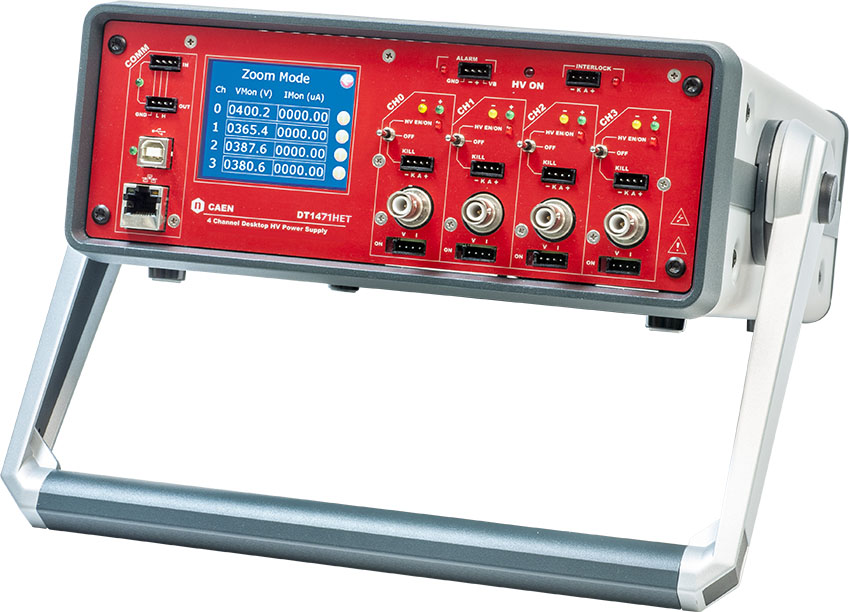
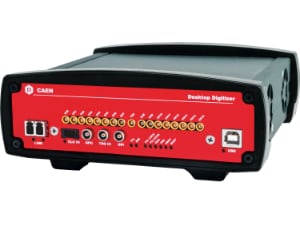
Easily control CAEN equipment with Python.
pip install git+https://github.com/SengerM/CAENpy
Examples can be found in the examples directory.
The communication with the device is done via the set_single_channel_parameter and get_single_channel_parameter methods.
Simple usage example:
from CAENpy.CAENDesktopHighVoltagePowerSupply import CAENDesktopHighVoltagePowerSupply
import time

caen = CAENDesktopHighVoltagePowerSupply(port='/dev/ttyACM0') # Open the connection.
print('Connected with: ', caen.idn) # This should print the name and serial number of the CAEN.

# Control each channel manually:
print('Ramping voltage up...')
caen.channels[0].ramp_voltage(44, ramp_speed_VperSec=5) # Increase the voltage.
print('V = ', caen.channels[0].V_mon, ' V') # Measure the voltage.
print('I = ', caen.channels[0].I_mon, ' A') # Measure the current.
caen.channels[0].ramp_voltage(0) # Go back to 0 V.
print('V = ', caen.channels[0].V_mon, ' V')

# Loop over the channels:
for n_channel,channel in enumerate(caen.channels):
	print(f'##################')
	channel.ramp_voltage(voltage=11*(n_channel+1), ramp_speed_VperSec=5) # Ramp voltage and freeze program execution until finished.
	print(f'Set voltage channel {n_channel}: {channel.V_set} V')
	print(f'Measured voltage channel {n_channel}: {channel.V_mon} V')
	print(f'Set current channel {n_channel}: {channel.current_compliance} A')
	print(f'Measured current channel {n_channel}: {channel.I_mon} A')
	channel.V_set = 0 # Set the voltage to 0 without freezing program flow, voltage will ramp according to the settings in the CAEN, which of course you can change remotely using CAENpy as well.
The .channels method returns a list of OneCAENChannel objects, making it easier to control. To see what OneCAENChannel is, go to the source code.
You can also control the device by sending the commands:
from CAENpy.CAENDesktopHighVoltagePowerSupply import CAENDesktopHighVoltagePowerSupply
import time

caen = CAENDesktopHighVoltagePowerSupply(ip='130.60.165.238', timeout=10) # Increase timeout for slow networks.
# caen = CAENDesktopHighVoltagePowerSupply(port='/dev/ttyACM0') # You can also connect via USB (name of port changes in different operating systems, check the user manual of your device).

# Check that the connection was successful:
print(caen.idn) # Prints 'CAEN DT1470ET, SN:13398'

caen.set_single_channel_parameter(parameter='ON', channel=0, value=None)
for v in range(22):
	caen.set_single_channel_parameter( # This does not block execution! You have to manually wait the required time until the voltage is changed.
		parameter = 'VSET',
		channel = 0,
		value = float(v),
	)
	print(f'VMON = {caen.get_single_channel_parameter(parameter="VMON", channel=0)} | IMON = {caen.get_single_channel_parameter(parameter="IMON", channel=0)}')
	time.sleep(1)
caen.set_single_channel_parameter(parameter='OFF', channel=0, value=None)
Note that in the previous example the execution is not blocked while the voltage is being changed, because the ramp feature is implemented in the CAEN power supplies themselves. If you want to automatically block the execution of your code until the voltage has been smoothly ramped to the final value, use the method ramp_voltage. Example:
from CAENpy.CAENDesktopHighVoltagePowerSupply import CAENDesktopHighVoltagePowerSupply

caen = CAENDesktopHighVoltagePowerSupply(ip='130.60.165.238', timeout=10) # Increase timeout for slow networks.
# caen = CAENDesktopHighVoltagePowerSupply(port='/dev/ttyACM0') # You can also connect via USB (name of port changes in different operating systems, check the user manual of your device).

caen.set_single_channel_parameter(paramhttps://www.caen.it/products/caendigitizer-library/eter='ON', channel=0, value=None)
for v in range(22):
	caen.ramp_voltage( # This blocks the execution until the VMON (i.e. measured voltage) is stable, so you don't have to manually wait/check that it has reached the final voltage.
		voltage = v,
		channel = 0,
		ramp_speed_VperSec = 1, # Default is 5 V/s.
	)
	print(f'VMON = {caen.get_single_channel_parameter(parameter="VMON", channel=0)} | IMON = {caen.get_single_channel_parameter(parameter="IMON", channel=0)}')
caen.set_single_channel_parameter(parameter='OFF', channel=0, value=None)
For more insights on how to use it, go through the source code which was written in a (hopefully) self explanatory way.
Note 1 To control these digitizers you first have to install the CAENDigitizer library. You can test the installation of such library using the CAEN Wavedump software. Once that is running, now CAENpy should be able to work as well.
Note 2 Depending on your operating system you may need to change the path to the CAENDigitizer library installation. The default path is the one for Ubuntu 22.04, but this may change. You can change the path in the file CAENDigitizer.py, look for the line libCAENDigitizer = CDLL('/usr/lib/libCAENDigitizer.so') close to the beginning of the file.
Once you have everything set up, you can easily control your digitizer:
from CAENpy.CAENDigitizer import CAEN_DT5742_Digitizer

digitizer = CAEN_DT5742_Digitizer(0) # Open the connection.

print(digitizer.idn) # Print general info about the digitizer.

# Now configure the digitizer:
digitizer.set_sampling_frequency(5000) # Set to 5 GHz.
digitizer.set_max_num_events_BLT(1) # One event per call to `digitizer.get_waveforms`.
# More configuration here...

# Now enter into acquisition mode using the `with` statement:
with digitizer:
	waveforms = digitizer.get_waveforms()
# The `with` statement takes care of initializing and closing the
# acquisition, as well as all the ugly stuff required for this to
# happen.
# You can now acquire again with a new `with` block:
with digitizer:
	new_waveforms = digitizer.get_waveforms()
# and you can as well keep the acquisition running while you do
# other things:
with digitizer: # This takes care of starting and stopping the digitizer automatically.
	waveforms = []
	for voltage in [0,100,200]:
		voltage_source.set_voltage(voltage)
		wf = digitizer.get_waveforms()
		waveforms.append(wf)
You can also manually start and stop the digitizer:
digitizer.start_acquisition()
time.sleep(.5) # Wait some time for the digitizer to trigger.
digitizer.stop_acquisition()
waveforms = digitizer.get_waveforms() # Acquire the data.
Further usage examples can be found in examples.

