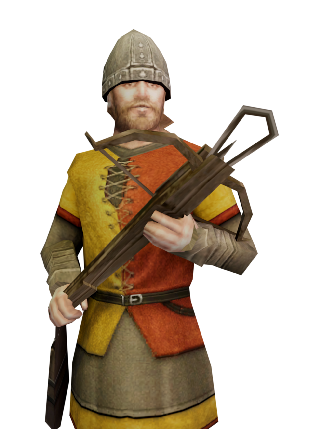
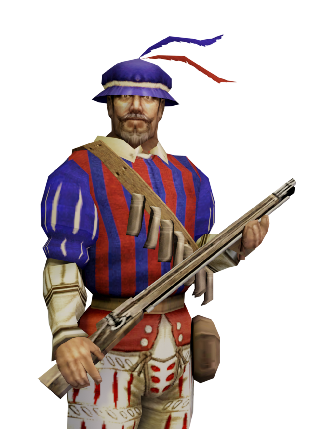
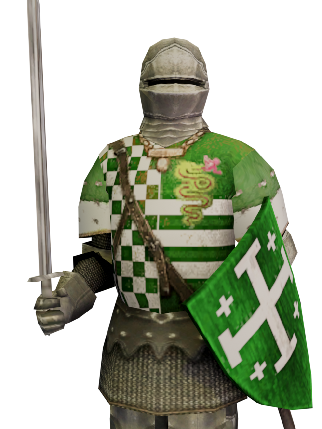
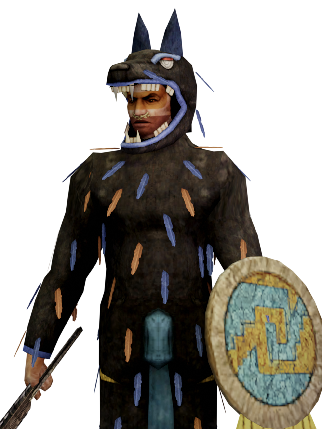
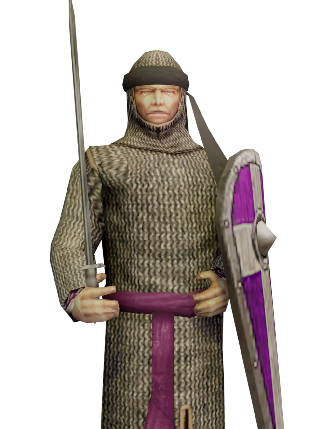
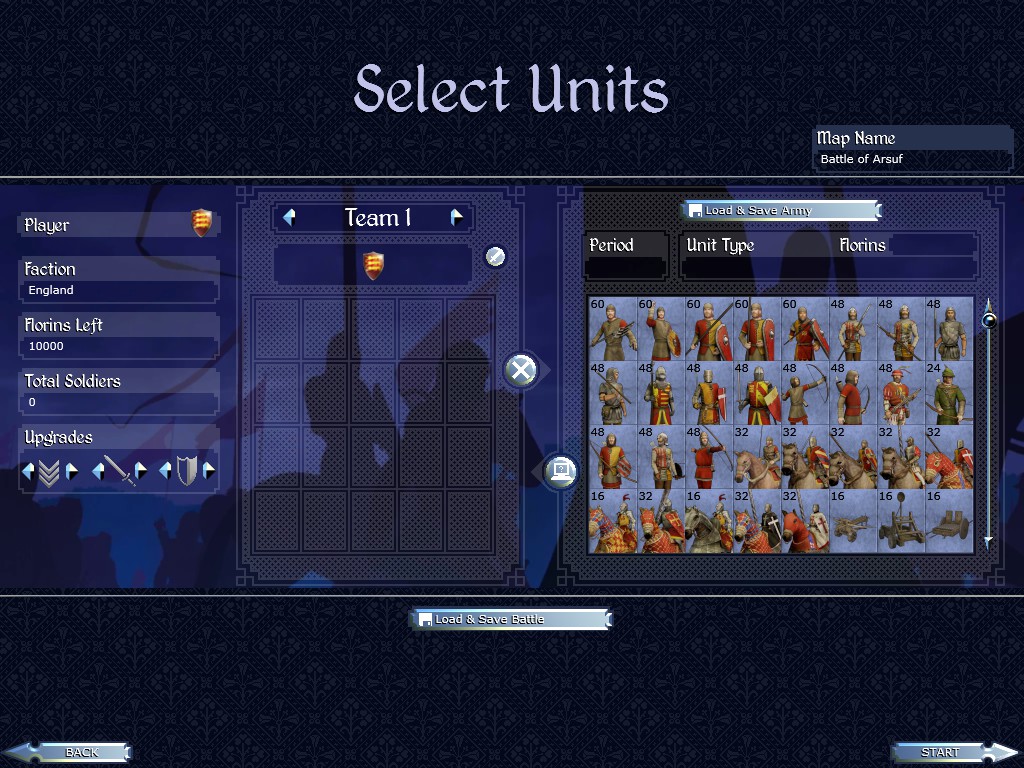
Total War: Medieval 2 was recently released on the iOS AppStore and GooglePlay stores. As part of the mobile release we updated the user interface, including upgrading unit cards to new, higher resolutions versions.
As the mobile version of the game is a direct port of the desktop, the tool used to generate unit cards also works for the desktop assets. We have therefore documented and released the Blender file and scripts so that modders can use this tool in their projects — making a usually time-consuming task much more efficient.
This document reviews the blender file and accompanying Portrait Creator.py script provided to the modding community. The intention of this process is to allow for the batch generation of unit portrait cards for Total War: MEDIEVAL II.

NOTE: This is not a tutorial, simply just instructions and tips to render out a batch of images used for portraits.
You can find the project root folder here:
-
M2_Portrait_Creator_scene.blend- This is a base blender scene that can be used to create and render unit cards.
- This scene was created using Blender version 2.93.0. The scene has been used in Blender versions 2.93.0, 3.0.0, 3.3.0.
-
M2_Portrait_Creator_scene - unit_info.blend- This is a base blender scene that can be used to create and render full unit cards for use in the unit_info folder.
- This scene was created using Blender version 3.3.0. The scene has been used in Blender versions 3.3.0.
-
Portrait_creator.py- This is a python script Blender uses to produce unit portraits and save them to a specified directory.
-
Portrait_creator-unit_info.py- This is a python script Blender uses to produce full unit portraits and save them to a specified directory.
-
Inputfile.txt- Input text file utilised by the python script to generate unit cards with specified models, textures, poses and factions. Contains a single unit entry as an example.
-
logfile.txt- This file is generated when running the script. The Blender system console will direct users to this file when encountering an error. Provides specific information on which lines of the input file are causing an error.
-
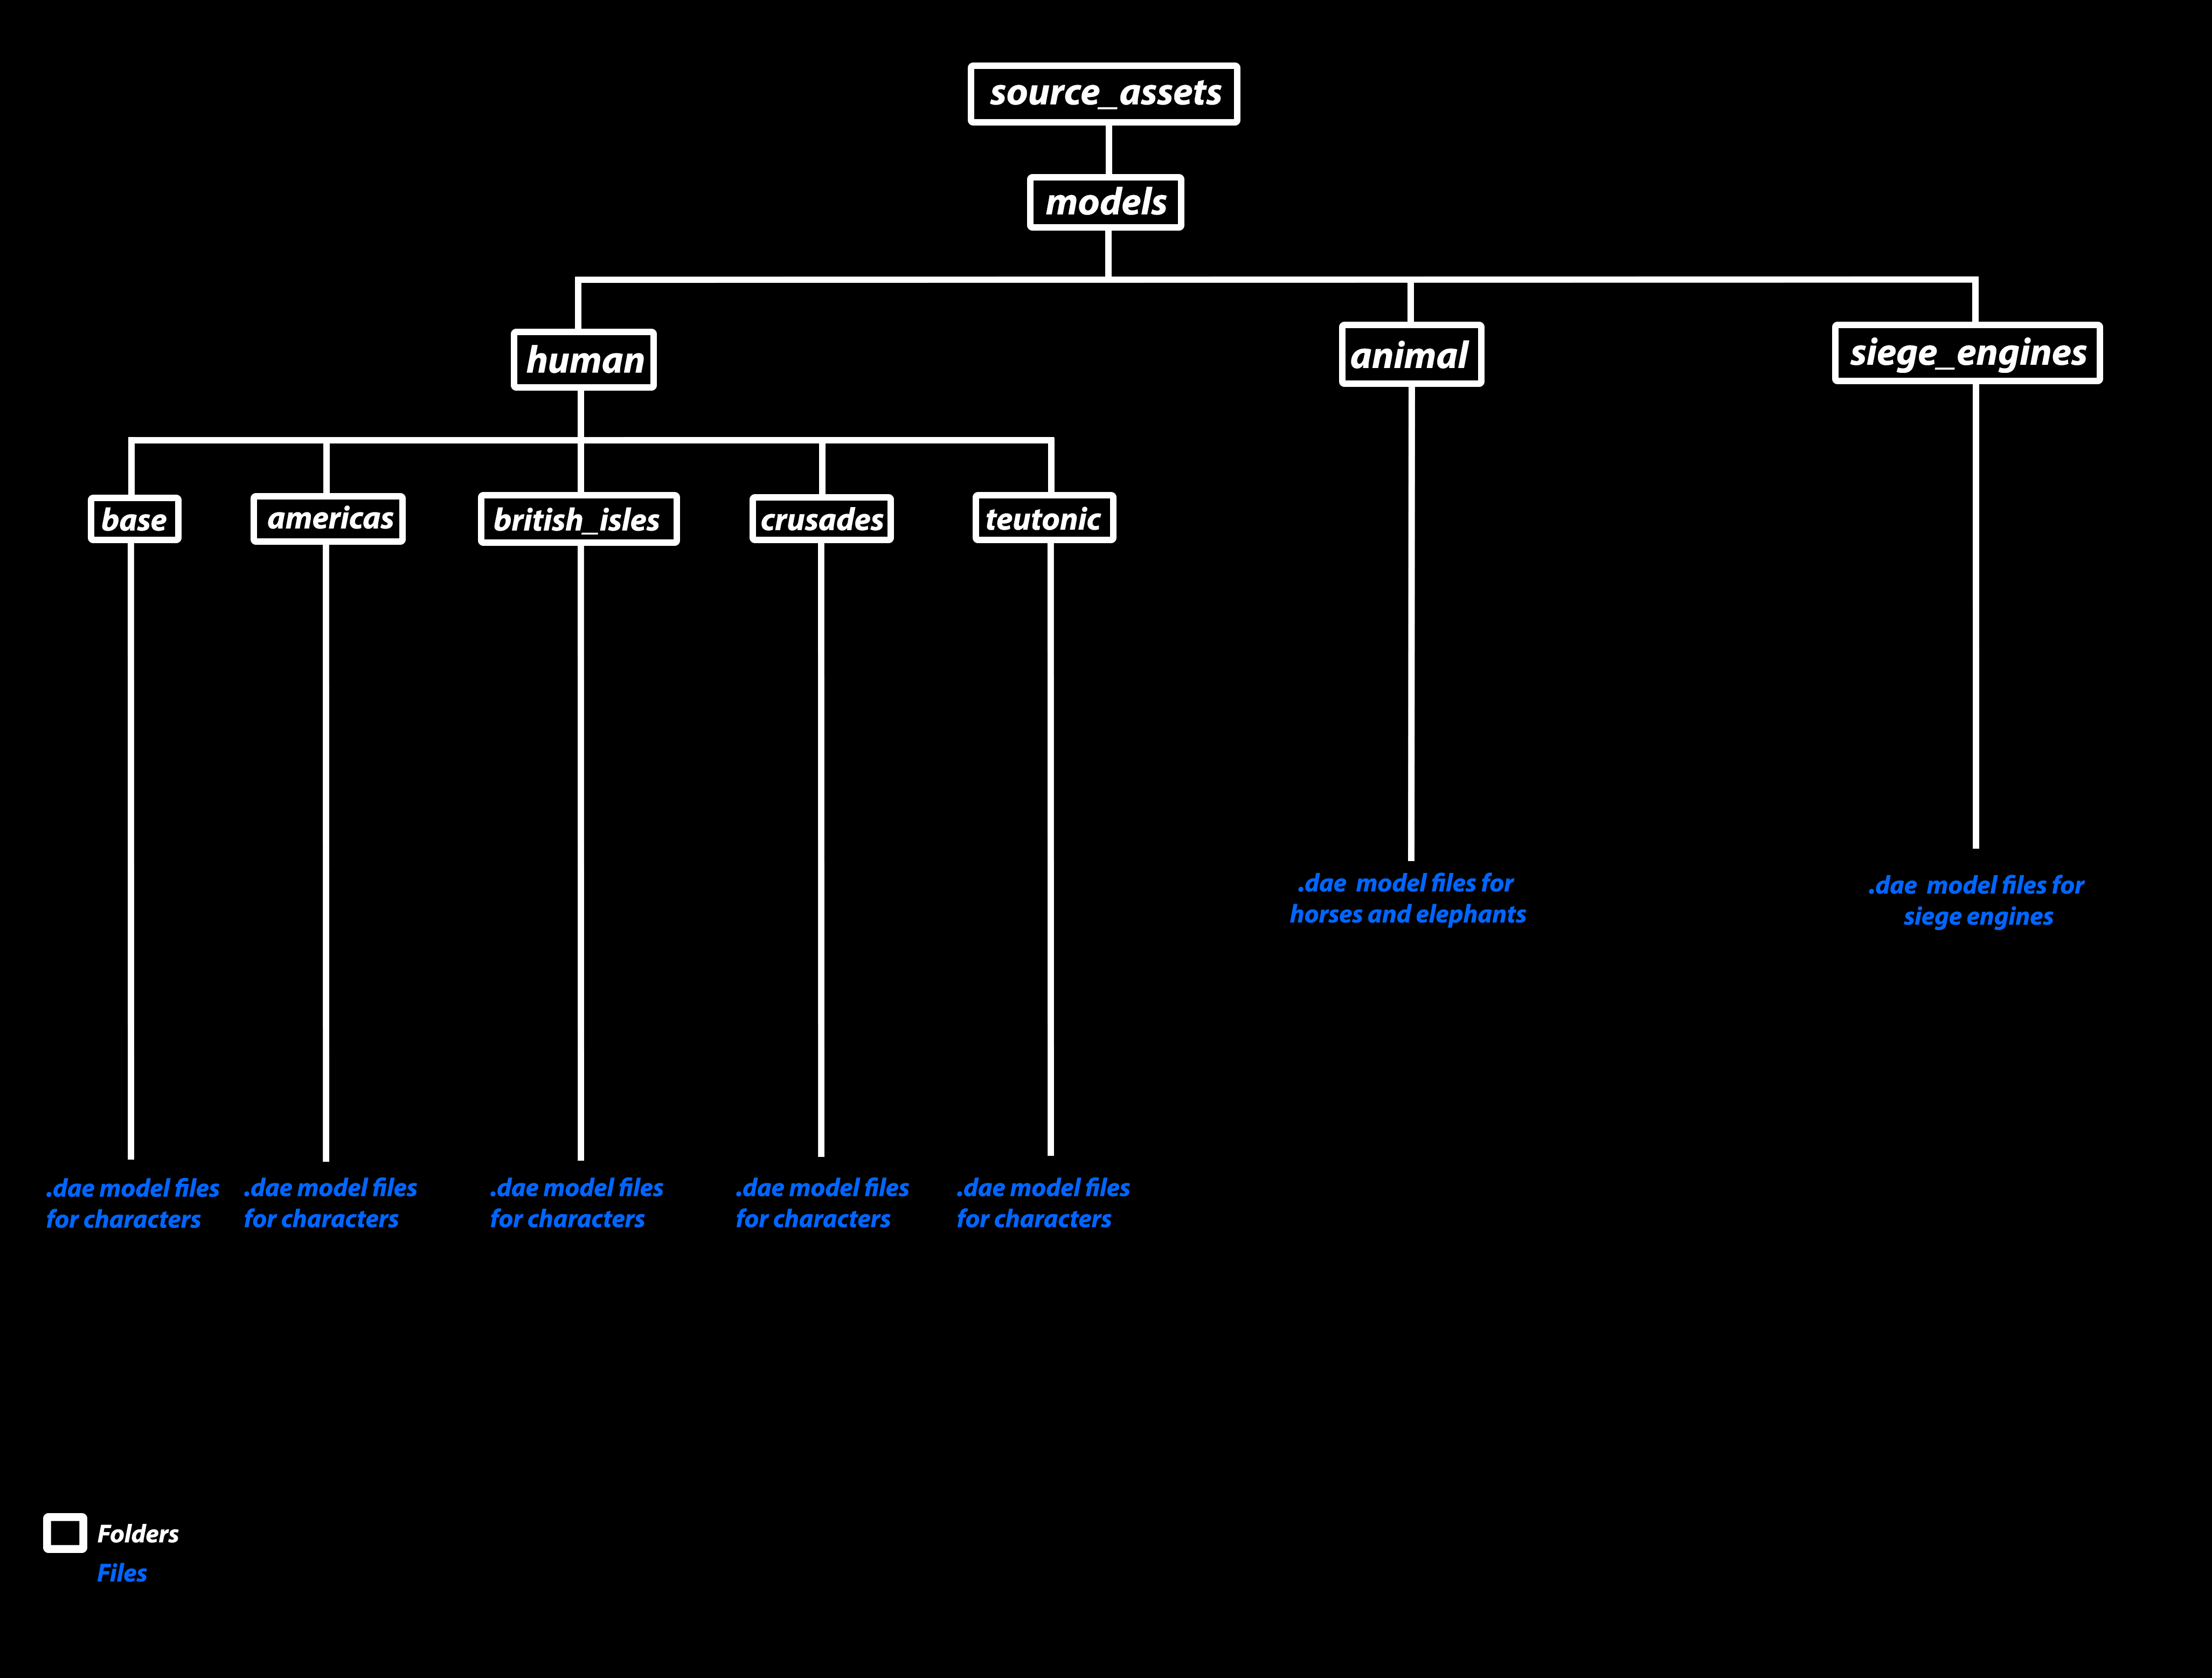
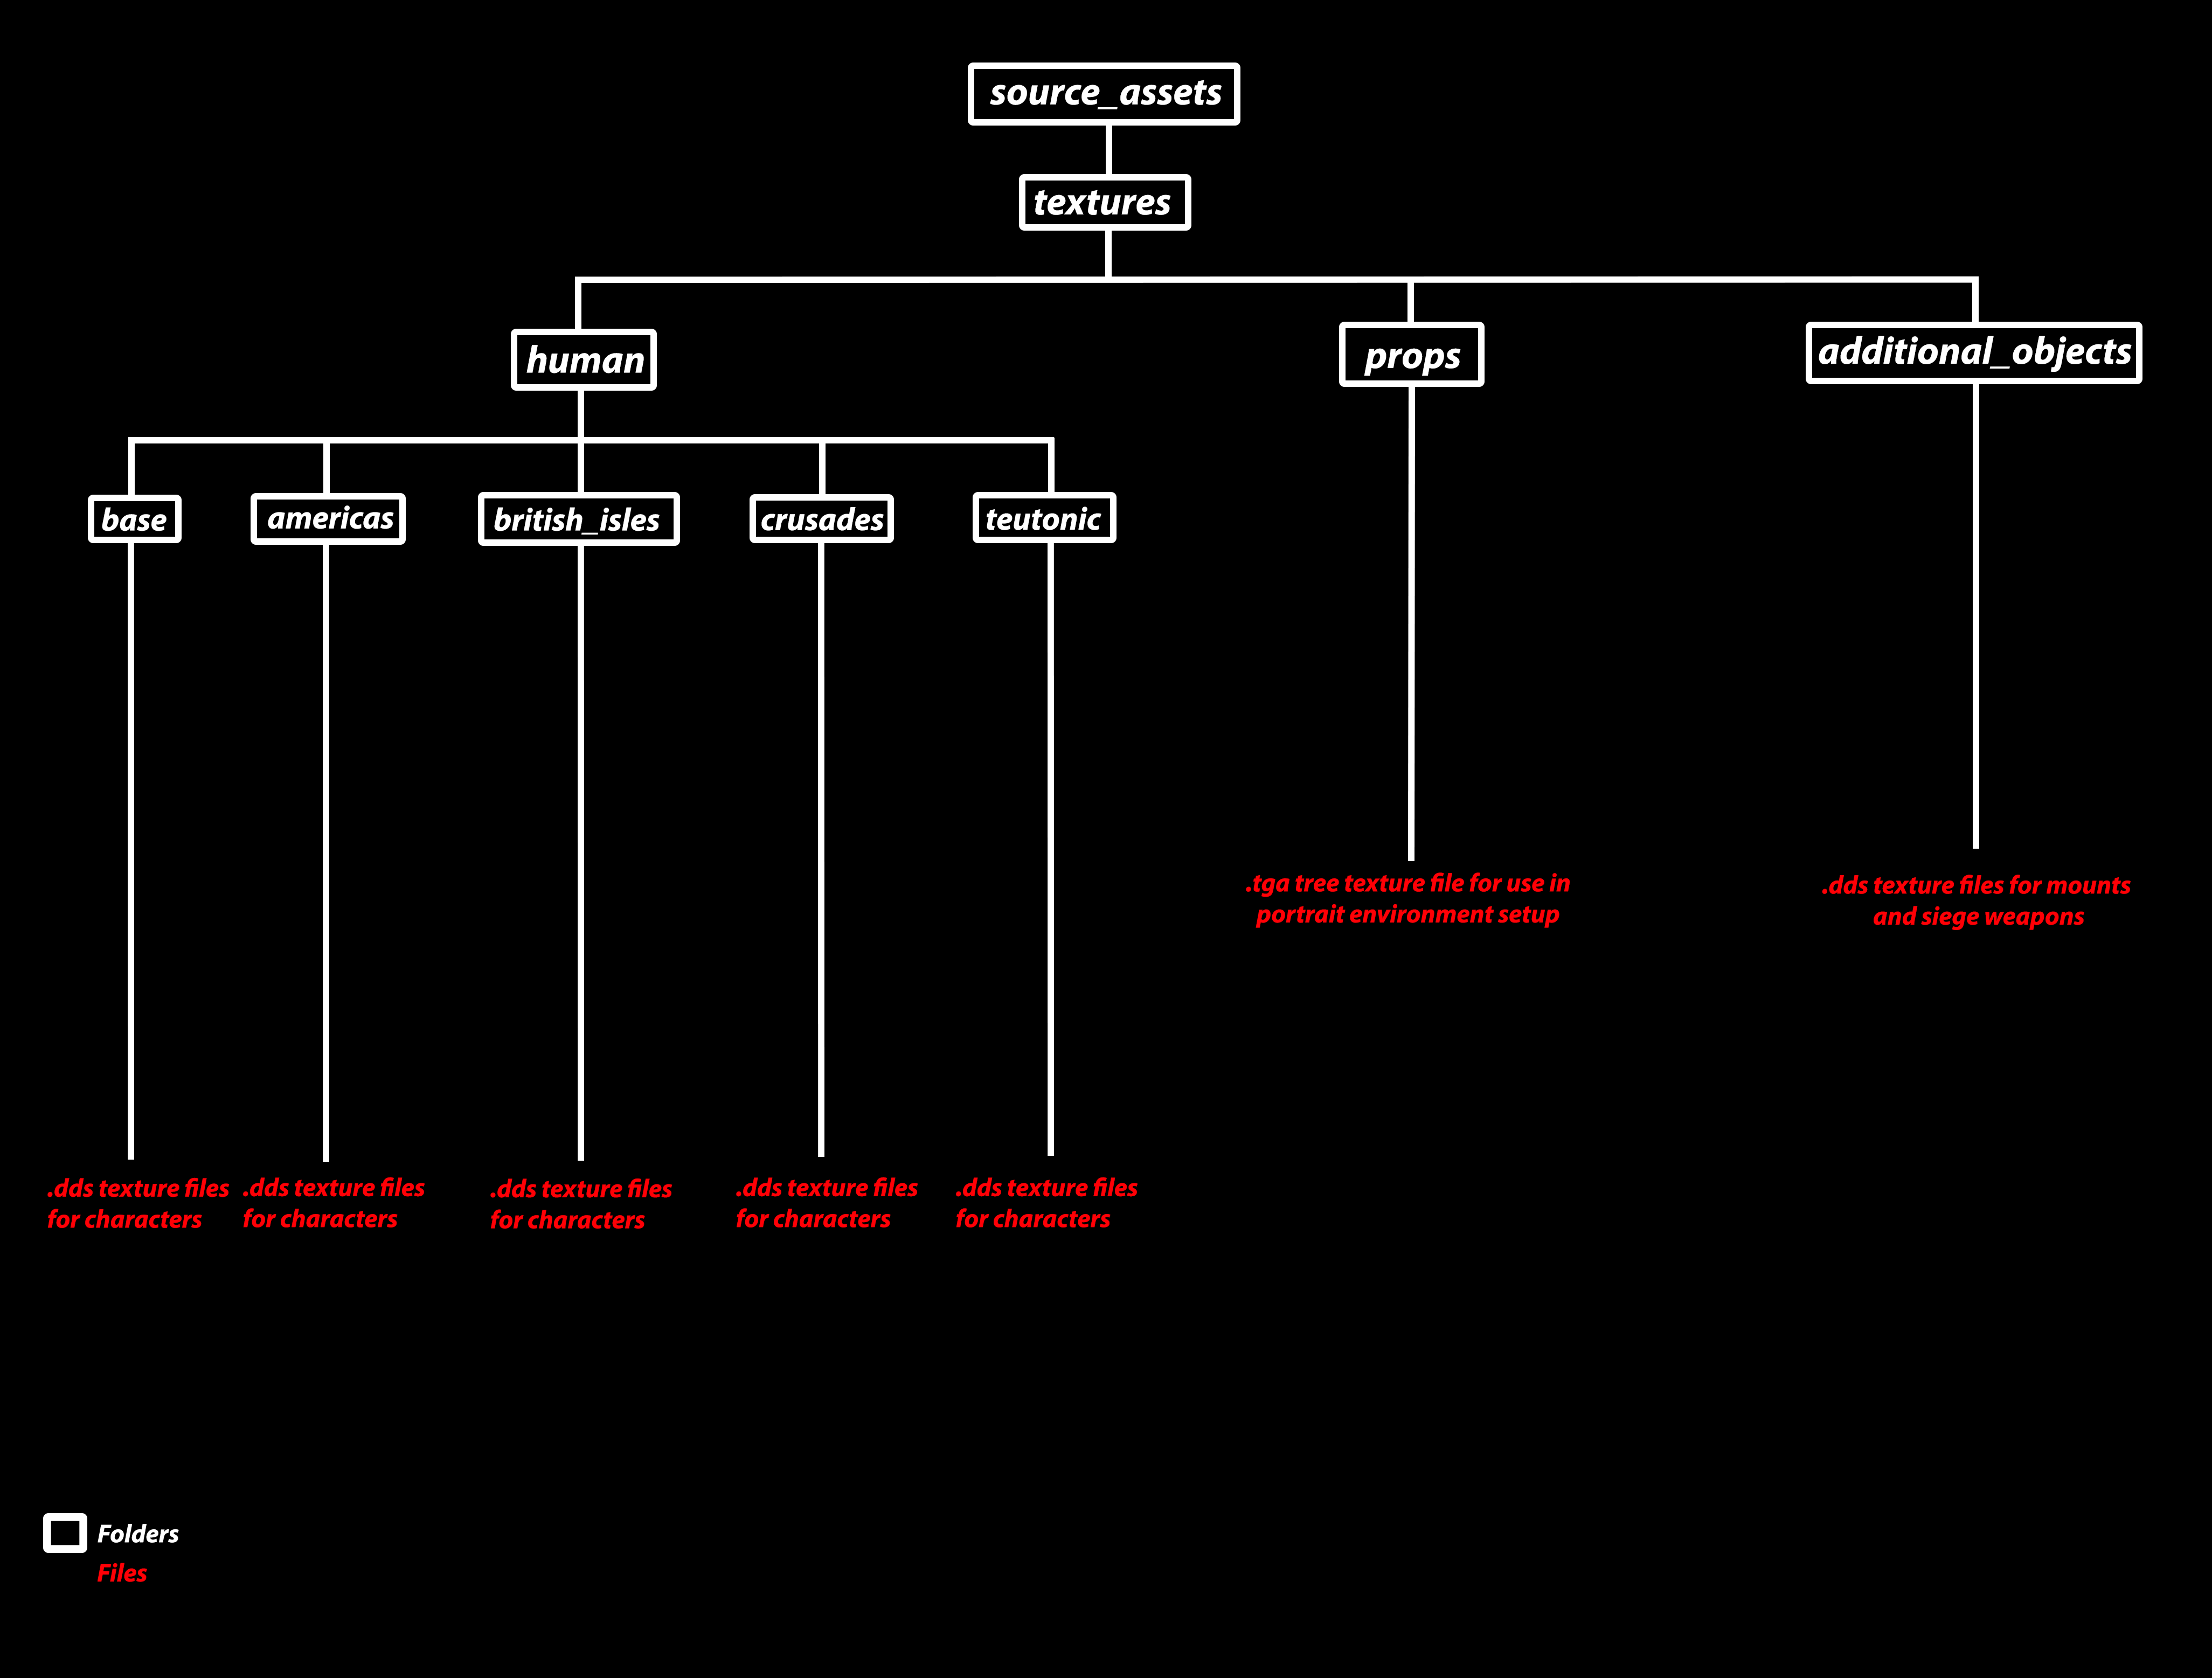
Source Assets folder- 'source_assets' folder broken down into 'models' and 'textures' subfolders. Source assets from Total War: Medieval II have not been provided (exception being materials for an example unit). However a folder structure has been provided for easy interaction with the
portrait_creator.pyscript. Theportrait_creator.pyscript expects a.daeformat for models and.ddsformat for texture files. See below for breakdown of folders and where models and textures should be placed to avoid errors. Simple environment textures for use in theM2_Portrait_Creator_scene - unit_info.blendhave been provided.
- 'source_assets' folder broken down into 'models' and 'textures' subfolders. Source assets from Total War: Medieval II have not been provided (exception being materials for an example unit). However a folder structure has been provided for easy interaction with the

When preparing models for use with the portrait creator ensure the assigned material for main character elements (body, arms, legs etc) is named ‘characterlod0__main’. Ensure the assigned material for attachment elements (swords, shields, sheaths etc) is named ‘characterlod0__attach’.


When exporting a .dae model file, ensure the file name includes _lod0 at the end of the model name. E.g. en_peasant_crossbowmen_lod0.dae.
The sheet can be found here
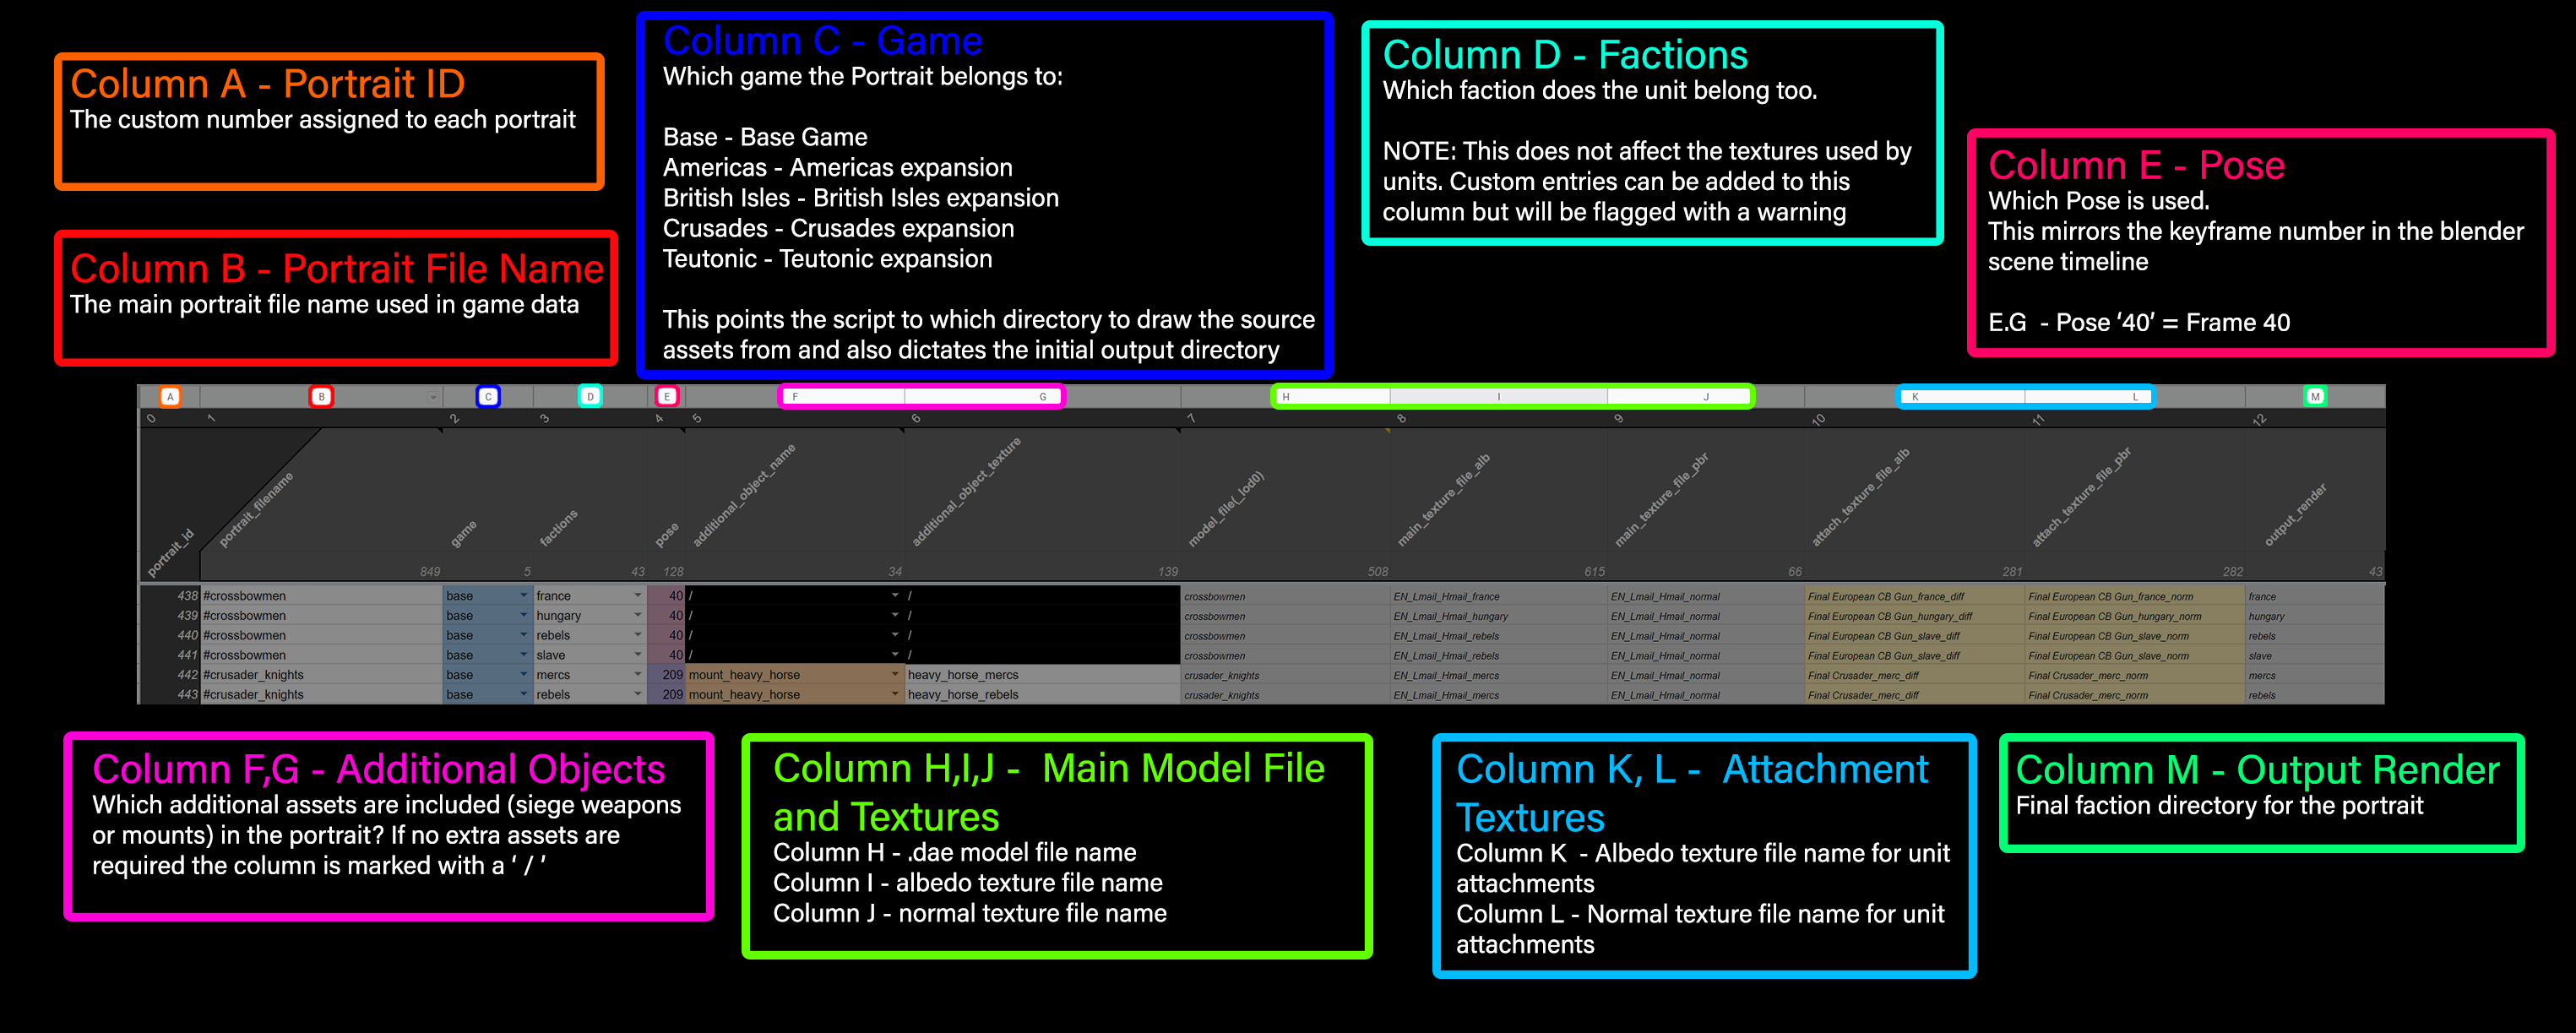
This is the sheet that contains assignments for each portrait(models,textures, factions, poses etc). This information is copied to the inputfile.txt. See details below on how each column of the google sheet works.
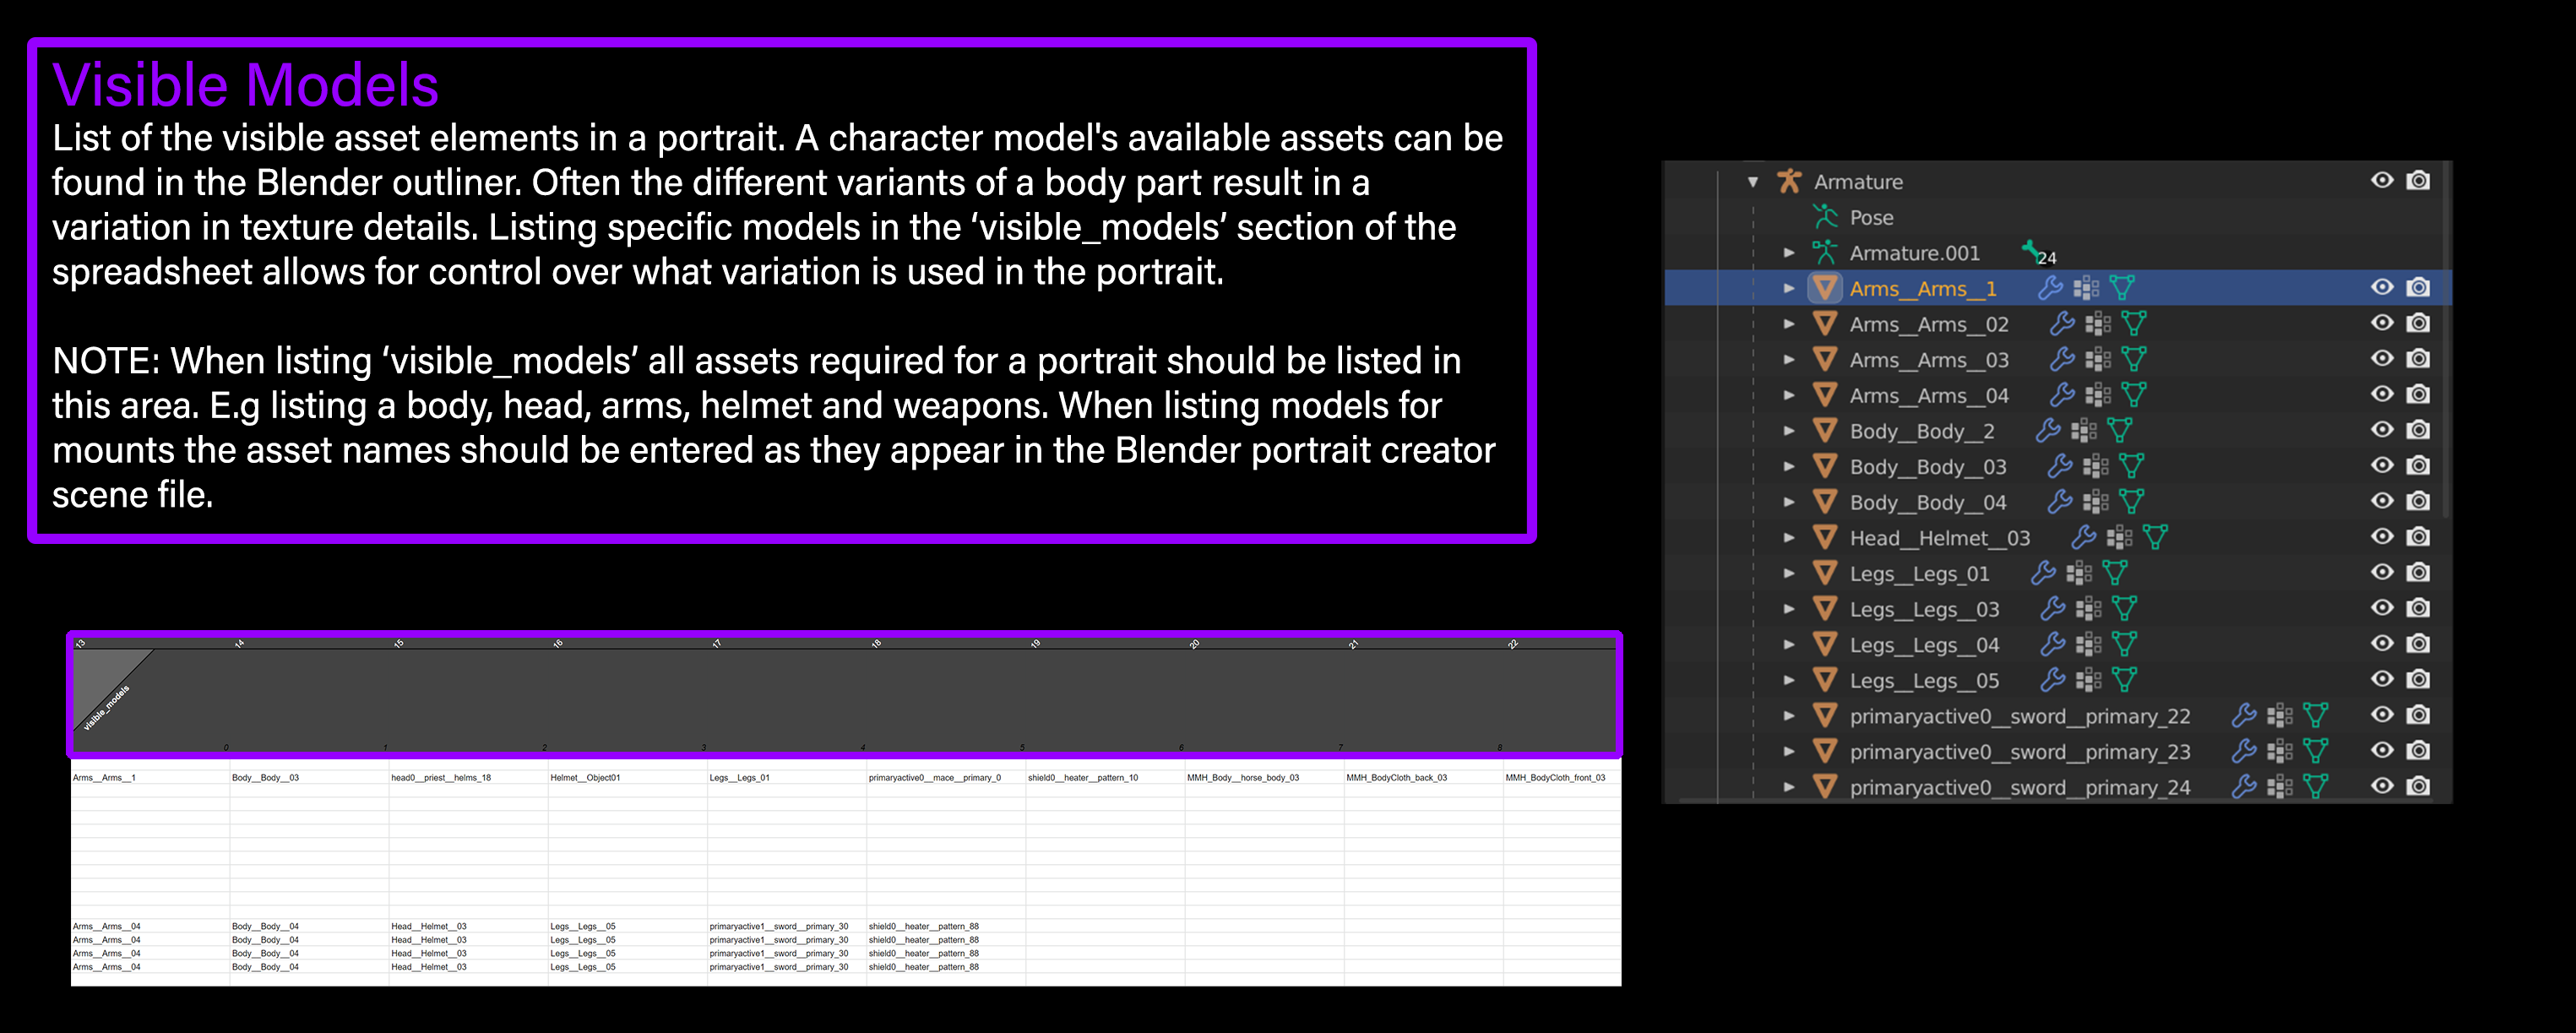
When looking to control the variation of a particular unit for a portrait, use the 'visible_models' section of the sheet. (scroll right on the 'main' sheet)
When unit assignments are complete, copy the relevant rows from the google sheet into the inputfile.txt document.


NOTE: The portrait creator scripts expect the input file data to be presented as it appears when copied and pasted from the google sheet. If the data is laid out differently then it is possible entries will be skipped. If data is entered through different means and entries are being skipped then a workaround is to ensure there is a 'tabbed' space at the end of each entry.
Open the M2_Portrait_Creator_scene.blend file.

The posing/rendering tab is where unit poses are defined via the pink reference character. Scrubbing through the timeline represents all the existing poses.
Here is a list of pose groups based on keyframe number:
-1 = T-Pose
0 = Standing base
1/199 = unit (alone)
200/299 = horse mounted unit
300/349 = elephant mounted unit
350/399 = camel mounted unit
400/449 = chariots & other animals (dogs, pig)
450/499 = /
500/599 = warmachines
600/699 = naval/boats
700/799 = agents
The groups are defined by a change in position of the camera. For example the camera will be closer for a single human unit portrait than for a mounted elephant unit portrait.
Additional functionality you may want to make use of includes weapon references that can be enabled in the outliner and reference images that can be added to the camera.
| Outliner with Weapon References | Shield Reference in Viewport | Camera reference |
|---|---|---|
 |
 |
 |
Enter pose mode and manipulate the joints to create a new pose. Auto key is on by default. Manipulating the joints on a frame which already has a pose will overwrite the existing pose! Recommended action - Select an empty frame within one of the ranges listed above (dependent on type of unit) or select a frame outside the range (799+).
The camera's position can also be changed via keyframe animation. Beware manipulating the camera position in any of the ranges listed above as these are positioned specifically for the relevant unit types.
If a new pose is added, you may want to consider updating the Pose Library sheet.

Navigate to the Run Tool (scripting) tab.

Select ‘Open’ at the top of the screen and open the portrait_creator.py.


By default the tool will read inputfile.txt for the input file, draw 'unit data' from the 'source assets' folder and its relevant subdirectories. The ‘output_directory’ folder is set as the path for the image render output. These paths can be changed if desired. See image below for details. The script includes comments explaining the process if you require more information.

Before running the script it is recommended you navigate to 'Window' and 'Toggle System Console'. This allows visibility of the scripts progress as well as highlighting any errors.


Run the script by selecting the 'Run Script' button at the top of the screen.

When running the script if you encounter an error, before restarting the script navigate to the posing/rendering tab. Notice a character model is present below the camera. Under the ‘Characters’ collection - delete the models and armature. Now restart the script.

After the script is complete, navigate to the designated output directory. The portraits will be split into subdirectories dependant on game (Base, Americas, British Isles, Crusades, Teutonic) and then by faction.

Convert the output .png files to .tga (Solutions include using ImageMagick or Texconv).
Simply update the file in game with the new .tga (if replacing an existing asset) or add the file to the relevant directory (if producing for a mod).
Portrait game directories
- Game Directories
- BASE -
...\data\ui\units - Americas -
...\mods\americas\data\ui\units - Britannia -
...\mods\british_isles\data\ui\units - Crusades -
...\mods\crusades\data\ui\units - Teutonic -
...\mods\teutonic\data\ui\units
- BASE -
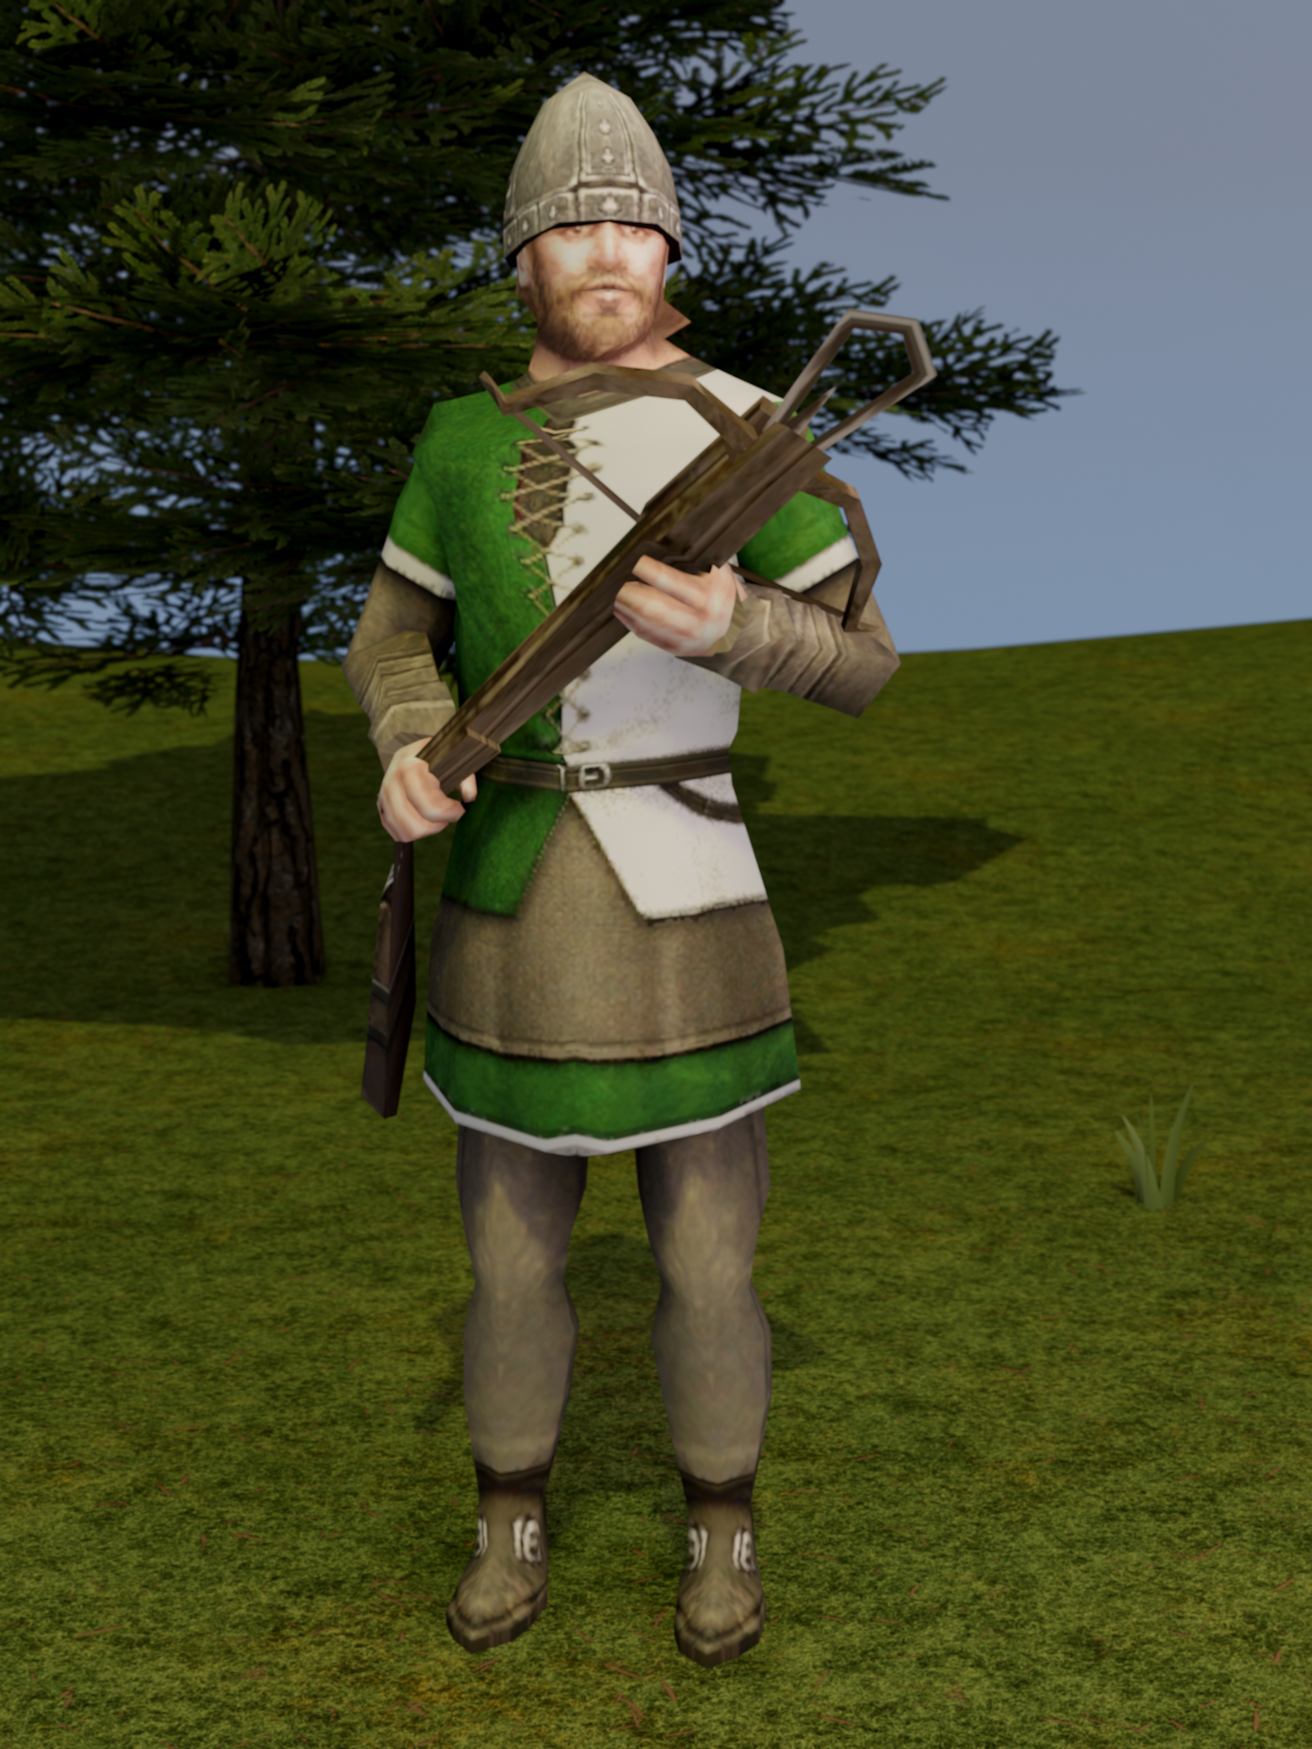
The process for unit_info portrait cards remains mostly the same as the process for the unit portrait cards covered above. The differences revolve around the presence of an environment in the scene and a change in camera position.
Open the portrait_creator_scene_unit_info.blend file.

The main differences in this scene are the presence of a simple environment and a change in camera position. The outliner on the left of the screen lists the environment objects under the 'Camera_Scenes' collection. The Camera is keyed in one position over a range of 0-200 frames. The position is just in front of the reference character and can be altered to your liking. The poses for the reference character exist as they did in the standard scene file.


Textures for the environment objects can be found in \source_assets\textures\props.
When ready to process a portrait. Navigate to the 'Run Tool (Scripting)' tab and slect 'Open'. Select the portrait_creator - unit_info.py script. The only differences between this script and the previously used version is that this enables visibility of the environment during rendering and outputs to the \unit_info directory.

Convert the output .png files to .tga (Solutions include using ImageMagick or Texconv).
To update the file in game with the new .tga (if replacing an existing asset) or add the file to the relevant directory (if producing for a mod).
Portrait game directories
- Game Directories
- BASE -
...\data\ui\units_info - Americas -
...\mods\americas\data\ui\units_info - Britannia -
...\mods\british_isles\data\ui\units_info - Crusades -
...\mods\crusades\data\ui\units_info - Teutonic -
...\mods\teutonic\data\ui\units_info
- BASE -